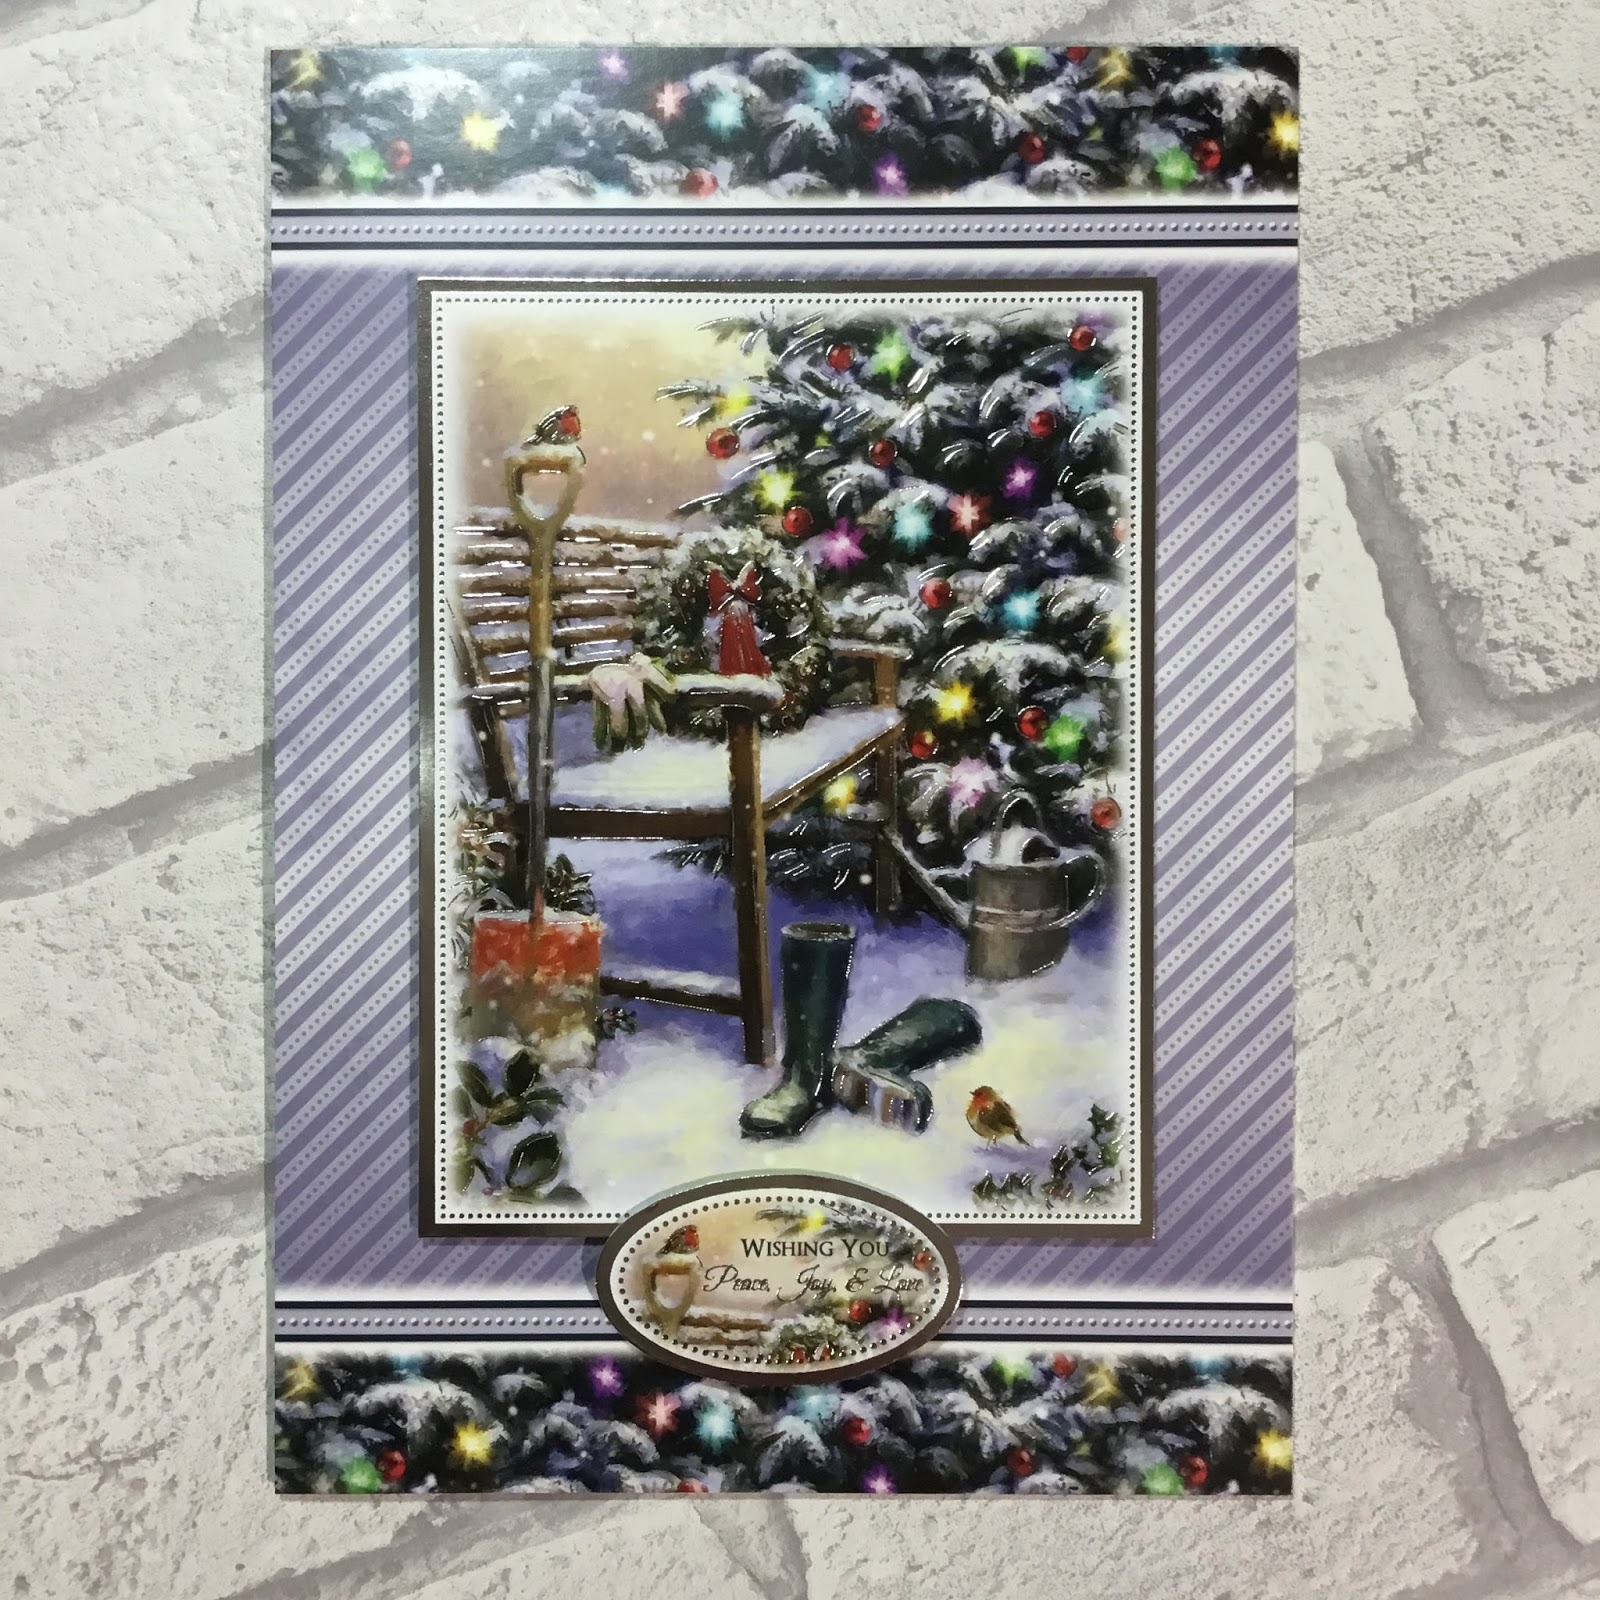
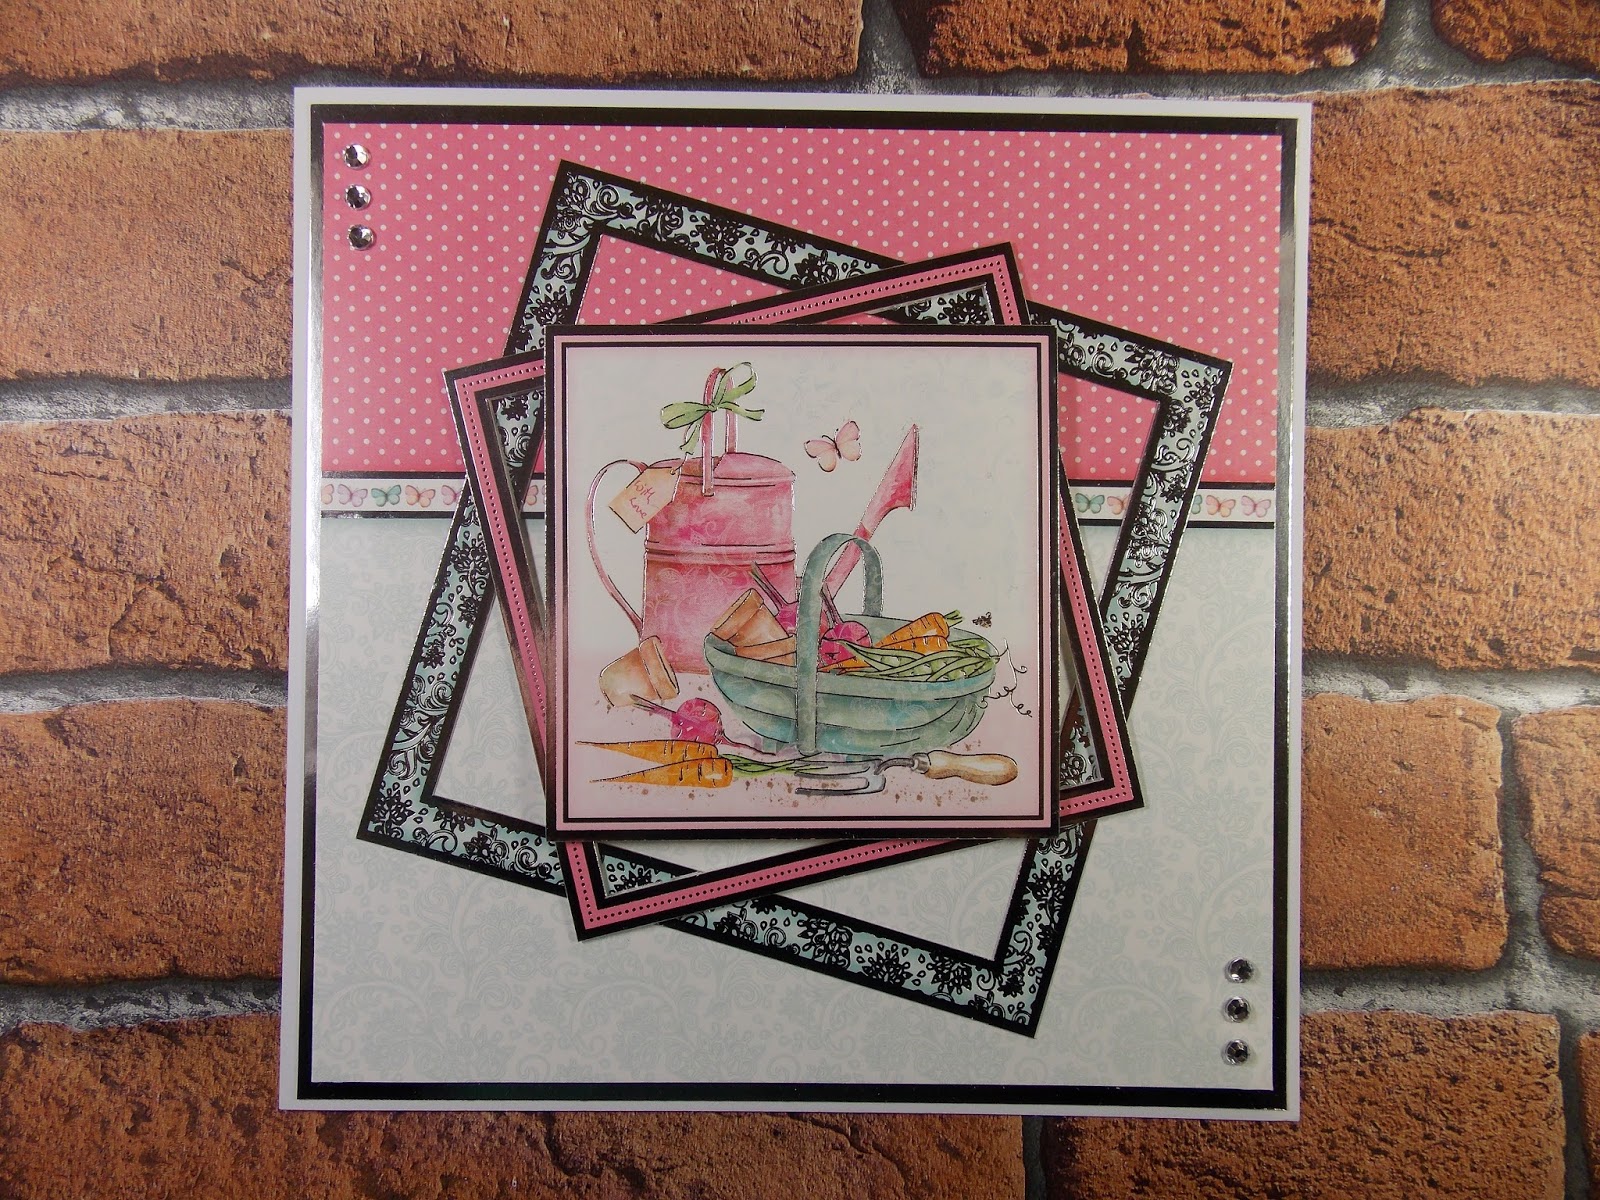
- Hunkydory snowy season luxury card collection: Christmas Delight
- Hunkydory little book of snowy scenes
- silver mirri card
- pink & white satin ribbons
- A5, DL & 6x4" landscape & 8x8" white card blanks
For the A5 card, I cut the cardstock to size to cover the front of the card blank. I then simply positioned the image and sentiment toppers overlapping on different depths of foam pads. I cut the coordinating insert down to complete the card.
 |
| inside |
Using the same cardstock, I cut a 6x4" section with the border running across the base for this card. Again, I simply arranged an image and sentiment topper from the collection on foam pads. I trimmed the sentiment section from the centre of the remaining matching topper sheet to finish the inside.
 |
| inside |
I created this DL card to make a feature of the image section on the other patterned cardstock sheet from the collection. I trimmed it to fill the card front, then angled the sentiment on top using foam pads for dimension and a knot of ribbon as embellishment. The insert sheet featured the mirror image of the card front, trimmed down to fit neatly inside.
 |
| inside |
For the final card, I used a little book image to compliment the large sentiment from this set. I cut the mat of silver mirri card to cover the 8" card blank. I then cut a layer of the patterned cardstock. I wrapped the satin ribbon around opposite corners, with a bow tied at the top. The ribbon was secured on the back of the cardstock before gluing onto the card front to keep a neat finish. I matted the little book page onto silver to create the topper and glued down off centre using foam pads. I overlaid the sentiment topper using deeper foam pads for added dimension. I glued the remaining insert inside to complete the card.
 |
| inside |
Mx