Showing posts with label gems. Show all posts

Friday, 19 July 2019

Chic 60th


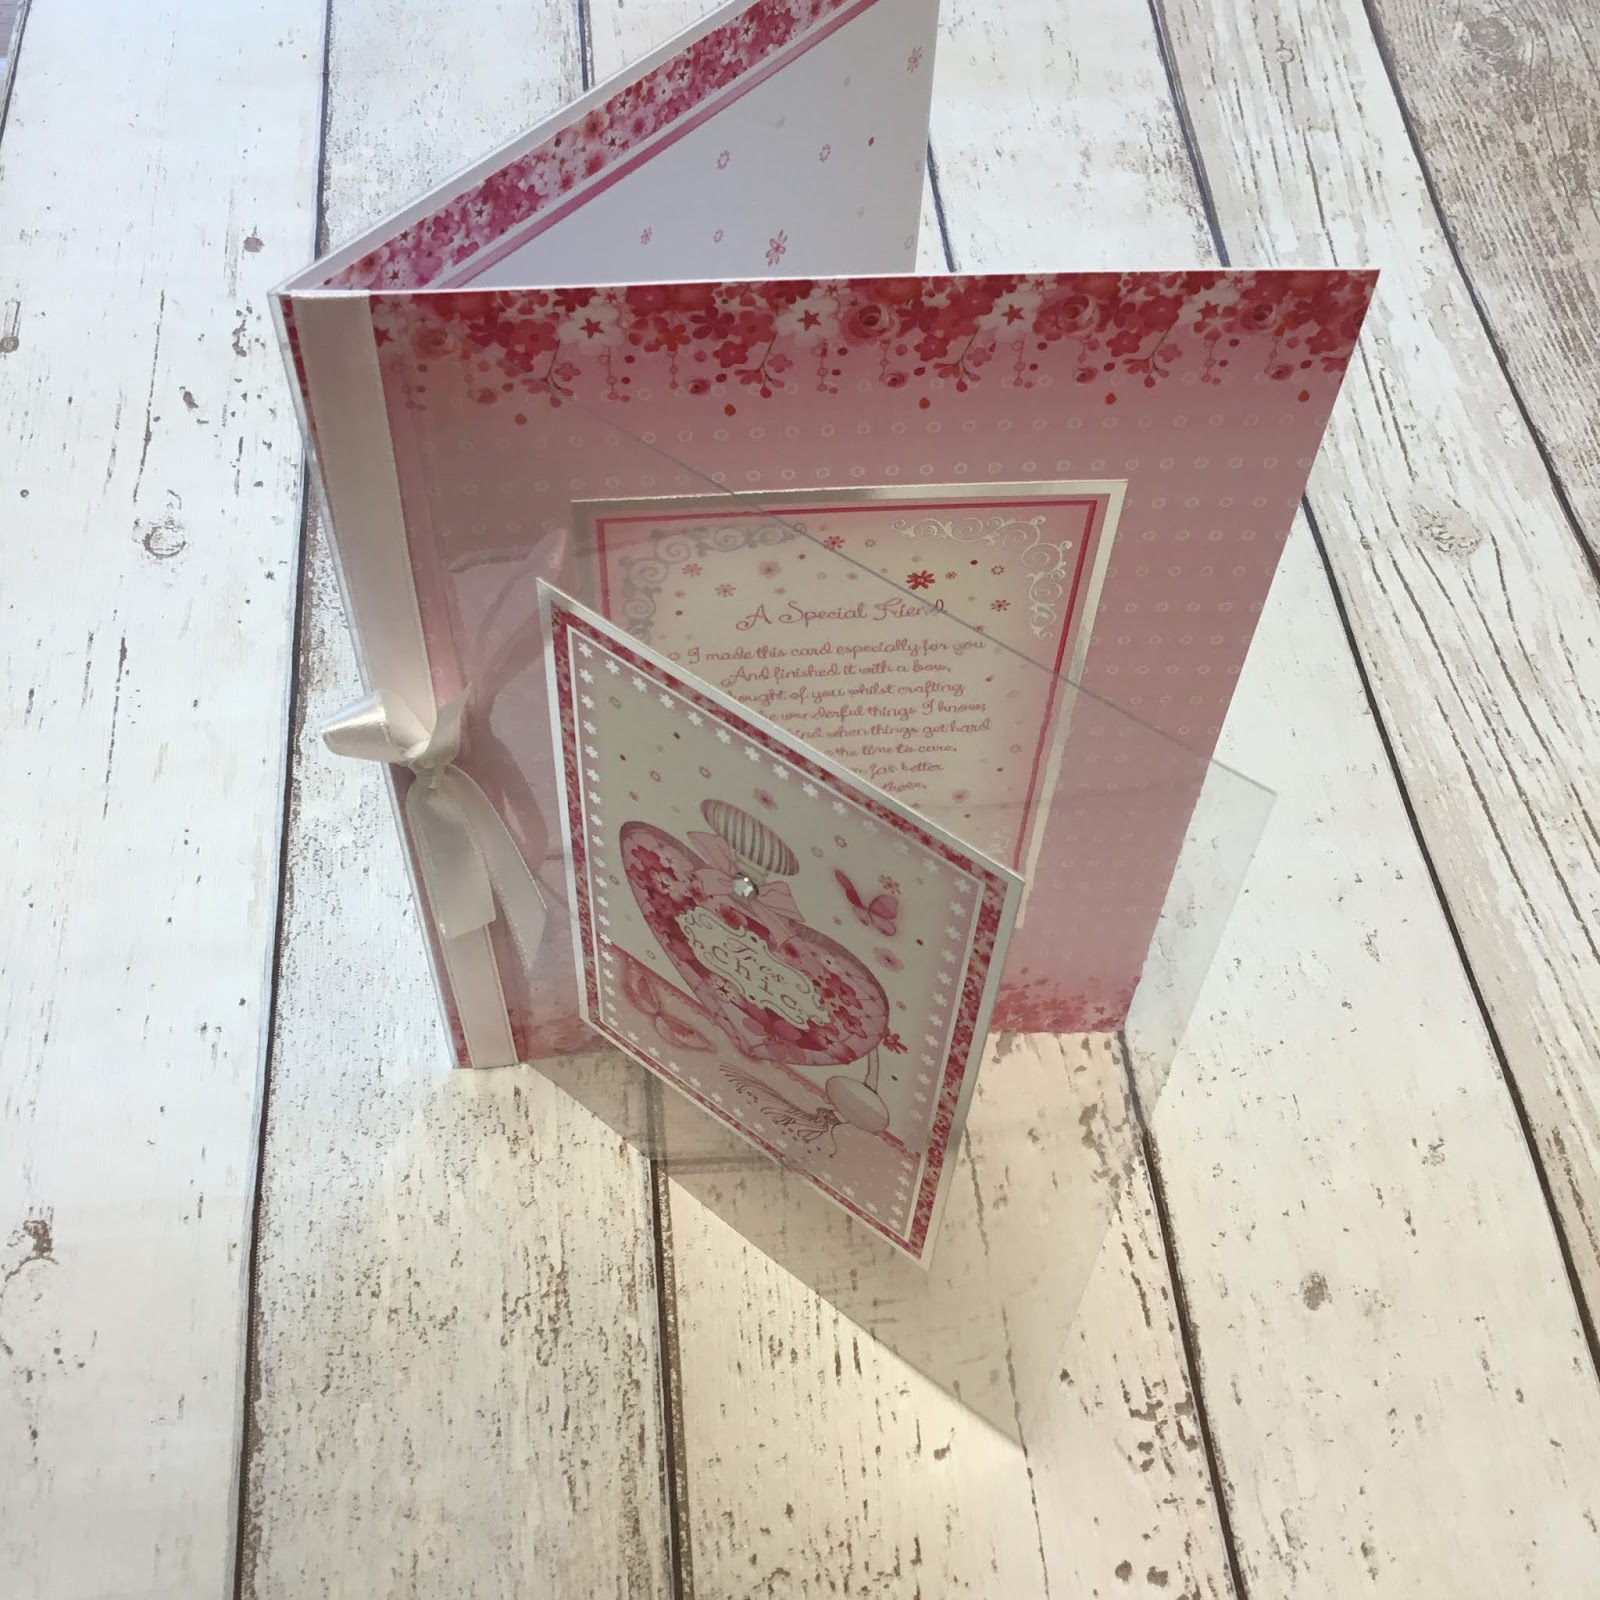
So I wanted to make a special card for a friends 60th birthday. I instantly thought of using the hunkydory window to the heart postcard collection. I used the a special friend toppers, matching paper and insert. 
 
 
I folded an a5 cardblank and covered the front with patterned paper. I scored a piece of a4 acetate in the centre, then on one side scored a second line 2.5cm away. I creased the folds, added a couple bits of tape in the folded strip and glued it to my card blank. I wrapped some white ribbon around the card front and acetate to cover the glue, then tied in a bow. 
 
 
I trimmed the picture side of the insert to fit the inside of the card. I stamped my 60th sentiment and added some glitter pen to add sparkle. I trimmed the greeting side of insert to be the same size as the toppers.
 
 
I glued the first topper in position on the front of the card blank. I positioned another on top of the acetate in line with the one on the card front. I then used the insert greeting paper to cover the glue on the reverse of the acetate. As a final touch, I added a stick on gem to the perfume bottle.
 
Mx


Wednesday, 7 June 2017

tea mum


  • hunkydory especially for her collection- time for tea : Toppers, card and inserts
  • silver mirri card
  • die cut letters
  • clear adhesive gems
  • 8x8 white card blanks 
I created a layered mum card on an 8x8 card. I used the background paper and added decoupage elements from the topper sheet to raise the tea pot and tea cup. I mat and layered this with some silver mirri card onto the card blank. I then finished it off with some die cut letters to spell out 'mum', using mirri card stock.  
For the second card, I created another 8x8 card. Again, I matt and layered the patterned paper onto the silver mirri to fit the card blank. I then layered up the frames and topper from the sheet at different angles and glued down with foam for dimension. I added the 'mum' sentiment from the topper sheet in the bottom right hand corner. To complete the front of the card, I embellished the 2 of the corners with rows of 3 adhesive gems
On the inside, I cut down one of the inserts to fit inside, carrying the image from the topper through to the centre for that extra special touch.
inside

Mx


The challenge i would like to enter

Friday, 5 May 2017

in the garden


  • hunkydory especially for her collection 'in the garden'
  • clear adhesive gems
  • silver mirri cardstock
  • 8x8 white cardblank
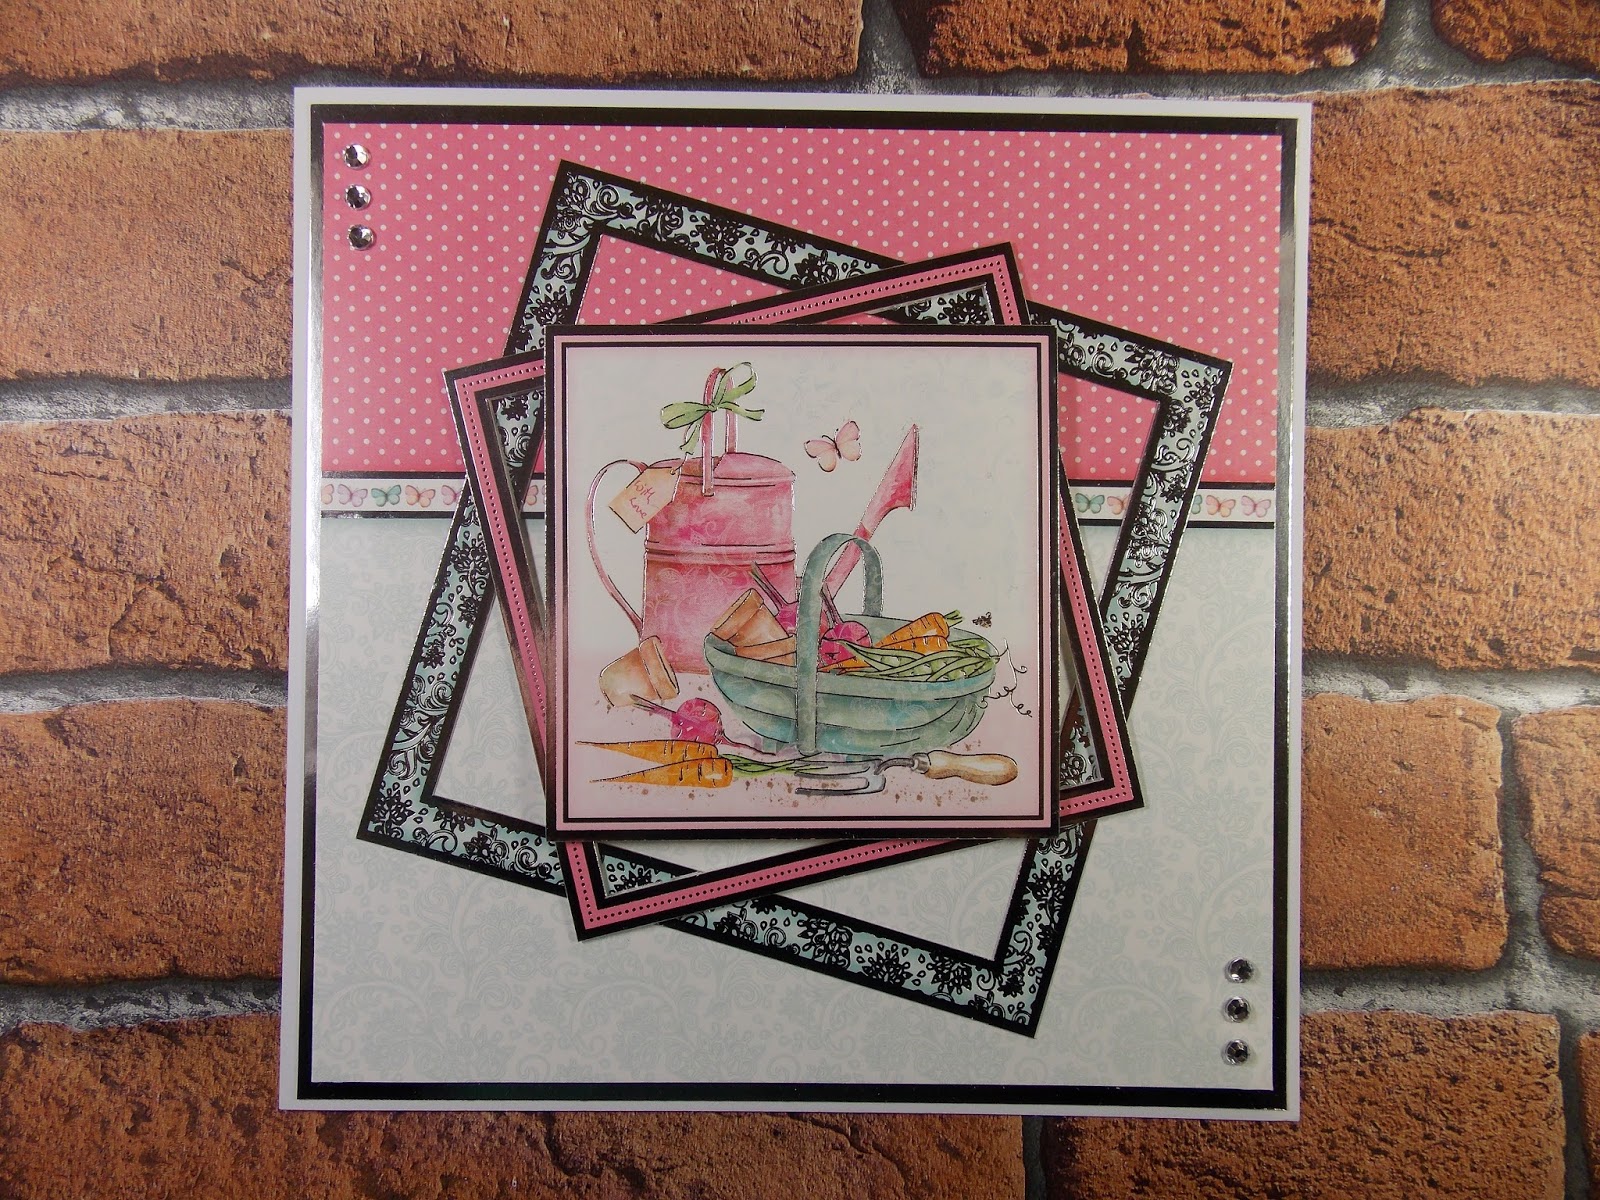
I matt and layered the cardstock onto the card blank. I added the topper and frames at opposite angles, using foam tape to glue. I embellished the two opposite corners with gems. To finish the card, I added the coordinating insert trimmed down to fit inside.

Mx


Tuesday, 24 January 2017

50!!

 
  • MDF/ laser cut wooden shape
  • melody ross- homespun chic 12x12" paper pad
  • studio paint and brushes
  • anna marie designs- flowers etc
  • pink ribbon
  • scrabble tiles (travel edition)
 
I painted the edges and the base with brown paint. I covered the front and back of the '50' with patterned paper. I placed the 50 into the base. I then created arrangements of fibres and flowers for decoration, which I secured in place with hot glue. I also added 'mum' in small scrabble tiles using the hot glue gun. I finished it with a ribbon around the base and tied it in a bow, then added another bow onto the corner arrangement.
 
Mx
 
Challenges I'd like to enter:

Friday, 7 October 2016

Uptown girl...


  • Stamping bella-mason uptown girl opal the optimist 
  • Sentimentally yours- elegant milestone birthday 
  • LOTV- timeless Victorian paper
  • SU!- finishing touches edgelits
  • Neenahclassic crest cardstock 
  • Memento 'tuxedo black' ink pad 
  • Copics- skin E50,51,21,11,93. Hair E44,43,42.Y21. dress C4. V12,15,17. BG32,34. Dress/bottle YG63,67. Bottle/drink E40,81. Glass BG70. Ground C1,00
  • atyou spica glitter pens - clear, sand and black
  • Clear self adhesive gems and paper flowers (unknown brand)
I took inspiration from the sketch and decided to create an alternative shaped card by cutting the front off at an angle. To do this, I measured 1cm in from two corners on the front of my card blank and drew a diagonal pencil line across to help line up my edge die. I die cut along the line to shape the card with a decorative edge. I cut a mat of paper for both the inside and outside of my card blank and glued them down. I stamped and coloured my image with copics and touches of glitter to create the champagne bubbles and sparkly belt. I then stamped my sentiment onto another piece of card and used my paper trimmer to shape them into rectangles. I matted each of these onto the coordinating paper and glued them to my card, making sure the glue was only on the areas touching the card front and not on the overhang. I added paper flowers in matching colours and clear gems to complete the sketch with a touch of decoration and sparkle.
 
Mx

Challenge i would like to enter:

Thursday, 28 May 2015

blue birthday's...

 
I created this card using the 'wee hopeful card making kit' from the hobby house. I layered the coloured image and die cut mats. I cut the scalloped edge on the blue layer using a SU! border punch. I layered the patterned paper onto this. I added a further mat of blue and layer of patterned paper from the kit onto the card blank. I then assembled the other layers and embellished with some adhesive gems and sentiment stamp from LOTV. I was really pleased with how this card turned out and thought it was a good example to show how pretty some card kits can be.
 
Mx

Saturday, 17 May 2014

summer time flowers...


stamps:bloomin' marvellous (sale-a-bration) from stampin' up!, everyday greetings from wild rose studio, for her sentiments (set 20) from lili of the valley
inks: archival ink pads (chrome yellow, venetian orange, vermillion & sap green), ice grey1 promarker
cardstock: craftwork cards digi cardstock, 6x4" card blank
punch: bitty butterfly punch from stampin' up!
extras: adhesive gems

first i cut a mat of digi cardstock to fit my card blank. I stamped the flowers in the different colours and added in leafs in between. I used a scrap of digi cardstock to stamp two butterflies , which I punched out. I bend these slightly and ( only using tape in the centre) glue them onto my card. I added extra dimension to the leaves and flowers by using the promarker to add shadows.  I inked the card blank in orange, then used the same coloured ink to stamp my two sentiments in either corners. 
i glued the mat on to the card blank and added a final bit of sparkle with some adhesive gems, on a few of the flowers.
Mx

Wednesday, 8 January 2014

floral fun!!

 
stamps: positively chevron, flower shop, express yourself(hostess) from stampin up!
inks:archival ink pads(jet black, magenta hue, venetian orange, aqua marine) ,tim holtz distress ink pad (dried marigold)
cardstock: craftwork cards digi cardstock, 6x6" card blank
extras: adhesive gems, washi tape, pansy punch from stampin up!
 
I coloured the card blank pink and stamped the large chevron background on to a mat using yellow ink. I created 3 flowers in my chosen colours by stamping and punching them out. the sentiment was stamped and cut it into a banner shape. I glued my layers into position, then added pieces of blue washi tape to accent the top and bottom of the card and tie in the colour scheme. the final touches were adhesive gems for a bit of sparkle on the centre of each flower.


Mx

Saturday, 4 January 2014

butterfly wishes


stamps: papillon potpourri, express yourself (hostess) from stampin up!
inks: archival ink pads (jet black, aquamarine, magenta hue, venetian orange)
punches: elegant butterfly from stampin up!
cardstock: craftwork cards digi cardstock , 4x6" white card blank
extras: small adhesive gems

i coloured the base card with the pink ink pad using a piece of cut n dry foam, then mat and layered with some white card which I stamped with the sentiment at the bottom. I stamped and punched three butterflies using my chosen colours of ink pads. i glued only the centre of the butterflies to add dimension as the wings lift from the card but can be posted flat. Finally i added gems to the centre for a touch of feminine sparkle. I think this makes a nice girly birthday card, but you could add a different sentiment for other occasions like thankyou or mothers day card.
 
Mx

Saturday, 23 November 2013

white christmas ...

 
stamps:joyful Christmas by stampin up!
inks: archival (blue violet)
cardstock: craftworkcards digi cardstock, pearlescent paper, 6x6 card blank
dies: window frames collection framelits from stampin up! and the big shot from sizzix
extras: stamposaurus stencils (snowflake design), dreamweaver stencil embossing paste (white), marks & spencer Christmas ribbon (silver) & adhesive gems

 since the ribbon girl challenge this month was white, I decided to go for a simple design, layering different textures and sparkles for a sophisticated look. I spread texture paste over a snowflake stencil, allowed it to dry then die cut the card into a shape. I cut further layers of pearl and white card using the smaller dies in the same shape. I stamped the sentiment onto the top layer. the embossed piece was then stuck onto a further sheet of pearl paper. I tucked the ribbon under the backing matt, before sticking onto the card to give a professional, clean finish. the other layers were then added over the ribbon using foam pads to add further dimension. I finished off the design with some adhesive gems in the corners for that extra Christmas sparkle.


http://www.ribbongirls.blogspot.co.uk/2013/11/november-colour-challenge.html
 
Mx (with a little help from mum, as I struggle with the all white look)