Showing posts with label gifts. Show all posts

Wednesday, 6 December 2017

Toyshop Window

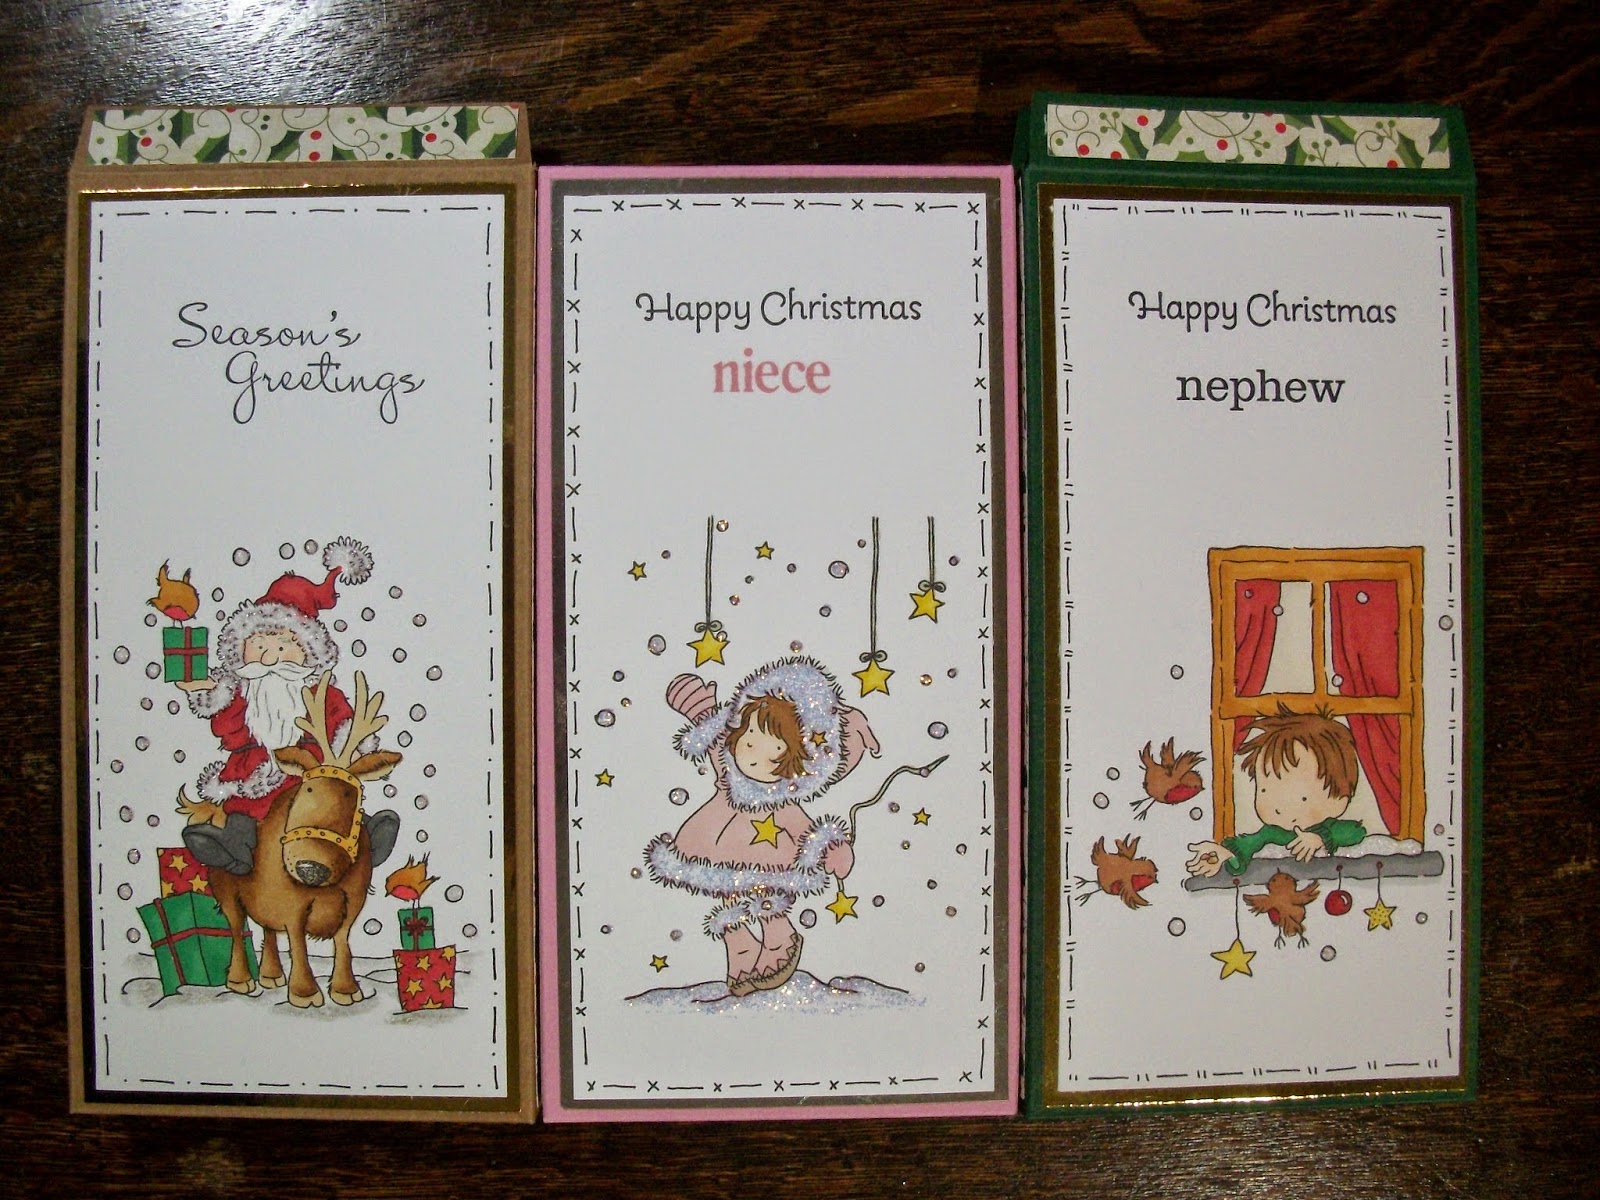
  • Hunkydory Christmas Classics Luxury Card Collection: Toyshop Window
  • Hunkydory second little book of Christmas
  • Hunkydory essential book of Christmas sentiments
  • A5, 5x7" & 6x6" white card blanks
For the first A5 card, I covered the card front with the cardstock. I then positioned the image topper and frame on foam pads, centred in the top panel. I added the sentiment which coordinated with the frame beneath to complete the front. I cut the insert down to fit inside with the printed sentiment.
inside
Using the other half of the cardstock, I created a 5x7" card. I covered the card front with the cardstock, trimmed down to fit. I then added the image topper to the centre of the top section and positioned an essential book sentiment on the printed border. I cut the remaining insert down, so the inside of the card matched the background of the card front.
inside
I used the matching little book to create a topper for this A5 card. I cut the cardstock to fit the card front. For the topper, I glued the frame to the little book page then trimmed away the excess image from behind the outer edge of the frame. I glued this to the card front with a sentiment from the collection, overlapping at the base. I cut the insert down to fit neatly inside, complete with the printed message.
inside
For the square card, I cut down the remaining cardstock to fit the card front, with the wreaths down one side. I then glued the topper and an essential book sentiment to the main panel of the card front. I added the insert to the inside of the card to finish the collection.
inside
Mx

Tuesday, 7 November 2017

we three kings

  • Hunkydory festive elegance luxury card collection: we three kings
  • gold mirri card
  • A5 & DL cardblanks
For the A5 card, I mat and layered the card front with gold mirri and the patterned cardstock. I then layered the topper image using half of the decoupage pieces to add some dimension. I centred this onto the main panel of cardstock, with the sentiment topper centralised on the border strip.
I used the printed image from the offcut of cardstock to create this DL card. I layered this using the remaining decoupage pieces to add the mirri accents and dimension. I simply glued the cardstock onto a mat of mirri and positioned the circle sentiment topper on foam to complete the card.
I have a full sheet of patterned cardstock remaining from this collection, which I will used at a later date with the little book images, or coordinating toppers from other collections.
Mx

Sunday, 3 September 2017

packaging pouches!!


  • Kraft & cream cardstock
  • Stampin up! 'skinny mini alphabet' & 'epic alphabet' stamp sets
  • Archival ' sepia' ink pad 
  • Card bags
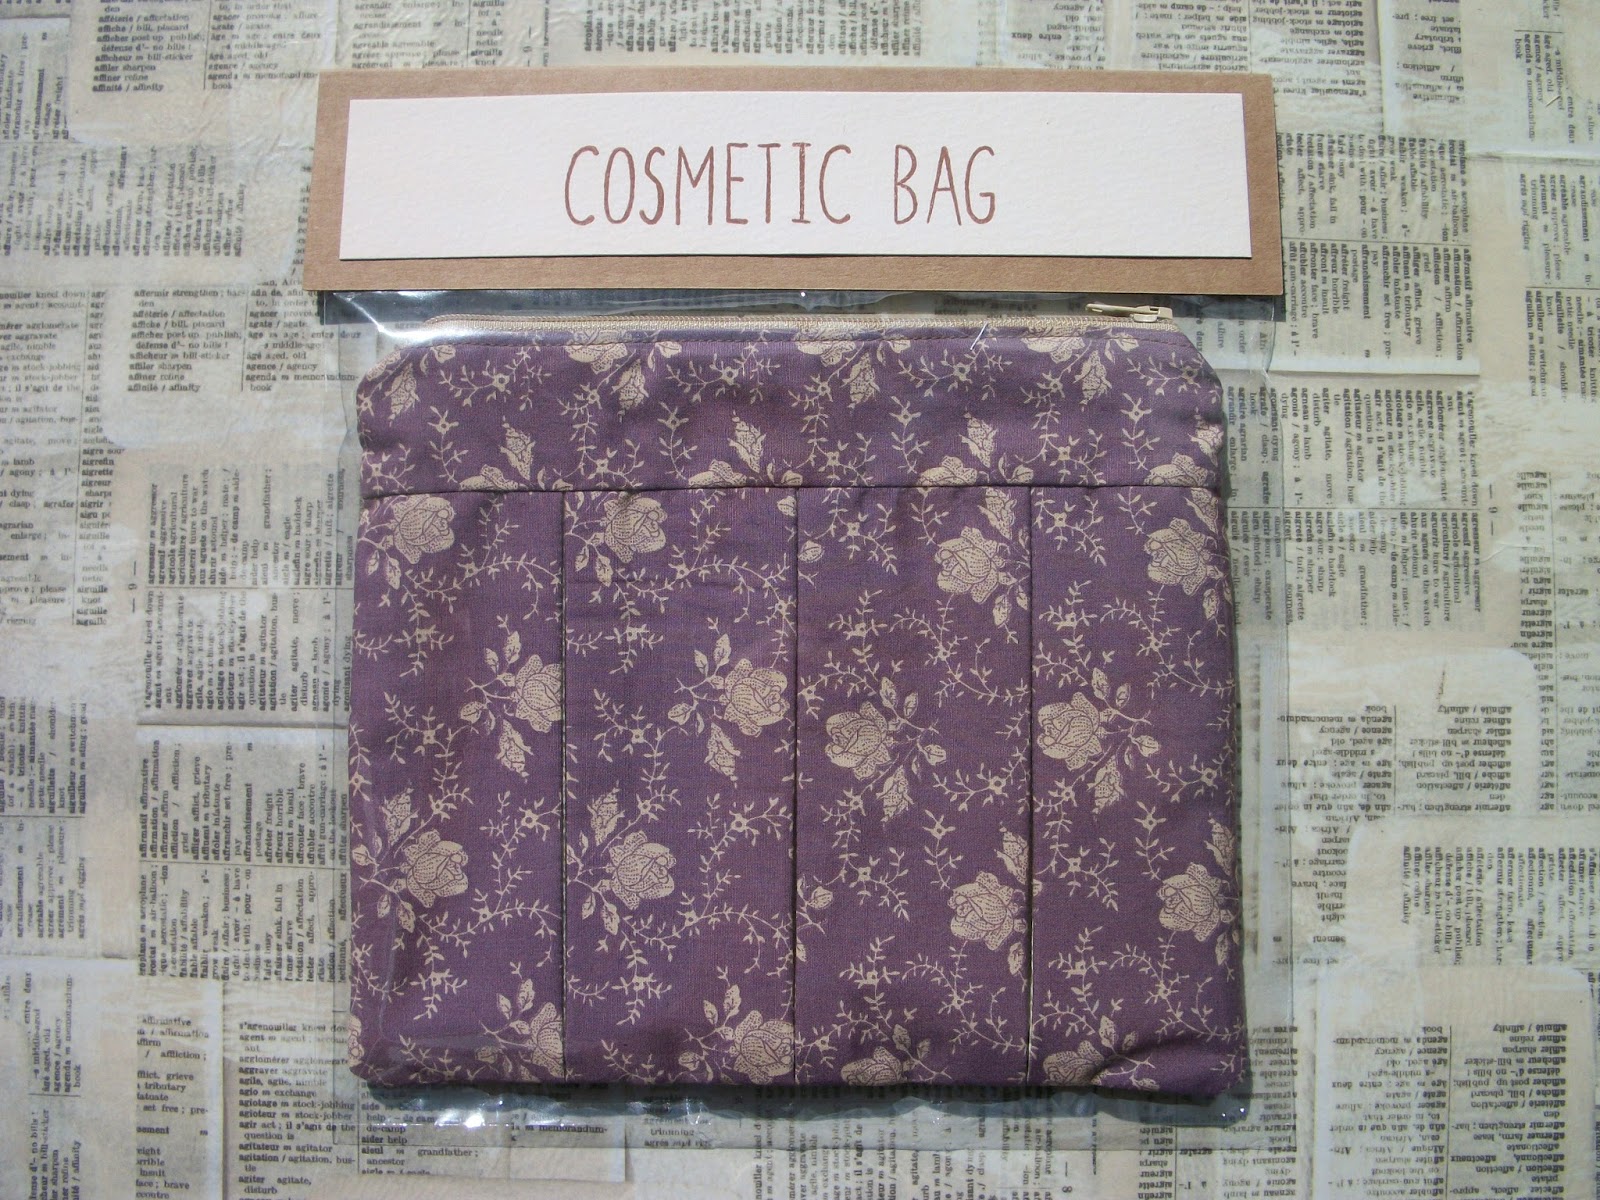
I stitched these little pouches as gifts and wanted to package them nicely to send. I found clear card bags which fit the pouches in neatly and sealed them in. For the top piece, I measured the width of the bag and decided on the height I wanted, (bearing in mind the stamp size + matting). I cut the Kraft card to the right width and doubled the height. I folded the cardstock in half over the top of the bag and secured with staples. I then cut the cream cardstock to layer on top and cover the staples. Before gluing into place, I used the letter stamps to spell out the contents 'wash bag!' or 'cosmetic bag' to complete this simple packaging. 


Mx

Thursday, 9 March 2017

Ava loves to celebrate


  • Stamping bella- Ava loves to celebrate
  • Stampin up!- party pants
  • Neenahclassic crest cardstock
  • Memento 'tuxedo black' ink pad
  • Copics- E50,51,21,93. E49,47,44. E39,37,35. R89,85,83,81. BG57,53,18,70. YG17,13. BV0000,000. W3,1,0. C0,1.
  • Patterned paper scrap (stampin up! DSP)
  • Glitter cardstock
I cut a band of patterned paper and thin band of glitter paper to fit my card blank. I then stamped my image and sentiment to sit beside these on a matt of Neenah cardstock. I used my copics to colour the image to coordinate with the paper. To complete the card, I glued the pieces in place. I kept this one really simple to let the image shine.

Mx

I would like to enter the following challenge:
Simon Wednesday says: for a special lady/ girl

Thursday, 2 March 2017

Brynn has a baby shower

  • Stamping bella- Brynn has a baby shower
  • Neenahclassic crest cardstock
  • Memento'tuxedo black'ink pad
  • Copics- E50,51,21,93. E34,35,37,57,59. BV0000,000,01,02,04. Y18,15,11. R24. BG70. W00,1,3.
  • Yellow embossed dot & lilac cardstock
To create this card, I covered the card blank with the dotty card. I then cut a matt of white for the stamped image and a layer of lilac card stock. I stamped and coloured the image before adding to the card following the sketch. I added a coordinating banner stamped with a sentiment to complete the card.
 
Mx
 
I would like to enter the following challenge:

Tuesday, 24 January 2017

50!!

 
  • MDF/ laser cut wooden shape
  • melody ross- homespun chic 12x12" paper pad
  • studio paint and brushes
  • anna marie designs- flowers etc
  • pink ribbon
  • scrabble tiles (travel edition)
 
I painted the edges and the base with brown paint. I covered the front and back of the '50' with patterned paper. I placed the 50 into the base. I then created arrangements of fibres and flowers for decoration, which I secured in place with hot glue. I also added 'mum' in small scrabble tiles using the hot glue gun. I finished it with a ribbon around the base and tied it in a bow, then added another bow onto the corner arrangement.
 
Mx
 
Challenges I'd like to enter:

Thursday, 8 December 2016

letter rack...


  • mdf blank
  • ranger studio paint- traditional tan & stable brown
  • ranger glue n' seal - matt
  • tim holtz tissue wrap
  • golden gel medium -matt finish
  • adhesive backed felt pads
I made this letter rack using an mdf blank coated with some cream paint. I selected tissue wrap to cover the outer faces of the rack. I cut the pieces roughly into shape and glued them into place, sanding the edges once dry for a neat finish. I then coated the box with another layer of cream, to dull the print of the tissue giving a much softer look. I finished the edges using a small amount of brown paint applied with a sponge. This creates a distressed vintage feel to enhance the paper print. To seal the piece, I coated it with the gel medium. I added felt pads to the base to prevent the rack from scratching work surfaces.
 
  • Kraft & cream cardstock
  • SU! skinny mini alphabet stamp set
  • archival ink pad - sepia
  • red lining tape
  • acetate
As this one was made as a gift, I also created customised packaging using Kraft card. I made the box the perfect size to hold the letter rack snugly and provide some protection from knocks. The window of acetate provides a sneaky peek at what's inside, with the lettering on the band to let you know what it is. I think it provides a professional finish, with that extra attention to detail that makes it feel crafted rather than just 'homemade'... as well as making it easier to wrap up for Christmas !!
 
I would like to enter the following challenge:
 
Mx

Monday, 21 November 2016

puppy with stocking...

 
  • LOTV- puppy with stocking
  • circa design- wonderful Christmas stamp XM-VS-25
  • avery elle- a tag for all die
  • Neenah classic crest white cardstock
  • memento 'tuxedo black' ink pad
  • copics- E59,57,55,53,39,37,35,34. R46,27,24. YG67,63,61. YR21,23. & cool grey markers
  • sakura black '#849' glaze pen
  • wink of stella 'gold' glitter brush pen
  • ranger ice stckles glitter glue
  • gold bells
  • American crafts red bakers twine
 
To create this shaped card I die cut my cardstock into a tag shape. I stamped my sentiment and image, then coloured using copics. I added details to the image using a glaze pen for the dogs eyes and nose, gold glitter on the tinsel and presents, and stickles for texture on the stocking. I used bakers twine to add some gold jingle bells and a bow to the top of my tag. I glued the tag shaped panel onto a card blank, which I had trimmed down to the same size and shape as the tag.
Mx
 
challenges I would like to enter:

the paper players - clean and simple Christmas

Tuesday, 27 September 2016

butterfly box...


reverse of tag
  • Purple and white cardstock
  • SU! spring flowers embossing folder
  • SU! butterflies thinlits
  • SU! made for you & Christmas wishes stamps
  • Sizzix scalloped circle dies
I love making gift packaging, I think it makes receiving that bit more special. I made a simple gift box and a tag to coordinate and finished it with some bakers twine to secure the tag.
 
I also handmade the gifts for my special friend. I wood block printed a tote bag using a butterfly design block and purple fabric paint. I also painted this mdf heart, click here to find out how I made this!!
 
  
Mx 

friendly butterfly

front


reverse

  • Heart shaped MDF blank
  • tim holtz tissue wrap- terminology
  • Claudine hellmuth studio paints and brushes
  • stampendous- jumbo butterfly trio
  • dreamees sentiment stamp
  • some lilac ribbon
I created this door hanger by covering the mdf shape with the tissue using ranger matt medium. I then painted a layer of cream over the tissue and sponged some lilac paint around the edges. I stamped the sentiment and images with archival ink. I then painted the butterflies in lilac. I relined all of the black lines, with black paint for a crisp bold image. The final touch was some ribbon tied in a bow on either side with a loop to act as the hanger. 
 
Mx
 
I would like to enter the following challenge:


Sunday, 29 November 2015

pups with present ...

  • 4x4" white card blank
  • white and red cardstock
  • SU! snowfall embossing folder
  • lotv- pups with present
  • memento, white marker friendly cardstock
  • copics (E43,44,47,49,55,57,59. C00,0,2. R24,27,29. G17,29.)
  • stickles- star dust 
  • sakura glaze pen- clear

I cut and embossed a piece of white cardstock with snowfall. I mat and layered on to some red cardstock, before sticking this to my card blank. I cut some white cardstock to fit the bottom third of my embossed mat and trimmed the top to create a wavy snow bank. I stamped, coloured and fussy cut my dog images. I glued the dogs into position to form a snowy scene. I added some glitter to the snow and glazed the dogs noses. I kept this small card quite simple and have chosen to add my sentiment to the inside. 
Mx
 
the challenges I would like to enter:

Saturday, 28 November 2015

12 favs of christmas ...

The ABC Christmas challenge blog are looking for a new DT and I'd thought I'd give it a go !! I love Christmas and normally start making in July, so what better excuse to get prepared early than with inspiration from this blog. They have asked us to pick our favourite Christmas project, but I had so many different things to choose from that I just couldn't decide on one... so here are my top 12 !! the captions are linked to the original post to see how to make these and any products used...
'puddings'


'# selfie'


' a bottle tag'


'merry and bright cards'


'matchbox gift wrap'

'super santa'
' a pretty gift box'

If you have been inspired to create a Christmas project of your own, why not head over to the ABC Christmas blog and enter their latest challenge by following this link
 
Mx

Thursday, 24 September 2015

all wrapped up...


  • A3 kraft cardstock- cut to 30x29cm
  • cream card stock- cut to 14x7cm 
  • coloured bakers twine (150cm)
  • SU! little letters thinlit dies
To make the box, I scored the kraft cardstock and cut the flaps, to create the net below. I then added glue the appropriate areas and stuck them together.

 
 To make the label I cut my cream cardstock to 14x7cm and cut holes in all four corners. I used thinlit dies to cut out my letters to just leave a negative, you could cut the letters out of a coloured cardstock. another alterative would be to stamp on to the label. I added bakers twines through the holes on one short edge, then crossed them underneath, before bringing them up through the holes on the opposite edge. I tied the ends in a bow to keep the label on. I used coloured twine to coordinate with the colour of scarf in the box.
I chose to add the label in this way so the box is kept plain making it easy to reuse.
Mx

Tuesday, 22 September 2015

a notable gift...

 
i made this memo block by painting an mdf blank with some cream studio paint. i selected a section of the tissue wrap to cover each side of the box, and glued these down. once the glue had dried, i gave the box another coat of cream paint. this dulls the print of the tissue to give a much softer look, i just used cream to keep it quite neutral but you could add a wash of colour. i used a small amount of brown to the edges using a sponge, to give a distressed look and make it feel more vintage. i used the golden gel medium to seal and give a protective coat. i added felt to the underneath to make sure the memo block didn't scratch any work surfaces. i bought  white memo pad/blocks (the right size to fit inside) from ebay and added a couple of small pencils, to complete the memo block.
i think this makes a great gift as it would be useful to most people, the natural colour also means it will go with most décor.
Mx

Friday, 4 September 2015

baby love !!


  • LOTV- 'baby with bunny' & 'rocking horse' stamps
  • SU! 'simply wonderful' sentiment stamp
  • mdf heart shape from the mdf man
  • tim holtz tissue wrap- terminologie
  • Claudine hellmuth studio paints and brushes
  • docrafts artiste- flesh
  • golden gel medium
to make this heart hanging decoration, i first painted it cream. I covered my mdf blank with the tissue wrap, then painted another coat of cream over the top. i used brown paint on a sponge to distress the edges. i stamped my chosen images and used the studio paints to colour them. i use a fine brush to do the black outline and details, to give a neater finish as most of the detail is lost during painting the colours. i threaded a ribbon through the hole at the top and tied a couple of bows to finish.
Mx

Tuesday, 11 August 2015

fruity!!


I have decorated some tea towel as a gift and felt they needed some packaging.
 I cut 2 pieces of white card to 14x19cm, I used them as a guide to fold the 2 towels neatly and to the same size. I next made a label I cut a 14x4cm piece of cream card, I used coffee archival ink pad and the SU! skinny mini alphabet. then I cut a 35x5cm band of kraft card, this was scored at 15cm, 16.5cm, 31.5 & 33. glue is placed on the left over 2cm flap, the label  is added to one of the long sections and a handmade stamp added to the 2nd. the final thing to do was stack the tea towel, wrap the band around and glue the flap to join the band. I put the finished item into a card bag and sealed it, to keep the tea towels nice and clean.
 
check out how I made these tea towels, on my other blog here...

Mx


Monday, 22 December 2014

delightful droplets ...


I made this simple pair of earrings for my nana. they are made from a head pin and a simple white drop bead, then an eye pin and a pink crystal bead. I connected them all together and attached them onto a clip-on earring finding. To make the earrings feel more special, I hand made this little gift box for them using kraft cardstock and acetate, embellished with patterned paper and ribbon.
Mx