Showing posts with label star. Show all posts

Thursday, 16 November 2017

Angel's Wings

  • Hunkydory cute Christmas luxury card collection: Angel's Wings
  • Hunkydory second little book of Christmas
  • Hunkydory essential book of Christmas sentiments
  • silver mirri card
  • ribbons
  •  6x6", A5 & 6x4" landscape white card blanks
For the A5 card, I mat and layered the patterned cardstock onto silver mirri. I then arranged the image and coordinating frame onto foam pads in the main section of the card. I added a bow to the sentiment tag and glued this in place on the printed border.

Using the other sheet of cardstock, I created this 6" square card. I cut mirri card to cover the card front and added the patterned cardstock on top, with the border across the base. I interlocked the frame and image topper to create a more interesting shape and glued this into place. I added an essential book sentiment in the corner to complete the card.

For the other 6x6" card, I pieced together the starry border from one sheet and the other starry patterned cardstock to cover the card front. I added a border strip to cover the join, (as there wasn't one in this collection, I took a spare one from another set which was similar to the printed border on this cardstock). To create the topper, I used the coordinating image from the little book and glued the frame on top. I then carefully trimmed away the excess little book page which was overhanging the frame, so the image appeared to sit neatly within the surround. I glued this onto the card front with foam pads for dimension.
 
Using the printed images of the angels on the cardstock, I made two 6x4" cards. I cut the cardstock to fill the card fronts. I then chose ribbons to sit in the space beside the angels and secured this in position before I glued to the card blank. I then simply tied bows in the same ribbons and attached to the cards to embellish the selected messages.

Mx

Tuesday, 7 November 2017

we three kings

  • Hunkydory festive elegance luxury card collection: we three kings
  • gold mirri card
  • A5 & DL cardblanks
For the A5 card, I mat and layered the card front with gold mirri and the patterned cardstock. I then layered the topper image using half of the decoupage pieces to add some dimension. I centred this onto the main panel of cardstock, with the sentiment topper centralised on the border strip.
I used the printed image from the offcut of cardstock to create this DL card. I layered this using the remaining decoupage pieces to add the mirri accents and dimension. I simply glued the cardstock onto a mat of mirri and positioned the circle sentiment topper on foam to complete the card.
I have a full sheet of patterned cardstock remaining from this collection, which I will used at a later date with the little book images, or coordinating toppers from other collections.
Mx

Wednesday, 25 October 2017

star of wonder

  • Hunkydory cute Christmas luxury card collection: star of wonder
  • Hunkydory essential book of Christmas sentiments
  • Hunkydory adorable scorable cardstock
  • gold mirri card
  • red & white bakers twine
  • 8x8" & 6x4" landscape card blanks
I used the largest topper with the scalloped frame to make this 8" square card. I covered the card blank with the coordinating coloured adorable scorable card. I then mat and layered the yellow cardstock from the collection onto gold mirri card, to create a base for the toppers. I positioned the image and frame central to the mat, with the image raised up on foam pads. I then completed the front using the scalloped sentiment overlapping in the bottom corner, again glued with foam pads. I trimmed down the matching insert to fit the inside of the card.
inside
For the first 6x4" card, I used the oval toppers. I covered the card front with the cardstock featuring the border strip. I then layered the toppers on, slightly overlapping with different depths of foam to create dimension.
I created the second 6x4" card to feature the printed image on the remaining cardstock. I simply matted the cardstock onto gold mirri card, to fit the front of the card blank and finished with an essential book sentiment.
Using the other sheet of patterned cardstock, I created the final card. I trimmed down the section with the characters to fit the card front. I then added two strands of bakers twine and wrapped them underneath the cardstock and secured in position, before gluing to the card blank. I finished the card with a tag sentiment from the essential book, angled on foam pads and embellished with a twine bow.
Mx

Friday, 16 June 2017

make a wish

  • hunky-dory- tots to teens collection 'make a wish'
  • gold mirri cardstock
  • 8x8 white cardblank
I cut as matt of gold mirri card to fit the card blank, then gutted this to save waste. I then glued the gold down and layered with a matt of patterned cardstock. For added interest, I glued the topper and frames on at different angles, using foam pads. I added the sentiment at the bottom to finish my design. This card also has a matching insert. 

Mx

Tuesday, 17 June 2014

christmas tree ..


stamps: set 20 by paper artsy, JOFY and dictionary by stampin up!
inks: memento (tuxedo black), tim holtz distress ink pads, sakura micron pen, sakura glitter pen and stickles
cardstock: DL card blank and craftwork cards digi cardstock

I stamped the tree image onto the cardstock. I then coloured it using promarkers, leaving the main area of the tree. I then stamped the tree again on another piece of card and inked it with tim holtz distress. I then stamped the text block in green to add some interest to the tree. I then cut this out and layered it onto the card. I used a red distress ink to colour the card blank and stuck the pieces down. I stamped a sentiment, then added a decorative border using the sakura micron pen in a freehand stitch design. I also used the glitter pen to sparkle the star, and the stickles to create coloured baubles. I think this makes an interesting design, and can be done in stages to create a batch of the cards in preparation for Christmas.
 
Mx

Friday, 20 December 2013

the edible edition !!

 
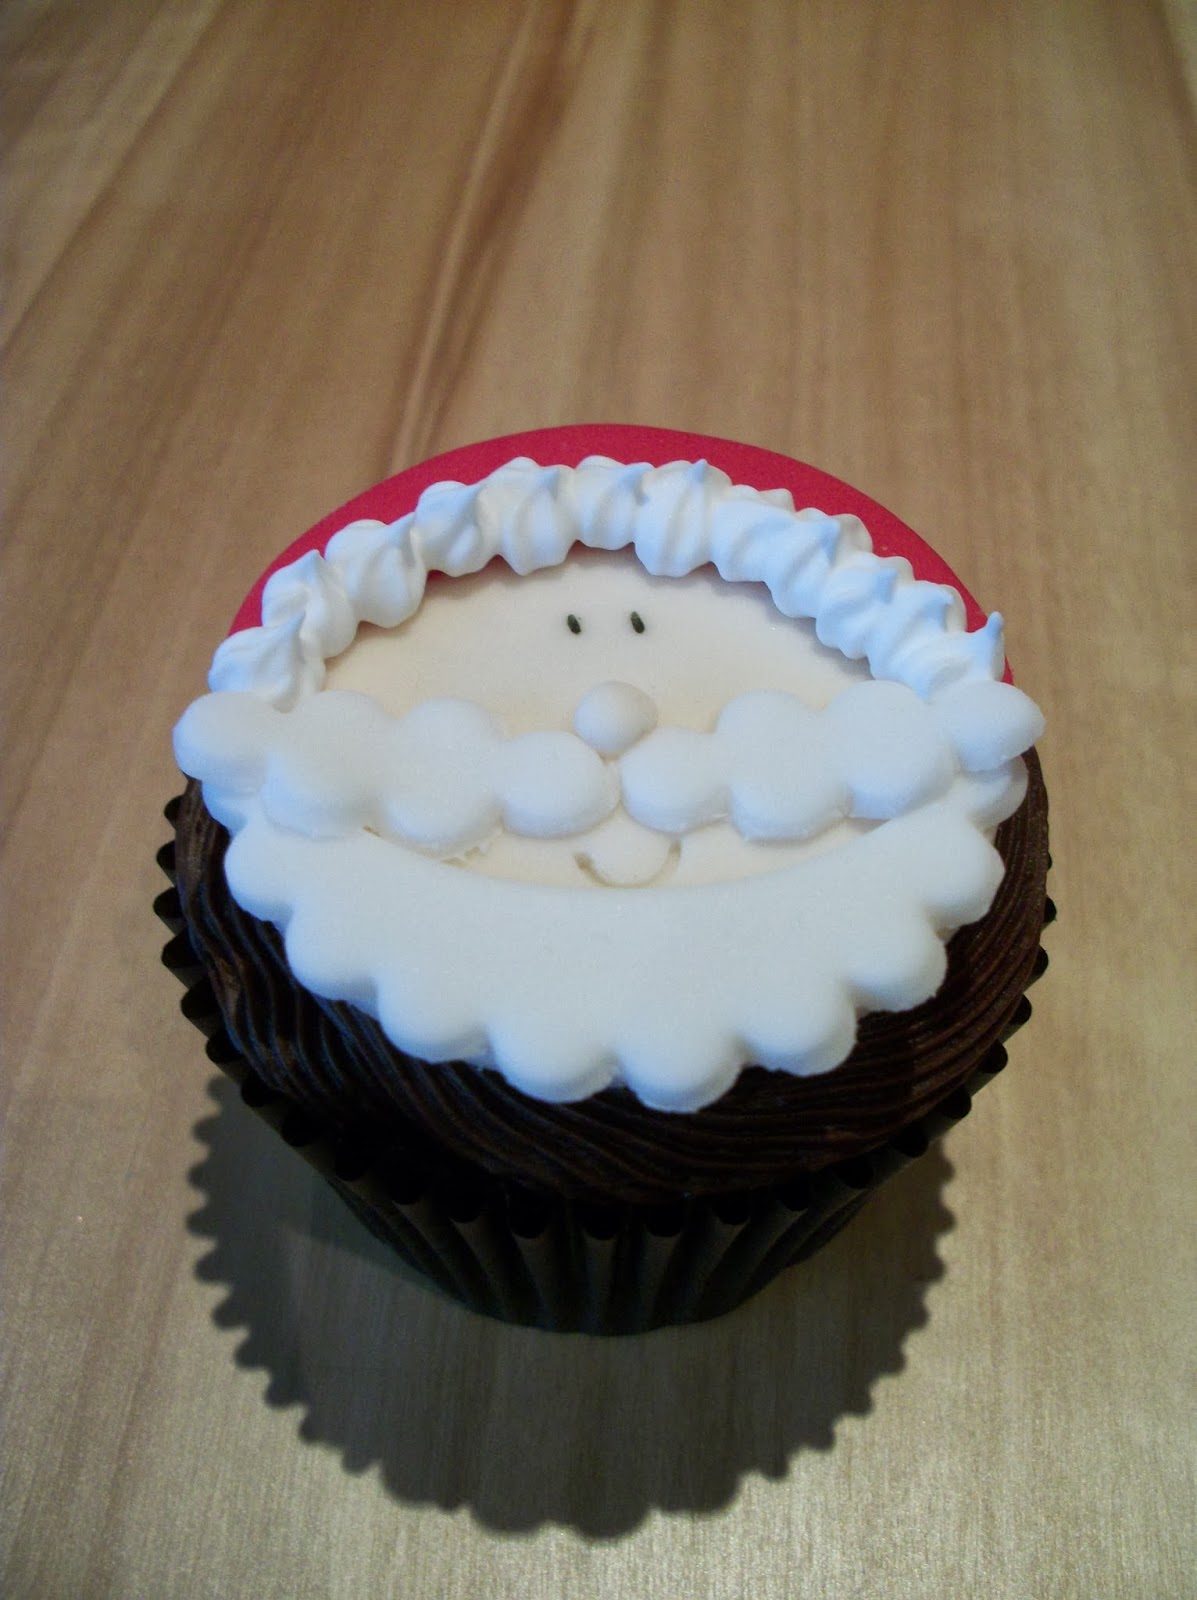
I thought id share a quick post to show some of my other creations. these are some of the festive designs i've added to cupcakes recently. the snowman and snowflake are vanilla flavoured, the santa and star are chocolate fudge (yum!!). each of them are decorated with icing and details like the eyes drawn with an edible pen. some edible lustre by sugarflare adds that extra festive feel. the really great thing about the designs is that you can have them made in advance and ready to add to the cupcakes when you've baked them. the star and snowflake are beautifully simple with the swirled frosting. snowmen and santas are a little more work but worth the effort for the fun they bring ... kids love them (I hope you do too!!) 


Mx

Friday, 16 August 2013

a seasonal star !!

 
stamps: Christmas icons and sentiment from set 10, a5 by LOTV
inks: tim holtz distress inks, sepia archival ink pad, claudine hellmuth studio paints (and brushes)
other: craft card blank, organza ribbon, bakers twine, brad,mdf blank star, claudine hellmuth studio matt medium and tim holtz idea-ology terminology tissue wrap.


I made this card to incorporate the gift, with the removable Christmas ornament (perfect for the tree!!). I added a brad to the card, before sticking the topper down, to hold the ornament in place. I created the aged effect on the card and star using distress ink and sponged paint. i think the overall feel is a vintage, handmade take on Christmas.
 
 
inside


Mx