Showing posts with label fun. Show all posts

Tuesday, 18 February 2020

mice time to celebrate.


  • My favourite things- it’s a mice time to celebrate (stamps & dies)
  • Lawn fawn- happy birthday border lawn cuts
  • Prima- free spirit paper 
  • WeR memory keepers- love 2 craft papers
  • Copies- C00,1,2,4. R000,00,20,21,81. RV34. BV00,11. B00. BG53. YG11,21,41.
  • Memento dye ink pad-tuxedo black 
  • Wink of Stella brush pen- clear
  • 6” square card blank


I picked a main patterned paper to act as a background. I added a strip of dark polka dots, layered with a yellow pattern. I also used the dark paper to die cut my greeting. I layered all these and glued onto the card blank. I then stamped, coloured and die cut the cute mice images. I used 1mm foam on one mouse and 2mm foam on the other to create more dimension. I added sparkle to the Pom poms, to finish.

I’m entering the Simon says Wednesday ‘use 2 or more pattern paper’ challenge blog, I’m so glad I did too. I don’t use my patterned papers much but the background paper really makes the card.

Mx

Wednesday, 27 June 2018

sew lovely

 
  • lawn fawn: sew lovely stamp set, zig zag rectangle stackables
  • SU!: bloomin' marvellous stamp set, soft suede & early espresso ink pads and oval, scallop oval & banner punches
  • at you spica glitter pens
  • white card and small paper scraps

 I die cut two pieces of card using the zig zag stackables for interest. On the first piece I stamped spools of thread all over to create a background. I used glitter pens to add colour and detail. On the second piece I stamped a button in the bottom corner and highlighted with the coloured glitter, leaving space to write.
I stamped my sentiment and cut it out using the oval punch. I used a scallop oval punch and a piece of coloured card to make a mat. I found coordinating patterned papers and punched into banners. I layered all of these together and positioned onto my spool background. To complete my note cards/ postcards, I glued the panels together back to back.
I think these are simple but a cute alternative to a card, although it would easily be recreated as a card front and insert. These are sewing themed (see more below) but you could use this idea for all themes by changing the stamps used.
Mx 
the back with button detail and space to write the message


Monday, 28 May 2018

writing notes


  • Stampin up!- writing notes & colour me happy stamp sets
  • Lawn fawn 'blue jay'& 'lobster' ink pads
  • Memento ‘tuxedo black’ ink pad
  • Copics- R32. RV42. BG13,32. BG0000.01.02. B00. Y02,15,18. E23. C0.
  • Sakura glaze pen #849
  • Wink of Stella ‘clear’ glitter brush pen
I first cut a piece of card to cover the front of my card blank. I stamped this with the writing notes background stamp, using two colours to give the full note paper look. To do this, I carefully just inked up the lines I wanted red, stamped then cleaned my stamp and repeated with the blue. I used the Misti to help make sure it all lined up. If you didn’t have a Misti, it would be easier to just carefully apply both colours of ink to your stamp then stamp all at once.
I then stamped my bird image and sentiment in position on the card and coloured these using copics. I added glitter to the ‘thank’ and glaze pen to the ‘you’ and the birds eye. I think this just adds a bit of detail to a simple card.
Mx

I would like to enter the following challenges:
Simon ‘Monday’ Says... inspired by a song (bluebird by Sara bareillies)

Sunday, 22 April 2018

Birthday bus


  • Avery Elle- birthday bus
  • My favourite things- big birthday die
  • Lawn fawn- large dotted rectangle stackable
  • Memento ‘tuxedo black’ ink pad & dual marker
  • Neenah classic crest
  • Copic- C00,C1,C3,C4,C6,C8. W00,W1,W3,W5. E53, E55,E57,E70,E71,E74,E77,E93. RV42,R43,R32. Y32,YR21. BG70.
  • Watercolour cardstock
  • Tim holtz ‘squeezed lemonade, worn lipstick’ distress ink pads
  • Cosmic shimmer ;burnt orange, straw yellow, scarlet mist’ pixie powders
  • Wink of stella ’clear’ glitter brush marker
  • White embroidery floss
I made my background using inkpads, pixie powders and water. Once dried, I die cut into a panel with the largest rectangle. I then die cut the birthday into the panel, making sure to keep all the cut pieces. I glued the panel and the inside letter pieces onto my white card blank. On another sheet of cardstock, I stamped my images and coloured using copics. I fussy cut all the pieces and glued the little white smoke puffs flat. I added foam tape to the bus for dimension. To attach the balloons, I first tied 2 strands of embroidery floss onto the balloon with a little knot. I then added foam tape to stick it in position and used a few dots of glue to keep the string in place where I wanted. The final touch was a bit of glitter to the hats and balloons.

Friday, 1 December 2017

Selfies in the Snow

  • Hunkydory cute Christmas luxury card collection: Selfies in the Snow
  • Hunkydory essential book of Christmas sentiments
  • Hunkydory adorable scorable cardstock
  • silver mirri card
  • 7x7" & 5x7" portrait & landscape white card blanks
For the 7" square card, I mat and layered the card front with the patterned cardstock on silver mirri. I then arranged the frames and image topper at various angles and raised them up onto different depths of foam pads to create dimension. I completed the front with the sentiment, positioned on the printed border edge. I added the insert trimmed down to cover the inside of the card.
inside
I used the remaining cardstock for the portrait 5x7" card. I positioned the border to run vertical on the card this time, mat and layered onto mirri card. I then positioned the little square toppers and sentiment onto the card, all on angles and glued down with foam pads. I used the remaining insert to cover the inside of the card.
inside
I made a feature of the image printed on the other sheet of cardstock for the next card. I mat and layered onto silver mirri to fit the front of this 5x7" card blank. I chose a sentiment from the essential book to coordinate and glued this in place using foam pads for dimension.
For the final card, I arranged the remaining toppers and frame to create the design. I mat and layered the card front with mirri card and blue adorable scorable. I then glued the image topper on shallow foam pads in the centre. I added the frame raised up on deeper foam pads and overlapped the two with the sentiment in the corner.
Mx

Wednesday, 25 October 2017

star of wonder

  • Hunkydory cute Christmas luxury card collection: star of wonder
  • Hunkydory essential book of Christmas sentiments
  • Hunkydory adorable scorable cardstock
  • gold mirri card
  • red & white bakers twine
  • 8x8" & 6x4" landscape card blanks
I used the largest topper with the scalloped frame to make this 8" square card. I covered the card blank with the coordinating coloured adorable scorable card. I then mat and layered the yellow cardstock from the collection onto gold mirri card, to create a base for the toppers. I positioned the image and frame central to the mat, with the image raised up on foam pads. I then completed the front using the scalloped sentiment overlapping in the bottom corner, again glued with foam pads. I trimmed down the matching insert to fit the inside of the card.
inside
For the first 6x4" card, I used the oval toppers. I covered the card front with the cardstock featuring the border strip. I then layered the toppers on, slightly overlapping with different depths of foam to create dimension.
I created the second 6x4" card to feature the printed image on the remaining cardstock. I simply matted the cardstock onto gold mirri card, to fit the front of the card blank and finished with an essential book sentiment.
Using the other sheet of patterned cardstock, I created the final card. I trimmed down the section with the characters to fit the card front. I then added two strands of bakers twine and wrapped them underneath the cardstock and secured in position, before gluing to the card blank. I finished the card with a tag sentiment from the essential book, angled on foam pads and embellished with a twine bow.
Mx

Thursday, 19 October 2017

The north pole

  • Hunkydory cute Christmas luxury card collection: the north pole
  • 8x8" & 6x6" card blanks
  • Gold mirri card

For the 8" card, I cut a mat of mirri card to fit the card front. I then trimmed the cardstock down and layered this onto the card, with the border down the folded edge. I then added the snow globe topper and sentiment on foam pads to create dimension.

inside

I created the first 6" card using the other patterned cardstock from the set. The decoupage layers for the snow globe fit the printed images on this sheet. I cut the card to sit on the card front with a mat of mirri card. I then layered up the santa and added the north pole beside him to add the mirri shimmer, give the card dimension and complete the scene. The finishing touch was a sentiment above.

inside

I used the remaining cardstock for the final card. I trimmed the border to sit across the base of the card and glued it down flat. I then measured and cut the printed North pole piece to fill the space above. I then added the postcard topper, positioned to be framed by the north pole sign.
inside
Mx


Saturday, 5 August 2017

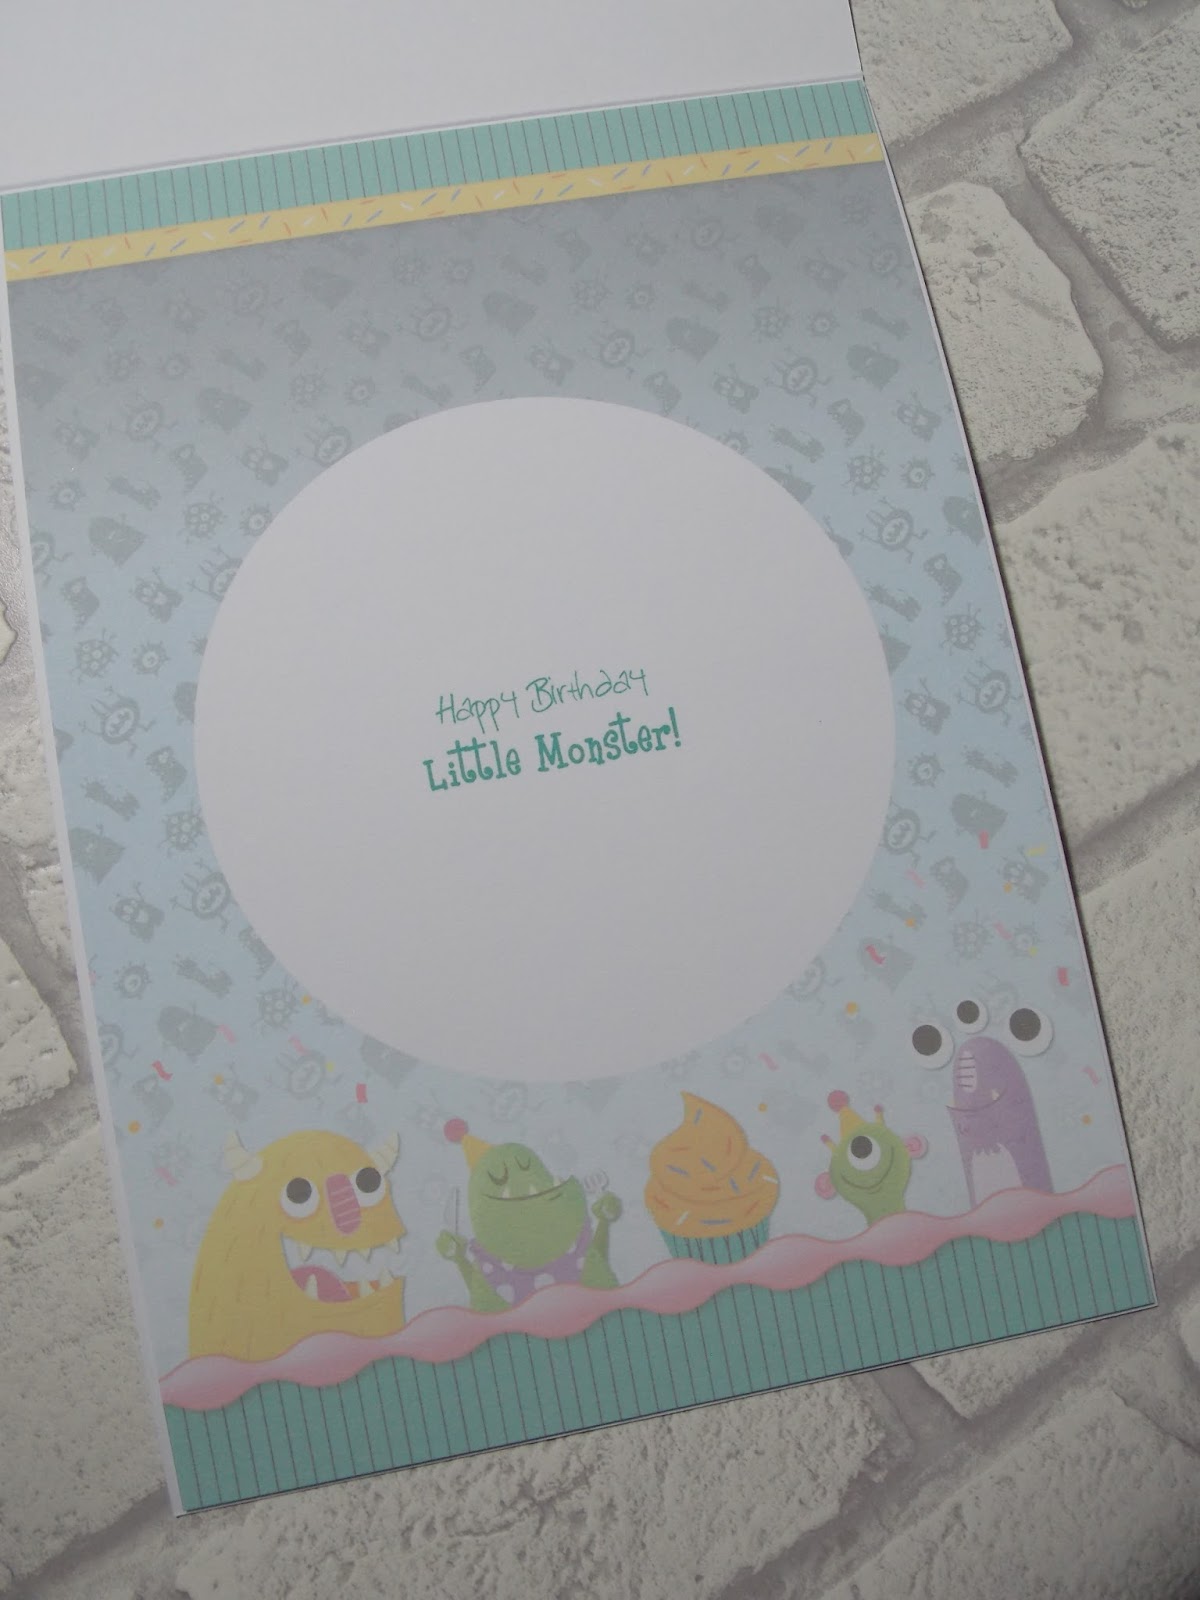
monster mash

  • hunkydory tots to teens luxury card collection: monster mash
  • hunkydory tots to teens little book
  • 2 x A5 card blanks
  • holographic mirri card
 
For this card, I cut the backing cardstock down to fit the card front. I then added the layers of decoupage to the topper, using foam to create dimension. I added the topper to the card front along with a sentiment topper, both stuck down with foam pads. I completed the card with the matching insert, trimmed to fit in the card blank.


inside

For the other card, I used the remaining paper matted onto the card front. I layered a page from the little book onto holographic mirri card to create a topper. I placed this onto the card front with a sentiment topper from the monster mash collection. I added the other half of the insert onto the inside to finish the card.


inside
I still have a sheet of cardstock and the matching insert leftover from this collection. As these are just confetti with no monsters, I thought they could be used either with the little book or for other projects, so they have been added to my stash to use later on.
 
Mx

Tuesday, 11 July 2017

shop shop shop


  • Hunkydory for the girls luxury card collection 'shop shop shop'
  • Silver mirri card
  • A5 card blanks 
For the first card, I trimmed down one of the patterned cardstock pieces to fit the front of the card with a matt of mirri card. I then carefully positioned the large topper and the floral elements onto foam to complete the front of the card.
For the second card, I trimmed and matted the cardstock onto the front of the card with the mirri card. I added the image topper, then placed the sentiment toppers in the corner to finish it off.
Mx

Thursday, 1 June 2017

flamingo fun!


  • Hunkydory toppers, cardstock and inserts: tots 2 teens card collection 'flamingo fun!'
  • Hunkydory little book
  • gold mirri cardstock
  •  7" x 7", pink pearl 5" x 7", white 5" x 7", pink 6" x 4" & white landscape 6" x 4" card blanks

 I wanted to make the most of this fun and colourful set, to create as many simple but effective cards as possible. With the added extra of one sheet out of the little book, I made 5 cards to leave just a few offcuts of paper and tiny toppers.

I created this 7" square card using the largest topper, incorporating the coordinating panel on the cardstock. I cut mirri card to fit the card blank. I then trimmed the paper to size, ensuring the bottom panel of pattern would sit below the topper on the card front. I then glued the layers in place, with the topper centralised on the pink using foam for dimension and the smaller sentiment topper offset to the right, positioned along the border on the background.

I used the off cut of patterned cardstock from the card above to create this simple 6" x 4" card. I simply cut the cardstock to fit the front of the card blank, then added the topper and smaller sentiment following the same layout.

inside
For this 6 x 4" card, I followed a similar layout to the other cards, with the main topper and offset sentiment, only this time the backing panel was rotated. I cut the cardstock to fit landscape on the card front. I then layered the toppers on using foam pads. I finished the inside of the card off with the coordinating insert.


inside
With this 5 x 7" card, I used the printed image from a sheet of backing cardstock as the focal image. I trimmed the image to size with a matt of mirri cardstock for the front. I then embellished with a colourful sentiment in the top corner. I trimmed down an insert and glued this inside to complete the card.  


inside
For this final card, I simply matt and layered a sheet from the little book onto mirri card and glued flat on the front of a pink pearl card blank. I completed with a cut down insert to finish the inside nicely too.
Mx


Monday, 20 February 2017

owl be home for christmas

 
  • Hunkydory cute Christmas collection 'owl be home for christmas'
  • 5x7 & A5 white cardblanks


To make this card, I trimmed my cardstock to fit and glued it to my card blank. I stuck the topper down flat and added the frame using foam pads for dimension. I added an insert to complete my card.


 For the second card, I cut my remaining cardstock to fit the front of my 5x7 card blank and glued down. I added the topper using foam tape for dimension. Finally, I added an insert.
 
Mx
challenge I would like to enter
abc Christmas challenge blog- c is for 'creatures'

Monday, 2 January 2017

Simple birthday...


  • SU! Big news
  • Archival 'colbolt' ink pad
  • Patterned paper
  • Red & white cardstock

 I kept this one really simple using a scrap of patterned paper from my scrap drawer and a nice bold sentiment. I stamped the sentiment and matted it onto red card. I then cut the patterned paper matt and layered with the red card. Following the sketch, I glued both pieces to a white card blank.
 
Mx

Challenge i would like to enter
Freshly made sketches #268