Showing posts with label topper. Show all posts

Friday, 19 July 2019

Chic 60th


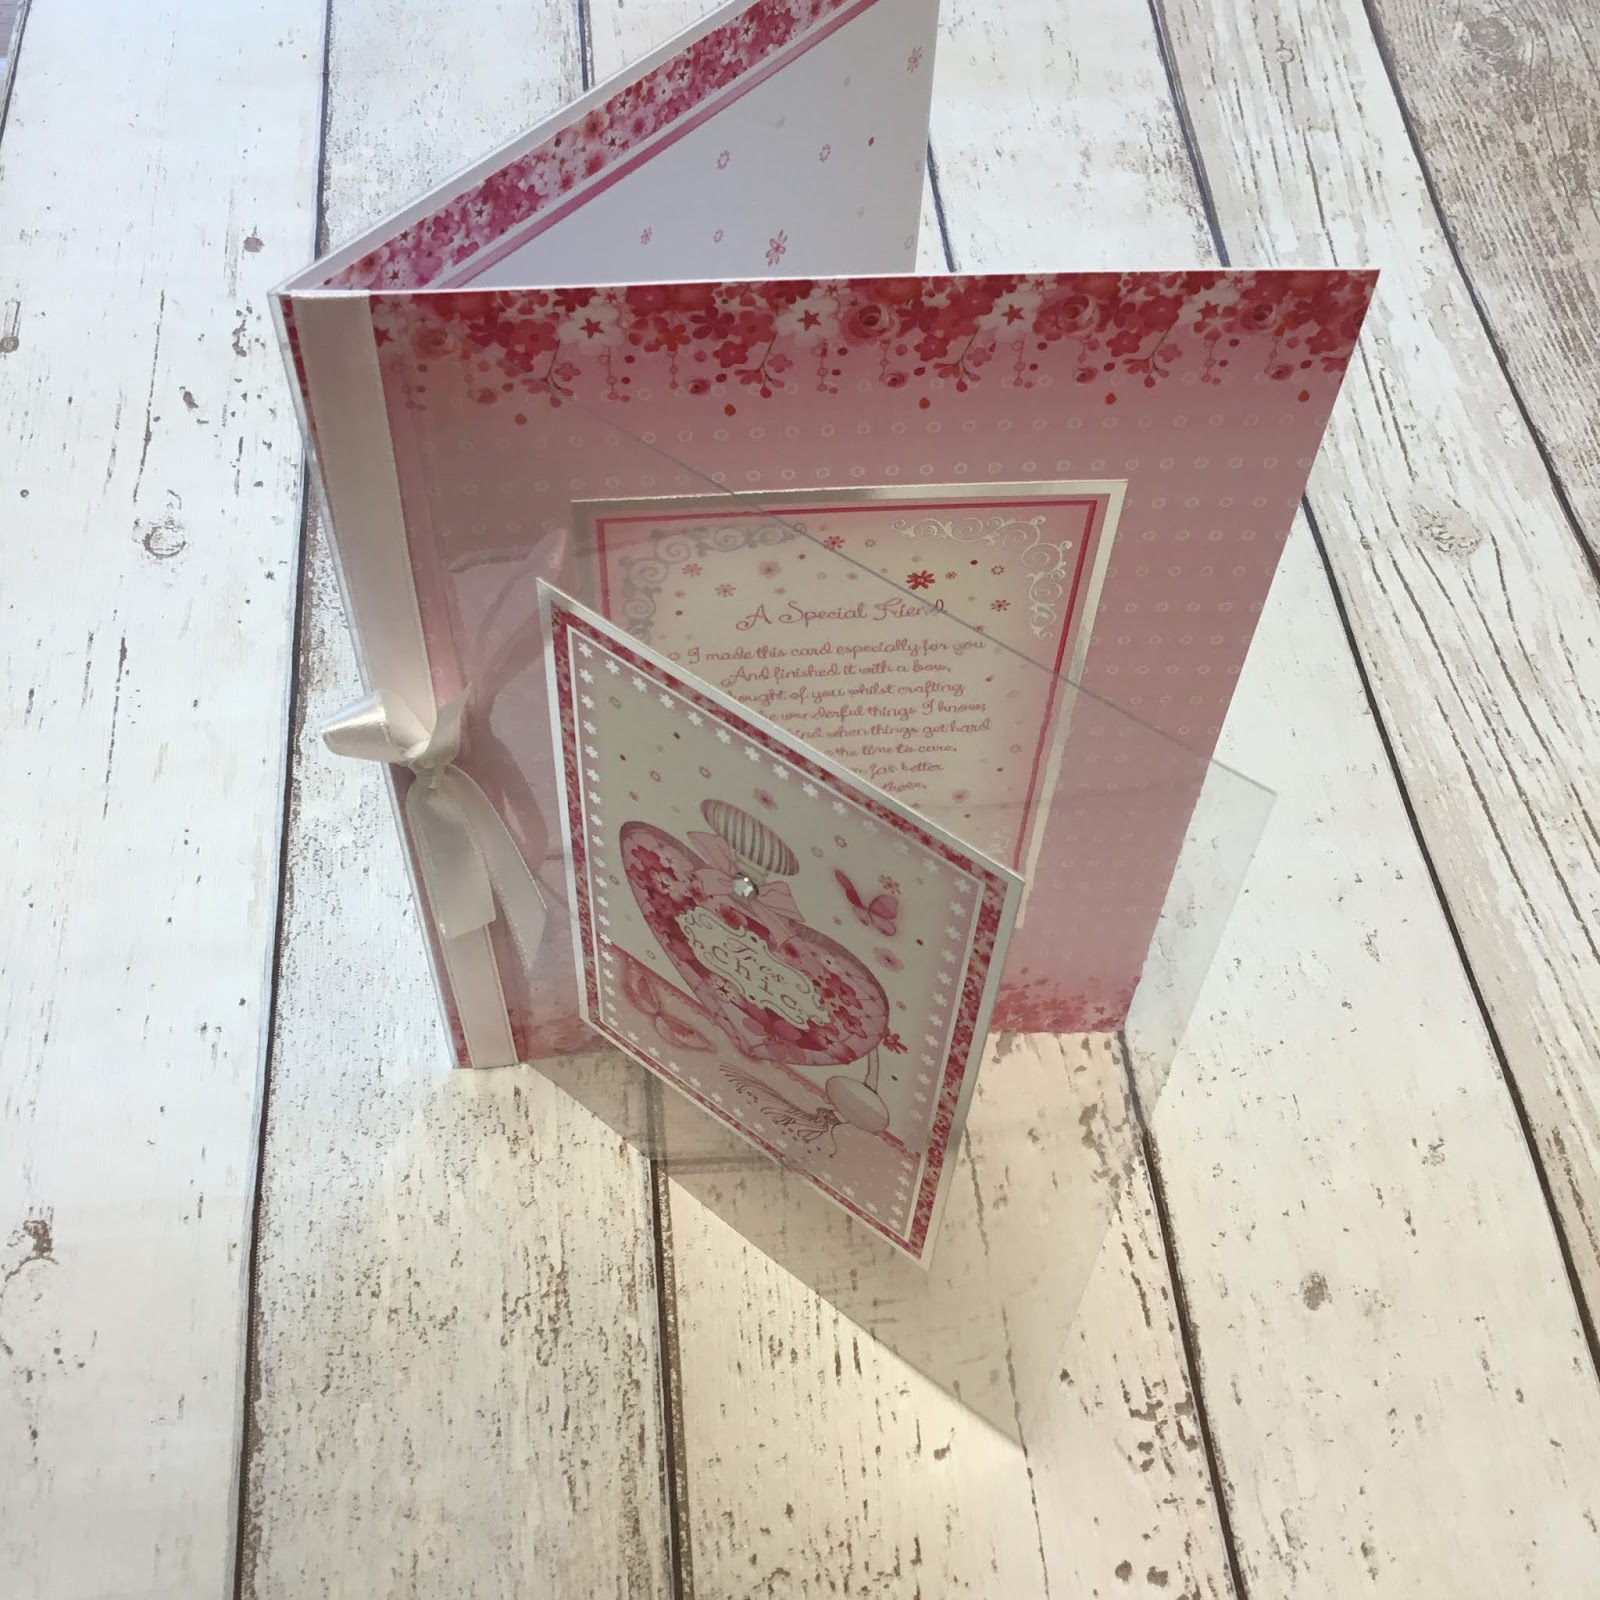
So I wanted to make a special card for a friends 60th birthday. I instantly thought of using the hunkydory window to the heart postcard collection. I used the a special friend toppers, matching paper and insert. 
 
 
I folded an a5 cardblank and covered the front with patterned paper. I scored a piece of a4 acetate in the centre, then on one side scored a second line 2.5cm away. I creased the folds, added a couple bits of tape in the folded strip and glued it to my card blank. I wrapped some white ribbon around the card front and acetate to cover the glue, then tied in a bow. 
 
 
I trimmed the picture side of the insert to fit the inside of the card. I stamped my 60th sentiment and added some glitter pen to add sparkle. I trimmed the greeting side of insert to be the same size as the toppers.
 
 
I glued the first topper in position on the front of the card blank. I positioned another on top of the acetate in line with the one on the card front. I then used the insert greeting paper to cover the glue on the reverse of the acetate. As a final touch, I added a stick on gem to the perfume bottle.
 
Mx


Sunday, 15 April 2018

Manly moments


  • Hunkydory- little book of manly moments
  • Lil’ inker designs- happy birthday border die
  • Paper mania ('son' stamp: not sure what the set was called)
  • Black & white cardstock
I made a 5x7” card blank and stamped son in the bottom corner. I trimmed the little book image to fit the remaining space and matted onto black cardstock. I then die cut the happy birthday border and placed over the top of the image to match the sketch. 
I think this simple card is great for men and could easily be adapted with a different image to suit the man!
Mx

I would like to enter the challenge:

Friday, 23 March 2018

Adrenaline rush part 2


  • Kanban 'adrenaline rush' paper craft toppers
  • DCWV Fresh floral stack 
  • Black & white spot paper (old one from the scrap box)
  • Silver mirri card
  • 7x7" card blank
I created a layout using two of the toppers with a frame from the collection. I then found two different dotty papers to coordinate. I mat and layered the orange spot onto silver mirri card to leave a white border on the card front. I then trimmed the black spot to fit as a band going down the card. With the toppers, I arranged them onto the card front and glued down with varied depths of foam pads to add more dimension to the card. I completed the front with the sentiment in the top corner, overlapping the circle frame to link it into the design. I think this is a nice bold design perfect for a birthday boy!!

Mx

Monday, 19 March 2018

adrenaline rush


  • Kanban 'adrenaline rush' paper craft toppers
  • Stamping up! Teeny tiny sentiments stamp set
  • Paper mania 'happy days' paper stack (& coordinating colours from my scrap box)
  • Silver mirri card
  • 5x7" card blank
I chose coordinating papers and cut them, following the sketch layout, to fit the card front. I stamped the sentiment onto the red band, before gluing the layers down. I added the topper in position using foam pads for dimension to complete this simple men's card. 

Mx

I'd like to enter the following challenge:

Saturday, 16 December 2017

Christmas couple


  • Hunkydory Snowy season luxury card collection: Christmas couple
  • Hunkydory adorable scorable cardstock
  • White ribbon
  • A5 white card blanks

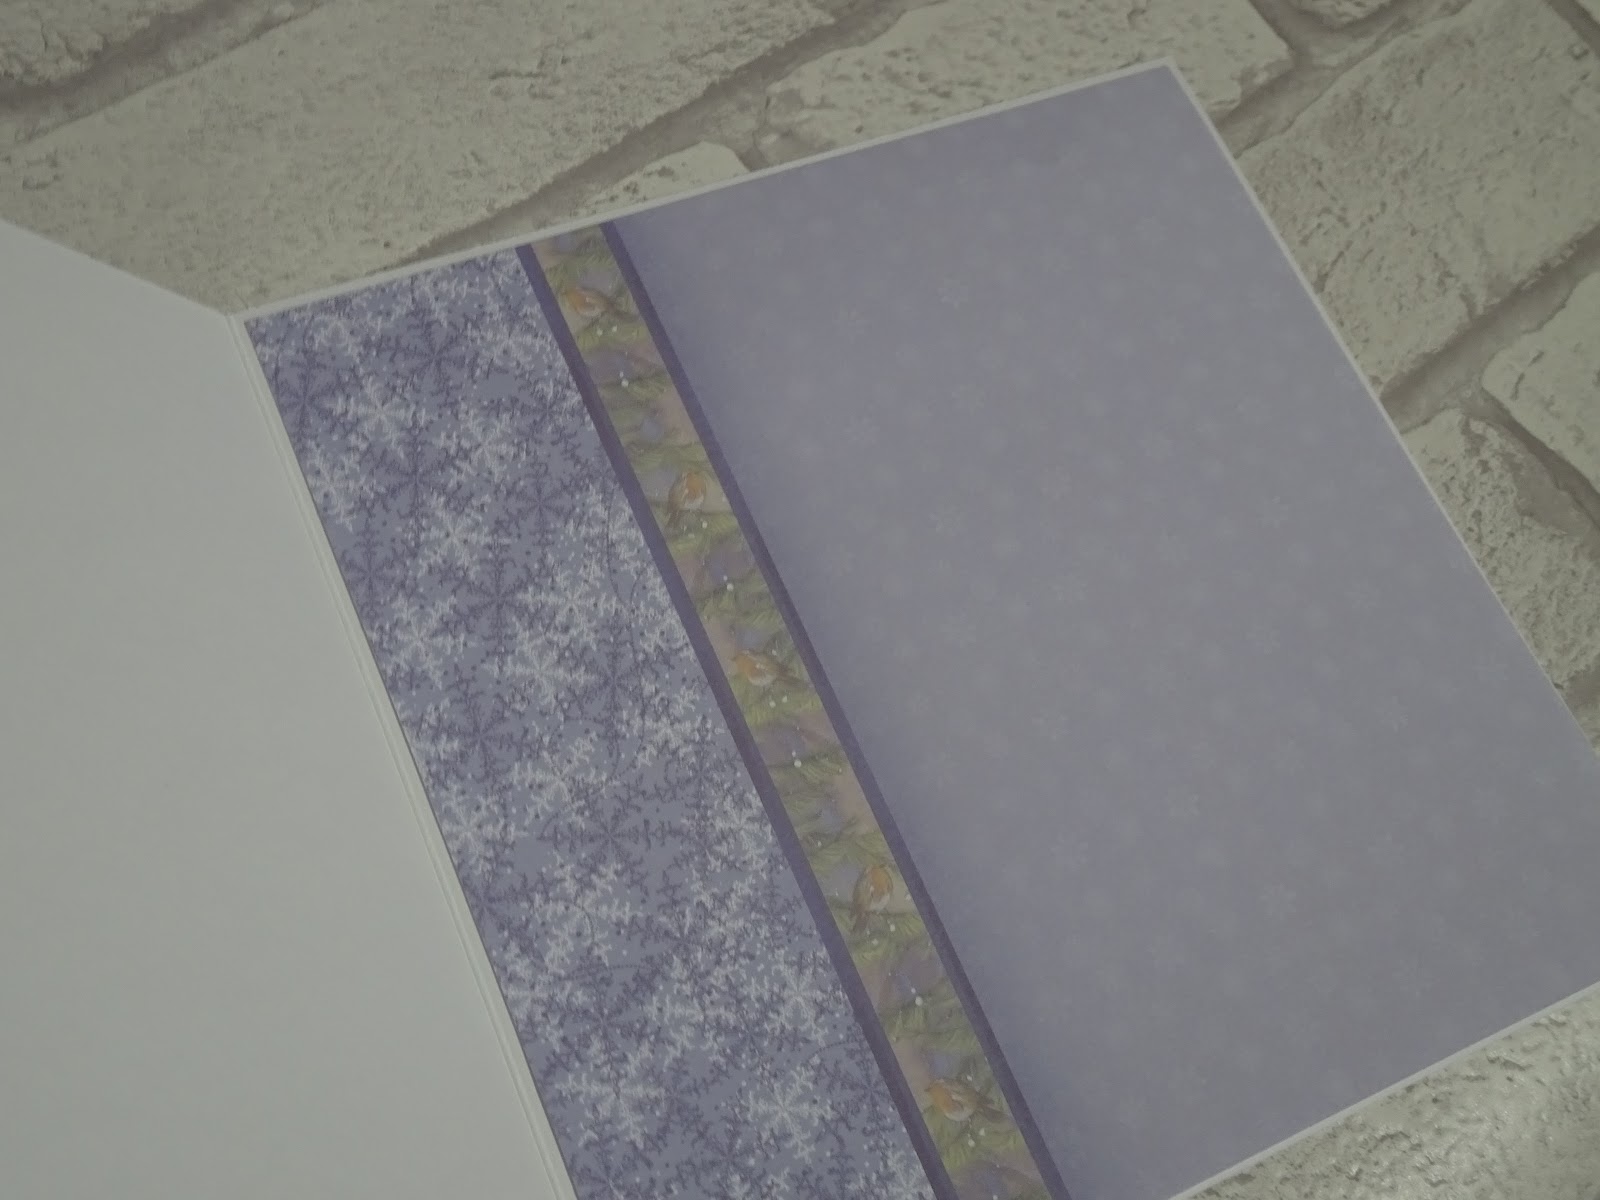
  • For the first card, I cut the snowflake cardstock to cover the card front. I then tied a bow in the ribbon and wrapped this around the cardstock, before I glued it to the card to hide the cut ends and keep it all neat. To create space to allow the image topper to stand out, I die cut an oval from a coordinating plain lilac cardstock to sit inside the frame. I glued the image down onto the die-cut panel using low foam pads. I added the sentiment frame, raised on deeper foam to create dimension and edge the lilac panel. I glued this in position on the card front above the ribbon. I cut the insert down with the coordinating couple image and glued this inside to complete the card.
    inside
    To create the second card, I used the lilac cardstock which complimented the snowflake paper and frame to soften the design. I pieced together the card front with the lilac panel at the top and a strip of the snowflake cardstock beneath. I covered the join with the border strip from the collection. I then glued the image and frame central to the top panel and added the sentiment topper to the middle of the snowflake panel, all using foam pads. Again, I finished the card with an insert, trimmed down to fit neatly inside.
    inside
    Mx

    Friday, 15 December 2017

    It's beginning to look a lot like Christmas

    • Hunkydory snowy season luxury card collection: It's beginning to look a lot like Christmas
    • Hunkydory little book of snowy scenes
    • Hunkydory essential book of Christmas sentiments
    • Hunkydory cardstock (offcuts from the other collections)
    • Hunkydory adorable scorable cardstock
    • silver mirri card
    • mama elephant union square creative cuts die
    • sizzix scallop square framelits die
    • white ribbon & bakers twine
    • A5, 7x7", 5x7"  6x6", 5x5" & 6x4" white card blanks

    For the 7" square card, I mat and layered the card front with silver mirri card and the cardstock with the border feature. I added the tree topper to the main section of the cardstock and angled the essential book sentiment tag on top. The tag was raised on foam and embellished with a knot of ribbon. I cut the insert down so the inside coordinated with the background card on the front.
    inside
    I designed this A5 card using the large snow globe topper with some  other cardstock I found, to allow the image to stand out. I chose the adorable scorable cardstock to match the off cut of swirls cardstock, (from another collection) which I though complimented the colours in the topper. I cut the panels of cardstock to fit the card front, edging the swirls border with silver mirri to create a neat join. I positioned the image and sentiment toppers onto the card, using foam pads for dimension.
    For this little 6x4" card, I made a feature of the printed image on the cardstock from this collection. I simply trimmed the cardstock to size, so it would fill the card front. I then wrapped the bakers twine around and secured at the back, before gluing down. I tied the twine in a bow and finished with the essential book sentiment placed off centre across the twine. I added the matching insert, cut to fit inside.
    inside

    I made this 5x7" card with the remaining printed scene cardstock in this collection. I found a little book image where the scene on the page matched the background cardstock. I simply matted the page onto silver mirri card to create a topper. I glued this to the card front, which I had covered with the cardstock. Again, I trimmed the coordinating insert down to fit inside the card, this time featuring the printed sentiment.
    inside
    I also created this cute little 5" square card using a little book page and the remaining cardstock from this set. I covered the card front with the snowflake cardstock. I die cut a frame from silver mirri card, then cut the little book page to sit neatly inside. I glued these onto the card flat, making a card which is perfect for posting! I finished the inside with the printed sentiment section of the insert, die cut to create a scalloped edge square to compliment the front.
    inside
    With this final topper, I felt that the colours of the little girls outfit didn't really suit the cardstock in the collection. I therefore made this 6x6" card using some patterned cardstock I had remaining from a previous hunky-dory Christmas set. I mat and layered the cardstock onto silver mirri for the card front. I then positioned the image and sentiment toppers on, using foam pads for dimension.
    Mx
    Thursday, 14 December 2017

    A Merry Little Christmas

    • Hunkydory festive elegance luxury card collection: A Merry Little Christmas
    • Hunkydory second little book of Christmas
    • Hunkydory copper mirri cardstock
    • A5 & 8x8" card blanks

    For the 8" square card, I cut the cardstock down to fill the card front. To ground the sentiment, I added the border strip running across the base of the card. I positioned the sentiment to sit overlapping the border edge. For the main feature, I positioned the topper central with the border surrounds at angles to add interest. I trimmed the insert down to fit inside the card to complete.
    inside
    
     I used the second sheet of cardstock to cover the A5 card blanks. I simply arranged the main topper and little sentiment underneath, sitting on the main panel between the printed borders. For the inside, I cut the insert down to fit neatly.
    inside
    
     For the final card, I created a topper using the matching little book page. I cut the borders off the book image and matted onto coordinating mirri card. I then positioned it centrally onto the card blank, covered with the remaining cardstock. I completed the front with the additional sentiment topper from the collection, placed overlapping the bottom of the main topper. Again, I added the insert into the card for that extra finishing touch.
    inside
    
    Mx

    Wednesday, 13 December 2017

    'Tis the Season


    • Hunkydory snowy season luxury card collection: 'Tis the Season
    • White ribbon
    • DL, 5x7 & 6x6" white card blanks
    For the first DL card, I made a feature of the printed image on the cardstock. I simply trimmed the cardstock to cover the card front and finished with a sentiment tag positioned over the border. I glued the tag down with foam and embellished with a bow tied in ribbon. I cut the insert down to centre the message inside the card.
    inside
    I created the square card using the remaining cardstock from this sheet. I covered the card front with the subtly patterned cardstock. I then added the coordinating border strip down one side. I positioned the topper image on foam pads and added the tag sentiment overlapping on deeper foam. I added a little bow tied from ribbon to complete. The image section of the insert was trimmed to fit inside to match the focal image on the card front.
    inside

    I used the three little toppers to make this DL card. I cut the swirl patterned cardstock to fill the card front. I then added ribbon down the centre of the card and secured behind the cardstock before gluing down. I positioned the toppers down the central ribbon, glued with foam pads and finished with a bow at the top. Again, I trimmed the insert down to centralise the printed sentiment inside the card.
    inside

    For the final card, I created a 5x7" design using the remaining cardstock and toppers from the collection. I used the swirl cardstock as a background and added the coordinating border strip for the front of the card. I then finished the design with the image and sentiment toppers, glued down with foam pads for dimension. I added the offcut of insert, trimmed down to fit inside to complete the card.
    inside
    Mx

    Wednesday, 6 December 2017

    Toyshop Window

    • Hunkydory Christmas Classics Luxury Card Collection: Toyshop Window
    • Hunkydory second little book of Christmas
    • Hunkydory essential book of Christmas sentiments
    • A5, 5x7" & 6x6" white card blanks
    For the first A5 card, I covered the card front with the cardstock. I then positioned the image topper and frame on foam pads, centred in the top panel. I added the sentiment which coordinated with the frame beneath to complete the front. I cut the insert down to fit inside with the printed sentiment.
    inside
    Using the other half of the cardstock, I created a 5x7" card. I covered the card front with the cardstock, trimmed down to fit. I then added the image topper to the centre of the top section and positioned an essential book sentiment on the printed border. I cut the remaining insert down, so the inside of the card matched the background of the card front.
    inside
    I used the matching little book to create a topper for this A5 card. I cut the cardstock to fit the card front. For the topper, I glued the frame to the little book page then trimmed away the excess image from behind the outer edge of the frame. I glued this to the card front with a sentiment from the collection, overlapping at the base. I cut the insert down to fit neatly inside, complete with the printed message.
    inside
    For the square card, I cut down the remaining cardstock to fit the card front, with the wreaths down one side. I then glued the topper and an essential book sentiment to the main panel of the card front. I added the insert to the inside of the card to finish the collection.
    inside
    Mx

    Monday, 4 December 2017

    The Nativity

    • Hunkydory Christmas classics: The Nativity
    • gold mirri card
    • 7x7" & 5x7" card blanks
     
    For the 7" square card, I mat and layered the card front with the gold mirri and the patterned cardstock. I centralised the image topper and positioned the border edge pieces above and below. I trimmed the insert down to fit inside the card, with the printed message.
    inside
     
    Using the other sheet of cardstock from the collection, I created this 5x7" card. I covered the card front with the cardstock. I then arranged the toppers onto the card and glued down with shallow foam pads to create dimension, but allow for easy posting. I cut the coordinating insert down to fit inside.
    inside
     
    I made a feature of the printed scene on the remaining cardstock for this 5x7" landscape card. I simply mat and layered the cardstock onto gold mirri for the card front and finished with the sentiment topper up in the sky.
     
    Mx