Showing posts with label pastel colours. Show all posts

Tuesday, 13 April 2021

Mason jar of flowers


Stamping Bella-mason jar of flowers 
Stampin up- bloom with hope stamp set & scallop edge punch
Copics- v25,bv11,o1, y35, yr14, yg13,23, b000, bg11, 32, c2,1,00.
Wink of Stella clear glitter brush marker, lilac pattern paper,  6x4” card blank + copic friendly cardstock.

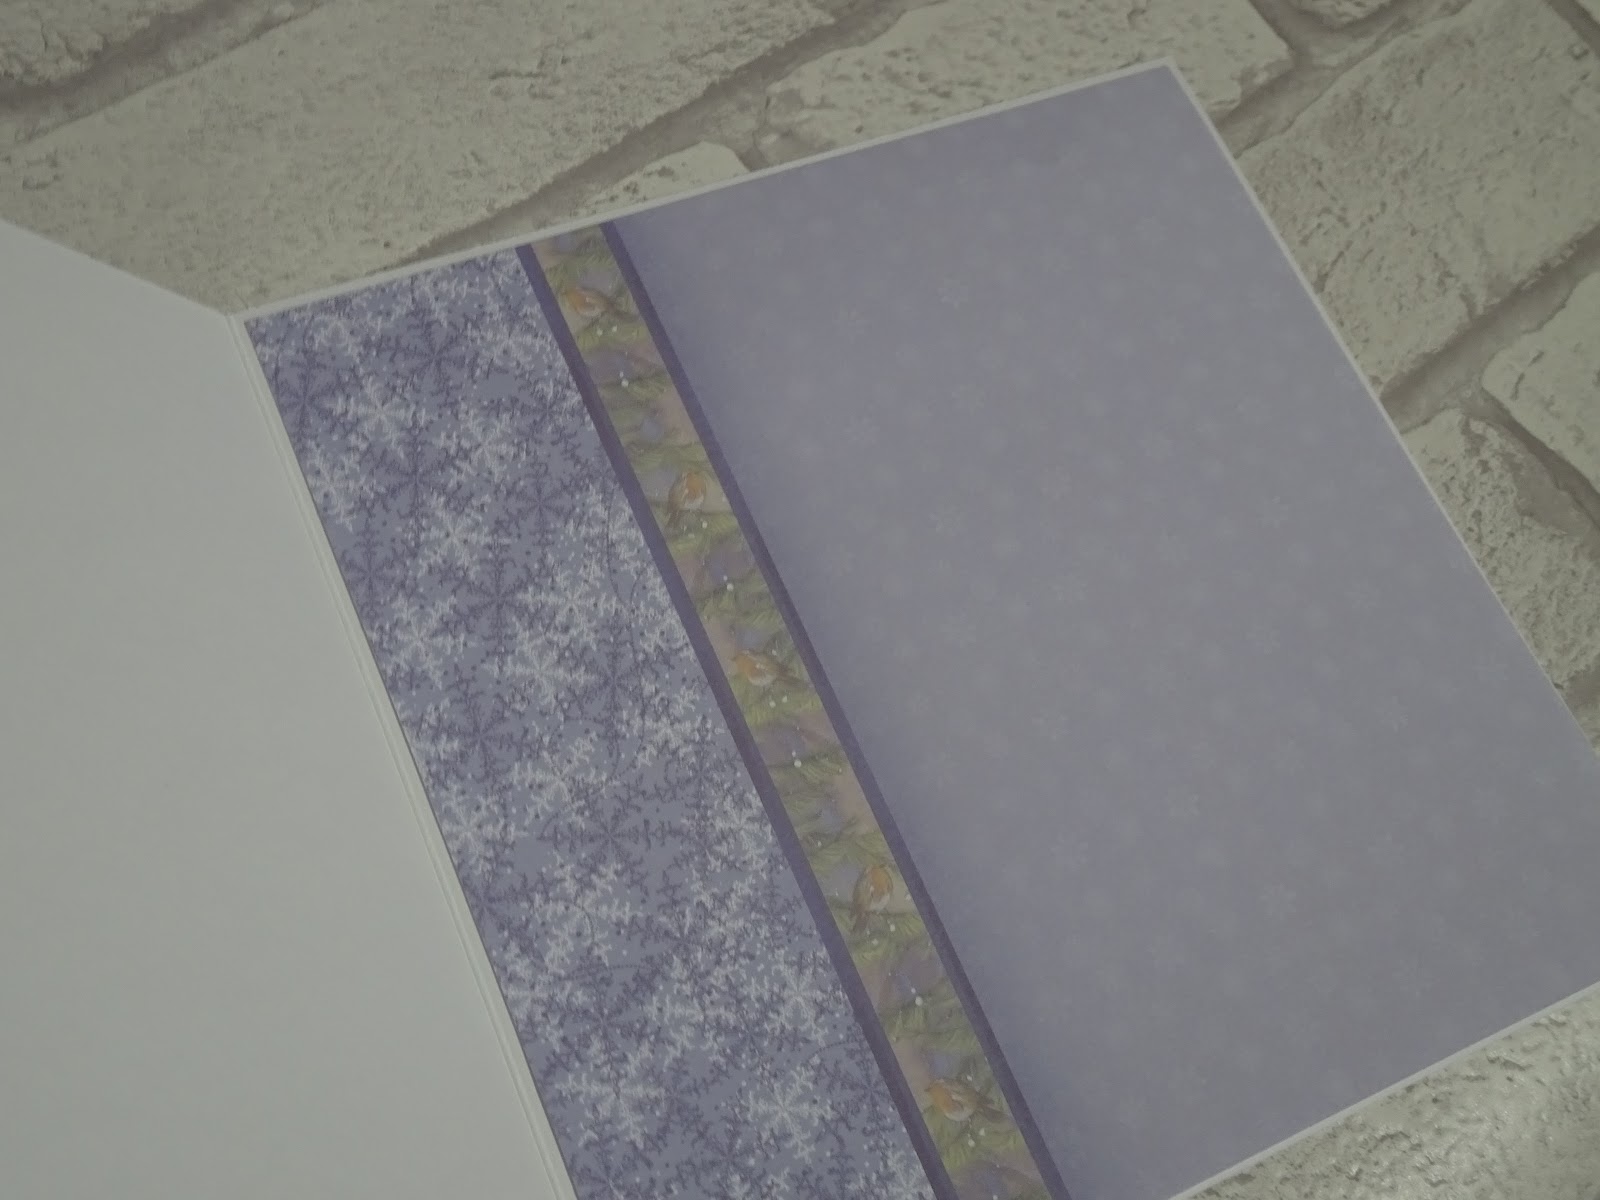
To make this simple card, I covered the front of a card blank with paper. I cut a strip of white cardstock and stamped my image and sentiment. I coloured using copic sketch markers and added sparkle to the bow for detail. I used a border punch to shape the edges before I glued it to the card. 

Mx

Saturday, 3 February 2018

Bundles of blossoms


  • My favourite things- bundles of blossoms background
  • Mama elephant- birthday script creative cuts
  • Stampin up!- endless birthday wishes
  • Distress embossing ink pad
  • Wow! Embossing powder
  • Indigo blu- lucious pigment powders 'purple, raspberry,coral & green'
  • Archival 'watering can' ink pad
  • White, black, grey and watercolour cardstock
  • 4x6" white card blank
 
I stamped and embossed the floral background onto some watercolour cardstock. I used the pigment powders and water to create the pearl wash of colour, making sure to wipe any colour off the embossed lines. Once dry, I trimmed the piece to fit the front of my card blank. I cut a thin strip of white card and stamped the 'wishes' sentiment. I glued this to a wider piece of grey card. I die cut the word 'birthday' from both white and black card. I layered the white onto the black, off set slightly to create a shadow. I glued this into position above the 'wishes' to complete my sentiment. I added this to the card flat, however, you could use foam for dimension.
Mx
 
I would like to enter the following challenges:

Wednesday, 17 January 2018

Lovely sympathy


  • Concord & 9th- hello lovely
  • Avery elle- with sympathy die
  • Memento 'desert sand' ink pad
  • Zig clean color real brush markers: 043,046,052,028,220,222,230.
  • Phil Martin's watercolour cardstock
  • Pink texture cardstock
  • 4x6" card blank

For the card front, I cut a piece of watercolour cardstock the same size as the card front. I stamped the floral image to create a band going across positioned up towards the top of the card. I coloured the image with light colours and added more water for a softer look. Once dry, I glued the watercolour panel onto the card blank. I chose a plain cardstock which coordinated with the flower colours to die cut the sentiment from. I glued the sentiment in place beneath the floral band to complete the card. I think the soft colours create a nice subtle, feminine look to suit a sympathy card.


Mx
 

Friday, 15 December 2017

It's beginning to look a lot like Christmas

  • Hunkydory snowy season luxury card collection: It's beginning to look a lot like Christmas
  • Hunkydory little book of snowy scenes
  • Hunkydory essential book of Christmas sentiments
  • Hunkydory cardstock (offcuts from the other collections)
  • Hunkydory adorable scorable cardstock
  • silver mirri card
  • mama elephant union square creative cuts die
  • sizzix scallop square framelits die
  • white ribbon & bakers twine
  • A5, 7x7", 5x7"  6x6", 5x5" & 6x4" white card blanks

For the 7" square card, I mat and layered the card front with silver mirri card and the cardstock with the border feature. I added the tree topper to the main section of the cardstock and angled the essential book sentiment tag on top. The tag was raised on foam and embellished with a knot of ribbon. I cut the insert down so the inside coordinated with the background card on the front.
inside
I designed this A5 card using the large snow globe topper with some  other cardstock I found, to allow the image to stand out. I chose the adorable scorable cardstock to match the off cut of swirls cardstock, (from another collection) which I though complimented the colours in the topper. I cut the panels of cardstock to fit the card front, edging the swirls border with silver mirri to create a neat join. I positioned the image and sentiment toppers onto the card, using foam pads for dimension.
For this little 6x4" card, I made a feature of the printed image on the cardstock from this collection. I simply trimmed the cardstock to size, so it would fill the card front. I then wrapped the bakers twine around and secured at the back, before gluing down. I tied the twine in a bow and finished with the essential book sentiment placed off centre across the twine. I added the matching insert, cut to fit inside.
inside

I made this 5x7" card with the remaining printed scene cardstock in this collection. I found a little book image where the scene on the page matched the background cardstock. I simply matted the page onto silver mirri card to create a topper. I glued this to the card front, which I had covered with the cardstock. Again, I trimmed the coordinating insert down to fit inside the card, this time featuring the printed sentiment.
inside
I also created this cute little 5" square card using a little book page and the remaining cardstock from this set. I covered the card front with the snowflake cardstock. I die cut a frame from silver mirri card, then cut the little book page to sit neatly inside. I glued these onto the card flat, making a card which is perfect for posting! I finished the inside with the printed sentiment section of the insert, die cut to create a scalloped edge square to compliment the front.
inside
With this final topper, I felt that the colours of the little girls outfit didn't really suit the cardstock in the collection. I therefore made this 6x6" card using some patterned cardstock I had remaining from a previous hunky-dory Christmas set. I mat and layered the cardstock onto silver mirri for the card front. I then positioned the image and sentiment toppers on, using foam pads for dimension.
Mx

Tuesday, 28 November 2017

festive forest

 
  • Hunkydory cute christmas luxury card collection: festive forest
  • Hunkydory essential book of Christmas sentiments
  • Hunkydory little book of snowy scenes
  • Hunkydory luxury card collections (various offcuts of cardstock from other sets)
  • silver mirri card
  • silver & aqua ribbon
  • A5, 7x7", 5x7", 6x6" & 5x5" card blanks
For the A5 card, I covered the card blank with the silver mirri card. I then trimmed the scene printed on the cardstock from the collection to mat onto the front. I simply added a sentiment topper from the collection to complete the front. I also finished the inside of the card with the matching insert, trimmed to fit.
inside

I used the other half of the patterned card stock as the background for this 6" square card. I trimmed the cardstock down to cover the card front. I then added one of the larger toppers from the collection, using foam pads for dimension. I chose to position a sentiment from the essential book beneath to finish the card.
For the 5" square cards, I found some coordinating pieces of cardstock left over from the various hunkydory Christmas collections I have used. I trimmed them to sit side by side, filling the card front. I edged the join between the cardstocks with silver ribbon. I then positioned the little image topper on foam in the larger panel. I finished the card with the matching sentiment tag, embellished with a ribbon bow to sit across the border.
This 5 x 5" card was also made with the offcuts of cardstock from other collections. Similar to the card above, the cardstocks were trimmed to fit on the card front. I edged this one with silver and aqua ribbons and tied a double bow for the tag. The little toppers were again glued down with foam pads.
Using the second sheet of cardstock from the collection, I created this 5x7" card. I cut the cardstock down to fit the card front, keeping the border on the folded edge. I then added the other large topper, with the coordinating edges. I positioned the essential book sentiment overlapping the topper to mirror the curved shaping of the top edge.
For this 7" square card, I used the remaining cardstock to back a little book image. I simply mat and layered the cardstock onto silver mirri to cover the card front. I added the little book image onto silver mirri to create the topper, which was glued to the card using foam pads for dimension. I covered the inside with the coordinating insert, trimmed to size.
inside
Mx