Showing posts with label SIZZIX. Show all posts

Friday, 15 December 2017

It's beginning to look a lot like Christmas

  • Hunkydory snowy season luxury card collection: It's beginning to look a lot like Christmas
  • Hunkydory little book of snowy scenes
  • Hunkydory essential book of Christmas sentiments
  • Hunkydory cardstock (offcuts from the other collections)
  • Hunkydory adorable scorable cardstock
  • silver mirri card
  • mama elephant union square creative cuts die
  • sizzix scallop square framelits die
  • white ribbon & bakers twine
  • A5, 7x7", 5x7"  6x6", 5x5" & 6x4" white card blanks

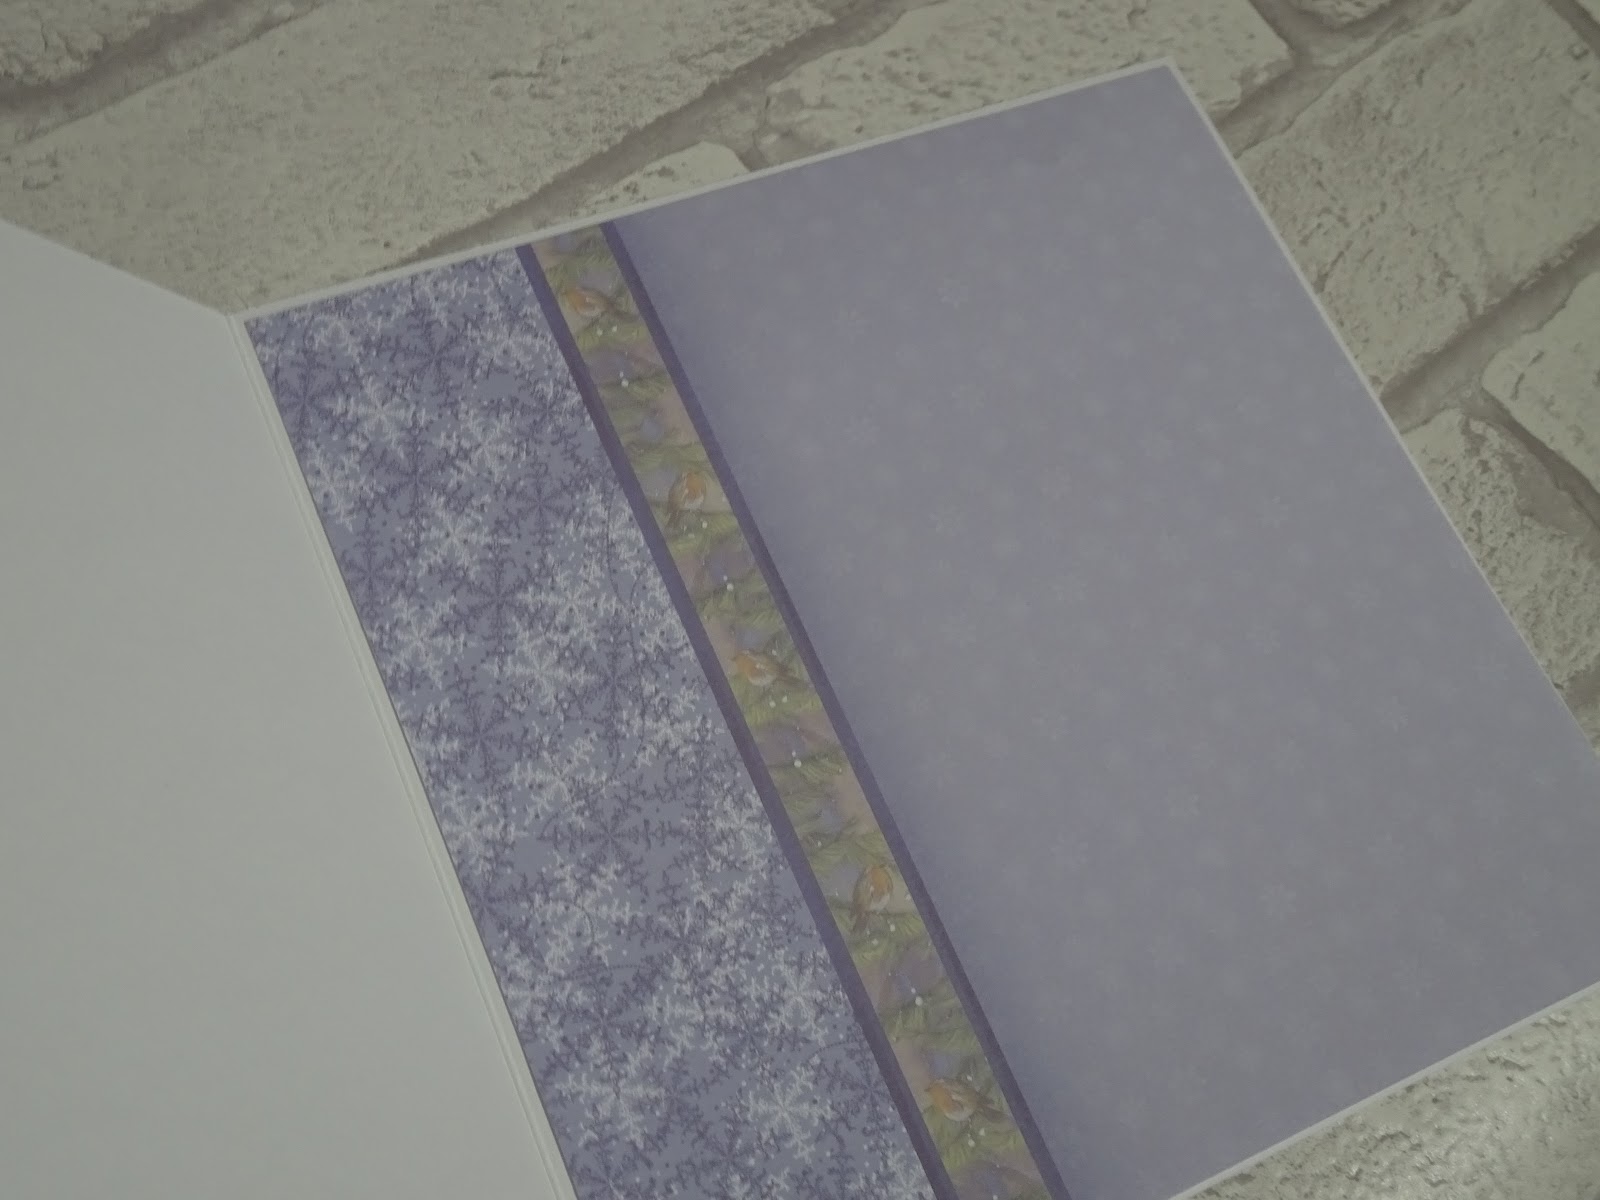
For the 7" square card, I mat and layered the card front with silver mirri card and the cardstock with the border feature. I added the tree topper to the main section of the cardstock and angled the essential book sentiment tag on top. The tag was raised on foam and embellished with a knot of ribbon. I cut the insert down so the inside coordinated with the background card on the front.
inside
I designed this A5 card using the large snow globe topper with some  other cardstock I found, to allow the image to stand out. I chose the adorable scorable cardstock to match the off cut of swirls cardstock, (from another collection) which I though complimented the colours in the topper. I cut the panels of cardstock to fit the card front, edging the swirls border with silver mirri to create a neat join. I positioned the image and sentiment toppers onto the card, using foam pads for dimension.
For this little 6x4" card, I made a feature of the printed image on the cardstock from this collection. I simply trimmed the cardstock to size, so it would fill the card front. I then wrapped the bakers twine around and secured at the back, before gluing down. I tied the twine in a bow and finished with the essential book sentiment placed off centre across the twine. I added the matching insert, cut to fit inside.
inside

I made this 5x7" card with the remaining printed scene cardstock in this collection. I found a little book image where the scene on the page matched the background cardstock. I simply matted the page onto silver mirri card to create a topper. I glued this to the card front, which I had covered with the cardstock. Again, I trimmed the coordinating insert down to fit inside the card, this time featuring the printed sentiment.
inside
I also created this cute little 5" square card using a little book page and the remaining cardstock from this set. I covered the card front with the snowflake cardstock. I die cut a frame from silver mirri card, then cut the little book page to sit neatly inside. I glued these onto the card flat, making a card which is perfect for posting! I finished the inside with the printed sentiment section of the insert, die cut to create a scalloped edge square to compliment the front.
inside
With this final topper, I felt that the colours of the little girls outfit didn't really suit the cardstock in the collection. I therefore made this 6x6" card using some patterned cardstock I had remaining from a previous hunky-dory Christmas set. I mat and layered the cardstock onto silver mirri for the card front. I then positioned the image and sentiment toppers on, using foam pads for dimension.
Mx

Friday, 26 August 2016

sweet wishes ...


  • Craft work cards-guilty pleasures paper pad
  • Avery elle- a tag for all die
  • Sizzix- oval and scalloped oval dies
  • American crafts white twine
I cut a mat of paper to fit my card blank and glued this down as a background. I then die cut the different shapes and words from coordinating coloured papers. I glued these into a stack and backed them with cardstock for stability. I then wrapped twine around the top and secured it with a bow. finally, I glued this topper to the card  using foam.
 
Mx

Challenges I would like to enter are:
Sketch Saturday #426
Paper players - 'something sweet'

Saturday, 12 March 2016

cheers


  • SU! making spirits bright
  • sizzix circle framelit dies
  • lawn fawn script cheers die
  • memento 'tuxedo black' ink pad & copic cardstock
  • copics ( BV000,01. RV17,23. Y17. YR15. BG000,23.)
  • white, orange & purple cardstock
  • 6x4" white card blank
I mat and layered a strip of patterned paper (from my stash) and glued this onto my card blank. I die cut a circle of white cardstock, then stamped the image and coloured it with copics. Using this circle die and the next size down, I created a frame of orange cardstock to layer on top. I also die cut a 'cheers' sentiment, once in orange and 3 times in white, then glued all 4 layers together, for a dimensional element to complete the card.
 
Mx

Monday, 29 February 2016

worlds best mother !!

  • SU! nice cuppa stamp set and cups & kettle framelit dies
  • fresh floral paper stack -DCWV
  • 6x4" card blank 
  • white and pink cardstock
  • tim holts 'picked raspberry' distress ink
  • wink of stella- clear
I die-cut the tea cup once from pink card and 3 times in white. I inked all the edges with distress and glued them together for a dimensional element. I then stamped the sentiment onto it and highlighted this with glitter to create the topper. To complete the card, I added a mat and layered panel of patterned paper and stuck them to the card following the sketch.

I would like to enter this card into the following challenges:
Mx

Sunday, 10 January 2016

birthday butterflies...

  • 4x6" white card black & white cardstock
  • SU! happy birthday, everyone
  • sizzix tim holtz alterations- butterfly frenzy
  • tim holtz distress ink pad (shaded lilac, worn lipstick & wild honey)
  • archival ink pad- jet black
  • wink of stella- clear
I inked the card blank with the shaded lilac colour. I cut a mat to fit the front of my card and stamped the sentiment. I die cut several butterflies in different sizes and arranged them onto the card to pick which I wanted to use. I used distress ink pads and a blending tool to colour the butterflies, then glued them in place. the final touch was some glitter to accent each butterfly.
Mx

the challenge I would like to enter:
cas(e) this sketch- #154
simon says (Wednesday)- 'something new' (these are both new products I haven't had chance to use yet!!)

Sunday, 6 December 2015

flowers for you !!


inside

  • 4X6" black card blank
  • white stamping cardstock
  • sizzix circle and scalloped circle dies
  • SU! mum's love
  • archival ink pad: jet black, watering can, carnation red, rose madder, venetian orange, chrome yellow.
  • wink of stella- clear
  • SU! sassy salutations (for inside)
I 2-step stamped the flowers on a mat of cardstock and glued this to the card blank. I stamped my greeting and die cut it into a circle, then matted this on to a scallop circle. I added glitter to the 'for you'. finally I added this topper to my card using foam, (you could just glue this straight down to keep it flat for posting!!)
 
for the inside of my card I cut a piece of cardstock to fit and stamped a flower in the bottom corner. I stamped my sentiment and added a final touch of glitter over the sentiment.
Mx
 
challenges I would like to enter are:

Monday, 15 June 2015

speedy...


this card was quick and easy to make, the simple colour combo makes this card effective and quite stylish!!
I generally forget to take a picture of the inside of my card, so I included a picture of the insert this time...

insert
  • black and kraft 6x4" card blank
  • archival ink pad (jet black)
  • papermania- nostalgia classic cars by john byrs
  • SU!- guy greetings
  • SU!/ sizzix- little letters thinlits
cut the kraft card into a mat to fit the front of a 6x4" card blank and stamp the main image in the centre. lightly draw a pencil line at the bottom corner of the card, where the letters will be. tape the last letter down and die cut it , then move on to the middle and beginning using the pencil as a base line to keep it all level, (don't forget to rub out the pencil once you've finish!). fold the black card blank and attach the stamped and die cut panel using foam tape for dimension
 cut a 2nd mat to fit the inside of the card, stamp this with a sentiment and tape down inside the card blank.
 
 
Mx

Tuesday, 7 April 2015

bold birthday!!


  • tim holtz distress ink pad (tumbled glass, salty ocean & ripe persimmon)
  • SU!/sizzix little letters thinlit dies
  • orange sequins
  • white card & 4x6" card blank
first i inked the card blank with blue tones, I cut a mat of white card and inked the edges orange. I die cut my sentiment then glued it down, as I wanted the depth for a shadow I used 3mm foam squares(but you could glue it flat for posting). I added a few sequins for a bit of interest.
 
challenges:
 
Mx

Wednesday, 21 January 2015

a totally great tote!!


this is a canvas tote I have free motion machine stitched some applique onto. it's quite simple to do, and although I did ok for my first attempt, I do think practise will make perfect !!
 
 I bought the blank canvas tote from hobby craft. I used heat n bond on to some tilde fabric I had and die cut the letters and butterflies using some of my sizzix dies. I then bonded my shapes where I wanted them and free motion stitched around the outline to secure the pieces in place.
 
Mx