Showing posts with label Christmas tree. Show all posts

Friday, 15 December 2017

It's beginning to look a lot like Christmas

  • Hunkydory snowy season luxury card collection: It's beginning to look a lot like Christmas
  • Hunkydory little book of snowy scenes
  • Hunkydory essential book of Christmas sentiments
  • Hunkydory cardstock (offcuts from the other collections)
  • Hunkydory adorable scorable cardstock
  • silver mirri card
  • mama elephant union square creative cuts die
  • sizzix scallop square framelits die
  • white ribbon & bakers twine
  • A5, 7x7", 5x7"  6x6", 5x5" & 6x4" white card blanks

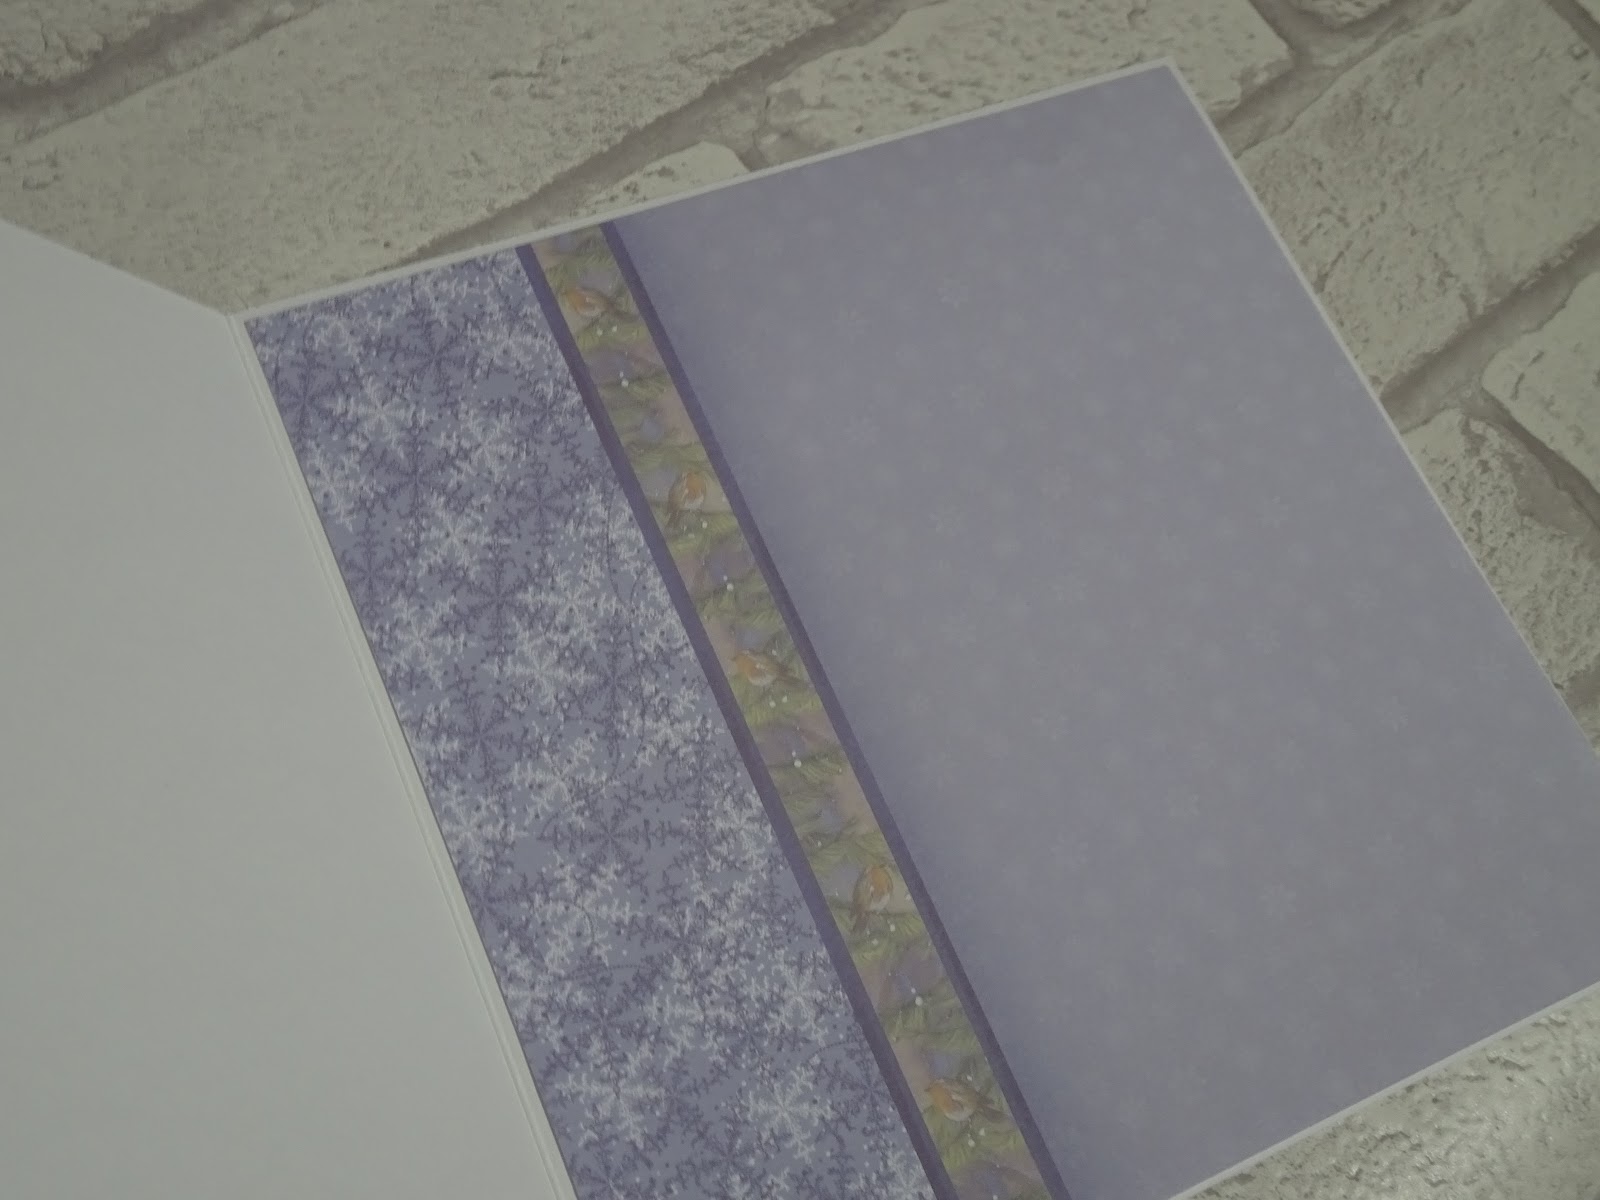
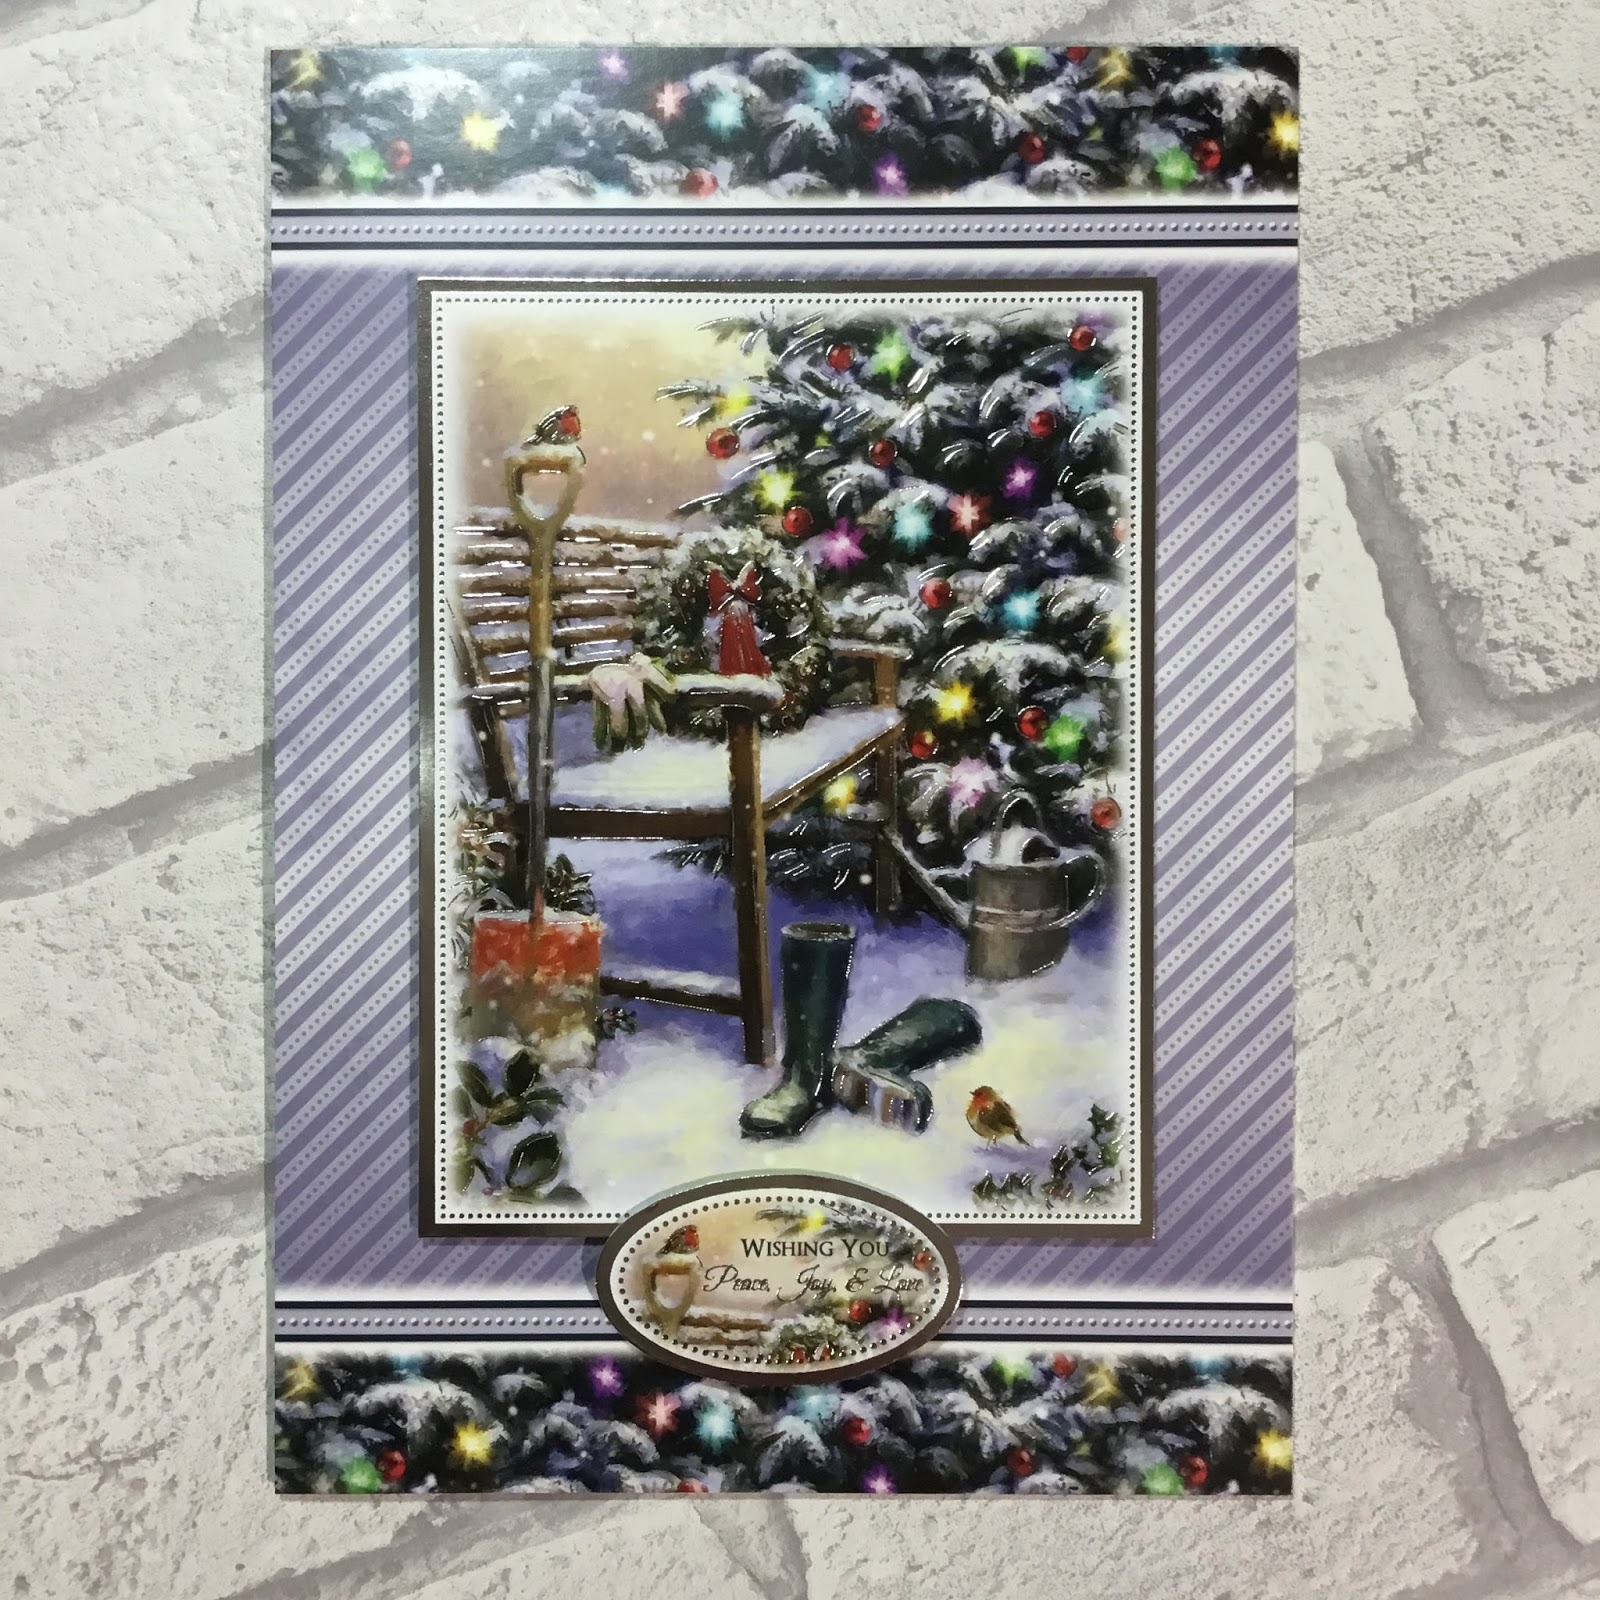
For the 7" square card, I mat and layered the card front with silver mirri card and the cardstock with the border feature. I added the tree topper to the main section of the cardstock and angled the essential book sentiment tag on top. The tag was raised on foam and embellished with a knot of ribbon. I cut the insert down so the inside coordinated with the background card on the front.
inside
I designed this A5 card using the large snow globe topper with some  other cardstock I found, to allow the image to stand out. I chose the adorable scorable cardstock to match the off cut of swirls cardstock, (from another collection) which I though complimented the colours in the topper. I cut the panels of cardstock to fit the card front, edging the swirls border with silver mirri to create a neat join. I positioned the image and sentiment toppers onto the card, using foam pads for dimension.
For this little 6x4" card, I made a feature of the printed image on the cardstock from this collection. I simply trimmed the cardstock to size, so it would fill the card front. I then wrapped the bakers twine around and secured at the back, before gluing down. I tied the twine in a bow and finished with the essential book sentiment placed off centre across the twine. I added the matching insert, cut to fit inside.
inside

I made this 5x7" card with the remaining printed scene cardstock in this collection. I found a little book image where the scene on the page matched the background cardstock. I simply matted the page onto silver mirri card to create a topper. I glued this to the card front, which I had covered with the cardstock. Again, I trimmed the coordinating insert down to fit inside the card, this time featuring the printed sentiment.
inside
I also created this cute little 5" square card using a little book page and the remaining cardstock from this set. I covered the card front with the snowflake cardstock. I die cut a frame from silver mirri card, then cut the little book page to sit neatly inside. I glued these onto the card flat, making a card which is perfect for posting! I finished the inside with the printed sentiment section of the insert, die cut to create a scalloped edge square to compliment the front.
inside
With this final topper, I felt that the colours of the little girls outfit didn't really suit the cardstock in the collection. I therefore made this 6x6" card using some patterned cardstock I had remaining from a previous hunky-dory Christmas set. I mat and layered the cardstock onto silver mirri for the card front. I then positioned the image and sentiment toppers on, using foam pads for dimension.
Mx

Friday, 1 December 2017

Selfies in the Snow

  • Hunkydory cute Christmas luxury card collection: Selfies in the Snow
  • Hunkydory essential book of Christmas sentiments
  • Hunkydory adorable scorable cardstock
  • silver mirri card
  • 7x7" & 5x7" portrait & landscape white card blanks
For the 7" square card, I mat and layered the card front with the patterned cardstock on silver mirri. I then arranged the frames and image topper at various angles and raised them up onto different depths of foam pads to create dimension. I completed the front with the sentiment, positioned on the printed border edge. I added the insert trimmed down to cover the inside of the card.
inside
I used the remaining cardstock for the portrait 5x7" card. I positioned the border to run vertical on the card this time, mat and layered onto mirri card. I then positioned the little square toppers and sentiment onto the card, all on angles and glued down with foam pads. I used the remaining insert to cover the inside of the card.
inside
I made a feature of the image printed on the other sheet of cardstock for the next card. I mat and layered onto silver mirri to fit the front of this 5x7" card blank. I chose a sentiment from the essential book to coordinate and glued this in place using foam pads for dimension.
For the final card, I arranged the remaining toppers and frame to create the design. I mat and layered the card front with mirri card and blue adorable scorable. I then glued the image topper on shallow foam pads in the centre. I added the frame raised up on deeper foam pads and overlapped the two with the sentiment in the corner.
Mx

Thursday, 30 November 2017

O Holy Night

  • Hunkydory Christmas classics luxury card collection: O Holy Night
  • Gold mirri card
  • A5 & DL card blanks
For the first A5 card, I cut the cardstock down to cover the card front. ( I have saved the other half of the sheet to use with another topper or little book image later!!) I then simply added the image and sentiment toppers on foam pads for dimension. I trimmed the coordinating insert down to fill the inside of the card and add the little printed verse to finish the card.
inside
 I created the DL card to make a feature of the printed panel on the second sheet of cardstock. I simply cut this to fill the card blank and placed the little sentiment over the printed border.
For the final card, I mat and layered the remaining cardstock onto gold mirri for the front of the A5 card blank. Again, I very simply glued the image and sentiment toppers in position using foam pads. I also cut the insert down to add the matching background and message to complete the card.

inside

Mx

Wednesday, 22 November 2017

Deer winter wishes

  • Hunkydory snowy season luxury card collection: Deer winter wishes
  • silver mirri card
  • A5, DL, 5x7" & 5x5" white card blanks


For the A5 card, I mat and layered one half of the cardstock on silver mirri to fill the card front. I then simply added the image topper offset on the card, using foam for dimension. I trimmed down the insert to have the matching image inside with the printed sentiment.
inside

I cut the other end of the cardstock down to make this DL card. I mat and layered the tree image onto silver mirri and glued to the card front. I finished with one of the long thin toppers on foam pads. Again, I trimmed the matching insert piece down to fit inside.
inside

I used a section of the other printed cardstock in the collection to create this 5x7" card. I carefully cut the cardstock down to fill the card front, with the border running across the bottom of the card. I then added the image central to the main section of the card, with the sentiment overlapping the border edge. I added the coordinating insert to the inside of the card.
inside

 For the first 6" square card, I made a feature of the decorative borders to enhance this topper. I began with the inside of the card, with a cut off border on the outer edge of the card, alongside a section of the insert. I cut away a reveal, then added the cardstock with the border to cover the remaining card front. I finished with the image and sentiment toppers on foam pads, leaving the gap for the sentiment to overhang the card front.
inside

For the final card, I pieced together the offcuts as a background. I covered the join between the cardstock with the coordinating border strip. To complete the card, I added the sentiment topper to one side of the border and centred the image topper on the other section, both raised on foam pads.
Mx

Monday, 20 November 2017

Christmas Delight


  • Hunkydory snowy season luxury card collection: Christmas Delight
  • Hunkydory little book of snowy scenes
  • silver mirri card
  • pink & white satin ribbons
  • A5, DL & 6x4" landscape & 8x8" white card blanks
For the A5 card, I cut the cardstock to size to cover the front of the card blank. I then simply positioned the image and sentiment toppers overlapping on different depths of foam pads. I cut the coordinating insert down to complete the card.
inside
Using the same cardstock, I cut a 6x4" section with the border running across the base for this card. Again, I simply arranged an image and sentiment topper from the collection on foam pads. I trimmed the sentiment section from the centre of the remaining matching topper sheet to finish the inside.
inside
I created this DL card to make a feature of the image section on the other patterned cardstock sheet from the collection. I trimmed it to fill the card front, then angled the sentiment on top using foam pads for dimension and a knot of ribbon as embellishment. The insert sheet featured the mirror image of the card front, trimmed down to fit neatly inside.
inside

For the final card, I used a little book image to compliment the large sentiment from this set. I cut the  mat of silver mirri card to cover the 8" card blank. I then cut a layer of the patterned cardstock. I wrapped the satin ribbon around opposite corners, with a bow tied at the top. The ribbon was secured on the back of the cardstock before gluing onto the card front to keep a neat finish. I matted the little book page onto silver to create the topper and glued down off centre using foam pads. I overlaid the sentiment topper using deeper foam pads for added dimension. I glued the remaining insert inside to complete the card.
inside
Mx

Friday, 20 October 2017

Winterland walk


  • Hunkydory festive elegance luxury card collection:Winterland walk
  • Hunkydory the little book of snowy scenes 
  • Hunkydory essential book of Christmas sentiments
  • 7x7" & 5x7" white and black card blanks

I created the large square card using the rectangular topper and frame. I trimmed down the cardstock and matted it onto the card front, retaining the border of street lamps on the right. I then added the image topper on flat, with the frame and sentiment raised on foam pads to give the card dimension.
inside

For the first 5x7" card, I used the other printed cardstock from the collection and layered on the front of a black card blank. I then added the little square topper flat and raised the frame on foam pads to complete. Since the frame is printed with 'Happy Christmas', I didn't add a separate sentiment.

inside

For the second 5x7" card, I used a white landscape card blank covered with sections from each cardstock. I used the trees for the top half and the darker print beneath, edged with the holographic foiling which had originally edged the border section on the sheet. I then positioned the image topper onto the card, along with the sentiment.

inside

For the final card, I took the remaining piece of cardstock, printed with snowfall and a moon. I used an image sheet from the little book backed with silver mirri card to create a topper. I layered this on an angle with a little book sentiment to complete the card. The colours in the image compliment the background to work well together, despite coming from different collections.
Mx