Showing posts with label reindeer. Show all posts

Tuesday, 2 January 2018

Bambi for baby...


  • Disney Bambi metal die
  • My favourite things- stitched rectangle scallop edge frame
  • Lawn fawn-Finley's ABCs
  • Forever friends (docrafts) Kraft notes 12" paper pad
  • Neenahclassic crest cardstock
  • Copics- E30,31,34,35,37,39,57,59. W8,10. R83,81,000.
  • Grey 8" square frame
First I cut check paper to fill the background of the frame.
I then die cut letters from coordinating lilac paper, to spell out the baby's name. To position the letters, I started in the centre and worked outwards to space them evenly before gluing down. To create a frame for the photo, I found the right size scallop frame die and cut from lilac paper. This was then glued in place beneath the name. For a cute focal point, I die cut the Bambi image from white card stock, with tape on the back to stop all the pieces falling out. I coloured him using copics before I glued into position, slightly overlapping the diecut frame. Using a craft knife, I cut around the inside of the frame to remove the check paper and create an aperture for a photo. I cut a piece of white cardstock to fit the frame. I layered this behind my decorated piece as a plain backing for the aperture to make it look nicer to gift. 
Once the new parents receive their frame, they can simply open the back and pop their chosen picture of their new baby girl into place. Of course you could change the colour scheme as a gift for a baby boy too!! 

Mx

Thursday, 7 December 2017

Santa's sleigh ride

  • Hunkydory festive elegance luxury card collection: Santa's sleigh ride
  • Hunkydory essential book of Christmas sentiments
  • Paper smooches Christmas words 2 die
  • red cardstock, silver & gold mirri card
  • A5, 7x7" & 6x6" card blanks

For the large square card, I mat and layered the cream cardstock onto the card front, to feature the border across the bottom edge. I then positioned the image topper with the sentiment beneath, both on foam pads. I cut down the coordinating insert to fit the inside of the card to finish.
inside
With the A5 card, I covered the card front with the cardstock. I then glued the topper and frame pieces to the top section of the card, all on foam for dimension. I chose a sentiment from the essential book to sit beneath. With the insert, I trimmed this down to centralise the message inside the card.
inside
For the final card, I mat and layered the 6" square card with gold mirri and the printed santa sleigh cardstock. I die cut the 'seasons greetings' from gold and red and glued together offset to create a gold shadow effect. I then positioned the sentiment onto the space beneath the image to finish the card front. Once again, I added the coordinating insert to fit the inside of the card.
inside
Mx

Friday, 1 December 2017

Selfies in the Snow

  • Hunkydory cute Christmas luxury card collection: Selfies in the Snow
  • Hunkydory essential book of Christmas sentiments
  • Hunkydory adorable scorable cardstock
  • silver mirri card
  • 7x7" & 5x7" portrait & landscape white card blanks
For the 7" square card, I mat and layered the card front with the patterned cardstock on silver mirri. I then arranged the frames and image topper at various angles and raised them up onto different depths of foam pads to create dimension. I completed the front with the sentiment, positioned on the printed border edge. I added the insert trimmed down to cover the inside of the card.
inside
I used the remaining cardstock for the portrait 5x7" card. I positioned the border to run vertical on the card this time, mat and layered onto mirri card. I then positioned the little square toppers and sentiment onto the card, all on angles and glued down with foam pads. I used the remaining insert to cover the inside of the card.
inside
I made a feature of the image printed on the other sheet of cardstock for the next card. I mat and layered onto silver mirri to fit the front of this 5x7" card blank. I chose a sentiment from the essential book to coordinate and glued this in place using foam pads for dimension.
For the final card, I arranged the remaining toppers and frame to create the design. I mat and layered the card front with mirri card and blue adorable scorable. I then glued the image topper on shallow foam pads in the centre. I added the frame raised up on deeper foam pads and overlapped the two with the sentiment in the corner.
Mx
Wednesday, 22 November 2017

Deer winter wishes

  • Hunkydory snowy season luxury card collection: Deer winter wishes
  • silver mirri card
  • A5, DL, 5x7" & 5x5" white card blanks


For the A5 card, I mat and layered one half of the cardstock on silver mirri to fill the card front. I then simply added the image topper offset on the card, using foam for dimension. I trimmed down the insert to have the matching image inside with the printed sentiment.
inside

I cut the other end of the cardstock down to make this DL card. I mat and layered the tree image onto silver mirri and glued to the card front. I finished with one of the long thin toppers on foam pads. Again, I trimmed the matching insert piece down to fit inside.
inside

I used a section of the other printed cardstock in the collection to create this 5x7" card. I carefully cut the cardstock down to fill the card front, with the border running across the bottom of the card. I then added the image central to the main section of the card, with the sentiment overlapping the border edge. I added the coordinating insert to the inside of the card.
inside

 For the first 6" square card, I made a feature of the decorative borders to enhance this topper. I began with the inside of the card, with a cut off border on the outer edge of the card, alongside a section of the insert. I cut away a reveal, then added the cardstock with the border to cover the remaining card front. I finished with the image and sentiment toppers on foam pads, leaving the gap for the sentiment to overhang the card front.
inside

For the final card, I pieced together the offcuts as a background. I covered the join between the cardstock with the coordinating border strip. To complete the card, I added the sentiment topper to one side of the border and centred the image topper on the other section, both raised on foam pads.
Mx

Wednesday, 4 October 2017

festive wonder

 
  • Hunkydory festive elegance luxury card collection: festive wonder
  • Hunkydory essential book of Christmas sentiments
  • adorable scorable Red cardstock
  • A5, 5x7", 6x4" & 6" square white card blanks
 
I created the largest card on half of the starry patterned cardstock. I cut the cardstock to fit the front of the card. I then arranged the frame and image topper at angles and completed with the sentiment topper in the bottom corner. The inside was finished with half sheet of the matching insert.


I cut a section of the other patterned cardstock to fit the front of a 5x7" card blank. I simply added the big robin topper and used a sentiment from the essential book of Christmas sentiments beneath, glued down with foam pads. I trimmed the printed image and sentiment on the other insert to fit inside this card.
 

inside


For the 6x4" card, I used off cuts from each of the patterned cardstocks to fill the card front. I added the border to cover the join and say 'merry Christmas'. I positioned one of the smaller robin toppers to sit over border and complete the card front. I trimmed down the remainder of the first insert to go inside.
 
inside

 
 With the other large topper, I created this square card. I simply matted the front with the red cardstock, before layering on the topper image flat. I added the frame and sentiment topper on foam pads to create dimension. The last piece of insert was cut down to fit inside and can be finish off with a sentiment stamp.


inside


Mx

Wednesday, 16 August 2017

Happy reindeer


  • LOTV- happy reindeer stamp
  • SU!- flurry of wishes stamp set
  • SU!- softly falling textured impressions embossing folder
  • Memento'tuxedo black'ink pad
  • Neenah classic crest cardstock
  • Copics- skin:E51,21,93. hair:E35,37. raindeer:E42,43,44,47,49&93. carrots:Y38,YR16,G14&17. aqua:BG10,32,23,49. pink:R81,83,85. white:C00,1.
  • Archival'jet black'ink pad
  • American crafts pink baker's twine
  • White cardstock & 6x4" card blank
I cut a piece of white cardstock to fit the front of my cardblank. I embossed this to make a snowfall effect. I tied baker's twine around the top of the matt and tied a bow, before I glued it to the cardblank. I stamped, coloured and fussy cut the image. I added a sentiment stamp below then glued onto the bottom of my card blank using foam tape for dimension.
Mx

The cgallenge I would like to enter:
Simon Wednesday says- for a child

Monday, 23 November 2015

christmas with friends ...


  • 7x7" white card blank, red and green cardstock, copic friendly cardstock
  • crafters companion (Christmas in moonbeam meadow) - Rudolph and friends
  • SU! warmth and wonder stamps & softly falling embossing folder
  • memento ink pad (tuxedo black)
  • copics (E81,53,55,57,59. E43,44,47,49,81. R24,27,29. G7,14. Y13,15. C00,0,01,02.)
  • tattered lace essentials circle dies
  • ribbon
  • wink of stella- clear
  • ranger glossy accents

I cut my base layers, then embossed the white mat before sticking this to the green one. I glued the ribbon on and secured it to the back of the green card before matting onto the card blank. I die-cut the circle mats and stamped the white one with my image and sentiment. I coloured the image and added glitter and gloss. I added this layer onto the card using foam for dimension.
Mx
 
 challenges I would like to enter are:


Sunday, 28 December 2014

seasonal stitching !!

 
Merry Christmas all.... I hope you had a lovely day !! I thought I would quickly share this little felt bauble with you between the festivities. the background is similar to the Christmas pudding I made before. I cut 2 circles of blue felt, then added a wavey edged semi circle in sparkling white felt to the front piece. I satin stitched along the white and added some French knots as falling snow. using some green and brown embroidery threads, I also added a few trees in the background. I cut out the reindeer using the mini reindeer sizzix mover and shakers die by tim holtz. I then carefully stitched around him to secure him to the bauble. the final step was to stuff and blanket stitch the back and front together, including some matching ribbon at the top for hanging.
 
Mx

Tuesday, 18 November 2014

chocolate box


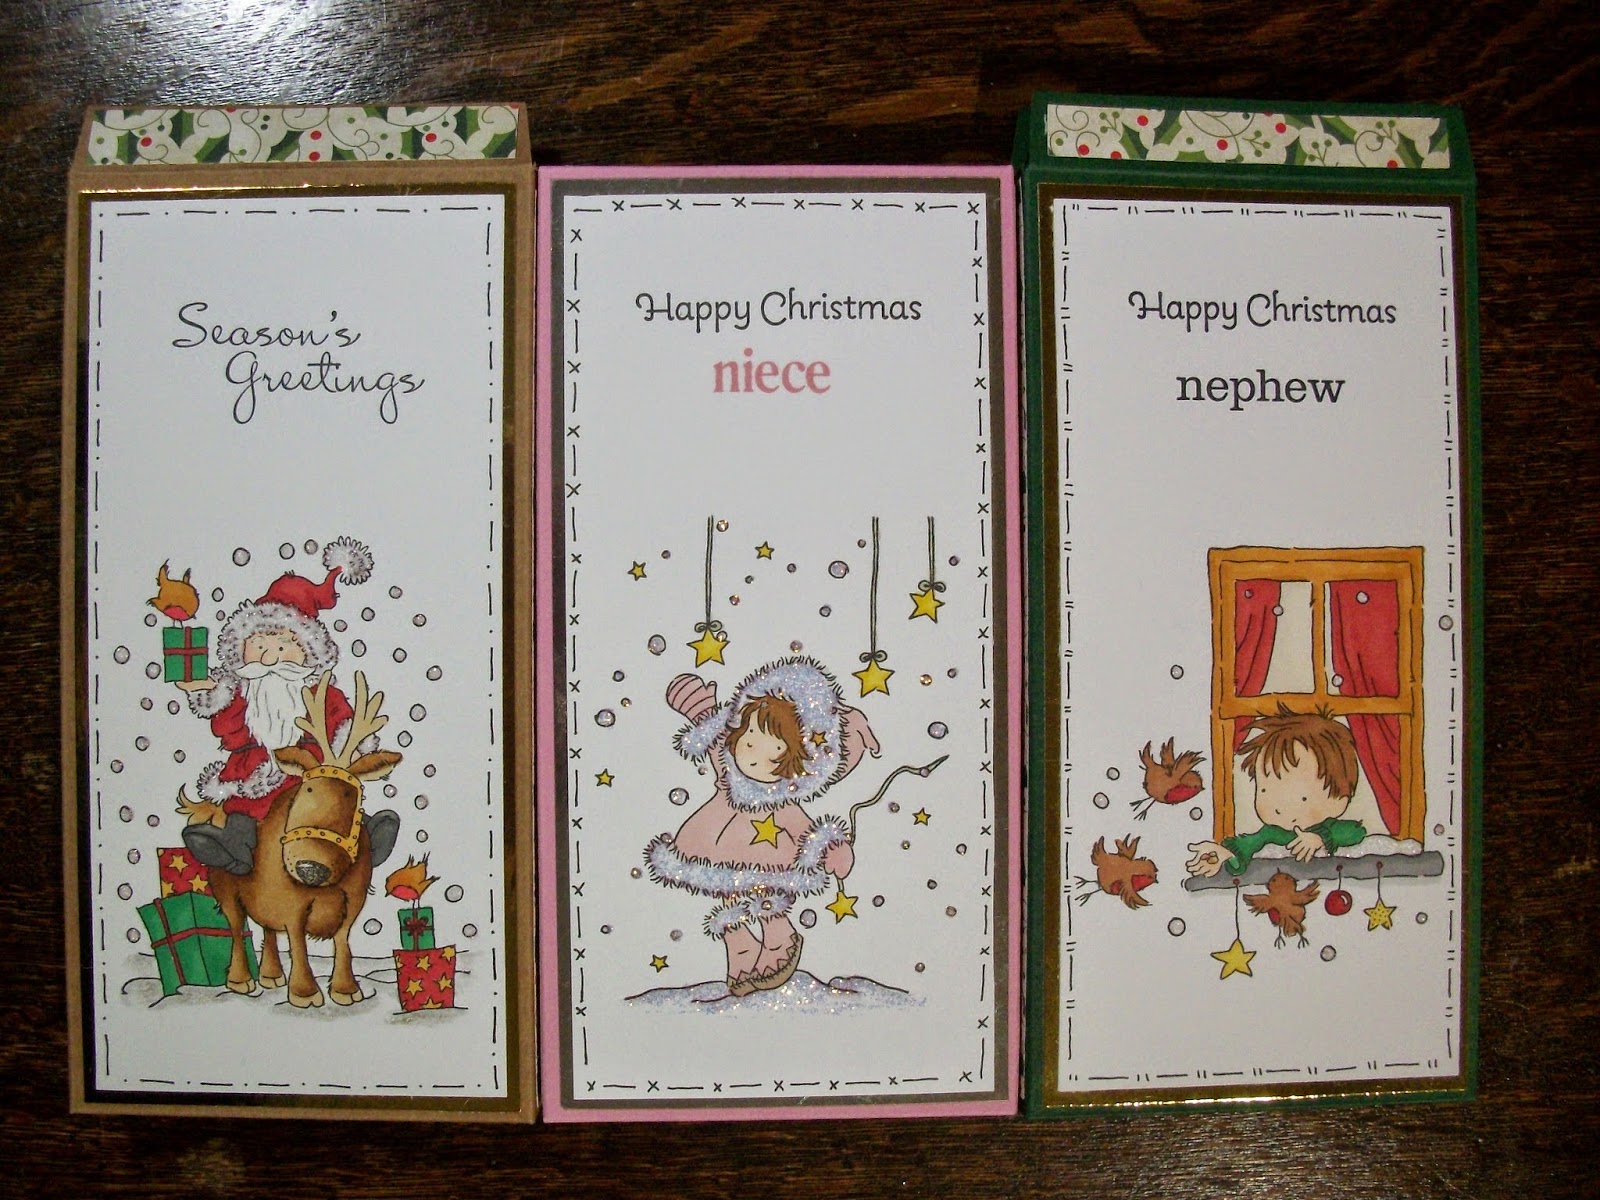
I've made these chocolate box cards to send the kids at christmas. I bought a chocolate bar and measured it to calculate the dimensions of the box. I took an A4 sheet of card and scored the net. folded it and cut it out. I then glued the box together. I then stamped and coloured an image from lili of the valley with a stampin up! sentiment on digi cardstock. I created a freehand border using the sekura micron pen, and added glitter to the images too. I layered mirri card behind the image and added this as a decorative panel to the front of the box. I also found coordinating papers to decorate the sides and top of the box. The chocolate was then sealed inside ready for the kids to open at Christmas.


I think this is a great idea to combine a card and a gift as the flap on the box creates somewhere to write your message and the box holds the gift. you can customise the boxes to have the card open at the front or back (depending on which way up you use the template!!) or make the box to fit a different sized gift. These aren't just for Christmas, change the image and you can send them any time of the year.
 
challenge #20 - Box it up!

'Merry Christmas'

Mx

Saturday, 2 November 2013

little red reindeer!!

 
stamps: magnolia reindeer tilda & the stocking (not sure what this is actually called), stampin up! more merry messages &distressed dots
inks: memento (tuxedo black), archival ink (vermillion &jet black), promarkers in various colours
cardstock: craftwork cards digi cardstock & 5x7 card blank
extra: cosmic shimmer iridescent watercolour paint (yellow sun)

 
so it's that time of year... meaning another Christmas card from me!! again, I kept this one simple, using just the red with a touch of brown for the  sack. the image and dots add a sense of fun and keep things cute and girly. the background was stamped in two stages, even though the stamp is a large one for backgrounds, the 5X7 card was just too big!! the girl was stamped onto the sack to give her a base to sit on. this meant using a masking technique as I used two stamps to create the look . I then cut her out and layered her up using various depths of foam pads for a 3D effect (this could also be done using silicone, but remember this makes it heavier to posting!!) i also added pearlescent paint to the bells. I think its these little touches that just create a more professional finish, which, for me, is especially important when keeping things simple.
 

http://abcchristmaschallenge.blogspot.co.uk/
'v' is for vixen
 
http://www.ribbongirls.blogspot.co.uk/
Magnolia- 'spots and dots'
 
Mx

Friday, 16 August 2013

a seasonal star !!

 
stamps: Christmas icons and sentiment from set 10, a5 by LOTV
inks: tim holtz distress inks, sepia archival ink pad, claudine hellmuth studio paints (and brushes)
other: craft card blank, organza ribbon, bakers twine, brad,mdf blank star, claudine hellmuth studio matt medium and tim holtz idea-ology terminology tissue wrap.


I made this card to incorporate the gift, with the removable Christmas ornament (perfect for the tree!!). I added a brad to the card, before sticking the topper down, to hold the ornament in place. I created the aged effect on the card and star using distress ink and sponged paint. i think the overall feel is a vintage, handmade take on Christmas.
 
 
inside


Mx