Showing posts with label presents. Show all posts

Wednesday, 15 November 2017

Christmas is coming...

  • Hunkydory Christmas classics luxury card collection: Christmas is coming...
  • Hunkydory second little book of Christmas
  • Hunkydory essential book of Christmas sentiments
  • gold mirri card
  • gold ribbon
  • A5, DL, 6x6" & 6x4" portrait and landscape white card blanks

For this A5 card, I used a little book image to create a nice big topper. I simply matted the page onto gold mirri and covered the card front with the cardstock. I then glued the topper in the centre with an essential book sentiment beneath, raised up on foam pads. I trimmed the coordinating insert down to finish the inside.
inside

With the 6" square card, I cut off the top border and turned the remaining cardstock around so the border ran vertical. I mat and layered this onto gold mirri to fill the card front. I then arranged the topper and coordinating tag from the collection onto the card. I glued the topper flat, raised the tag on foam and finished with a gold ribbon bow. The remainder of the insert sheet was trimmed down, so the inside of the card matched the backing paper on the front.
inside
 
Using the other sheet of cardstock, I created this DL card to make a feature of the printed image. I simply cut the cardstock down to fill the card front and finished with the coordinating 'north pole' sentiment glued down with foam pads. I trimmed the sentiment section of the insert down to fit inside.
inside

I switched the vertical stripes of the cardstock to horizontal to work with the oval topper in the collection. I simply cut the cardstock to fit the 6x4" card front. I then added the image and sentiment toppers into place, again using foam for dimension.

For the final card, I pieced the front with the striped card and the cut off border from the first sheet. I edged the border with gold mirri card to create a neat finish. I then positioned the little train topper alongside a sentiment from the essential book to complete the card.

Mx

Friday, 10 November 2017

glorious gifts

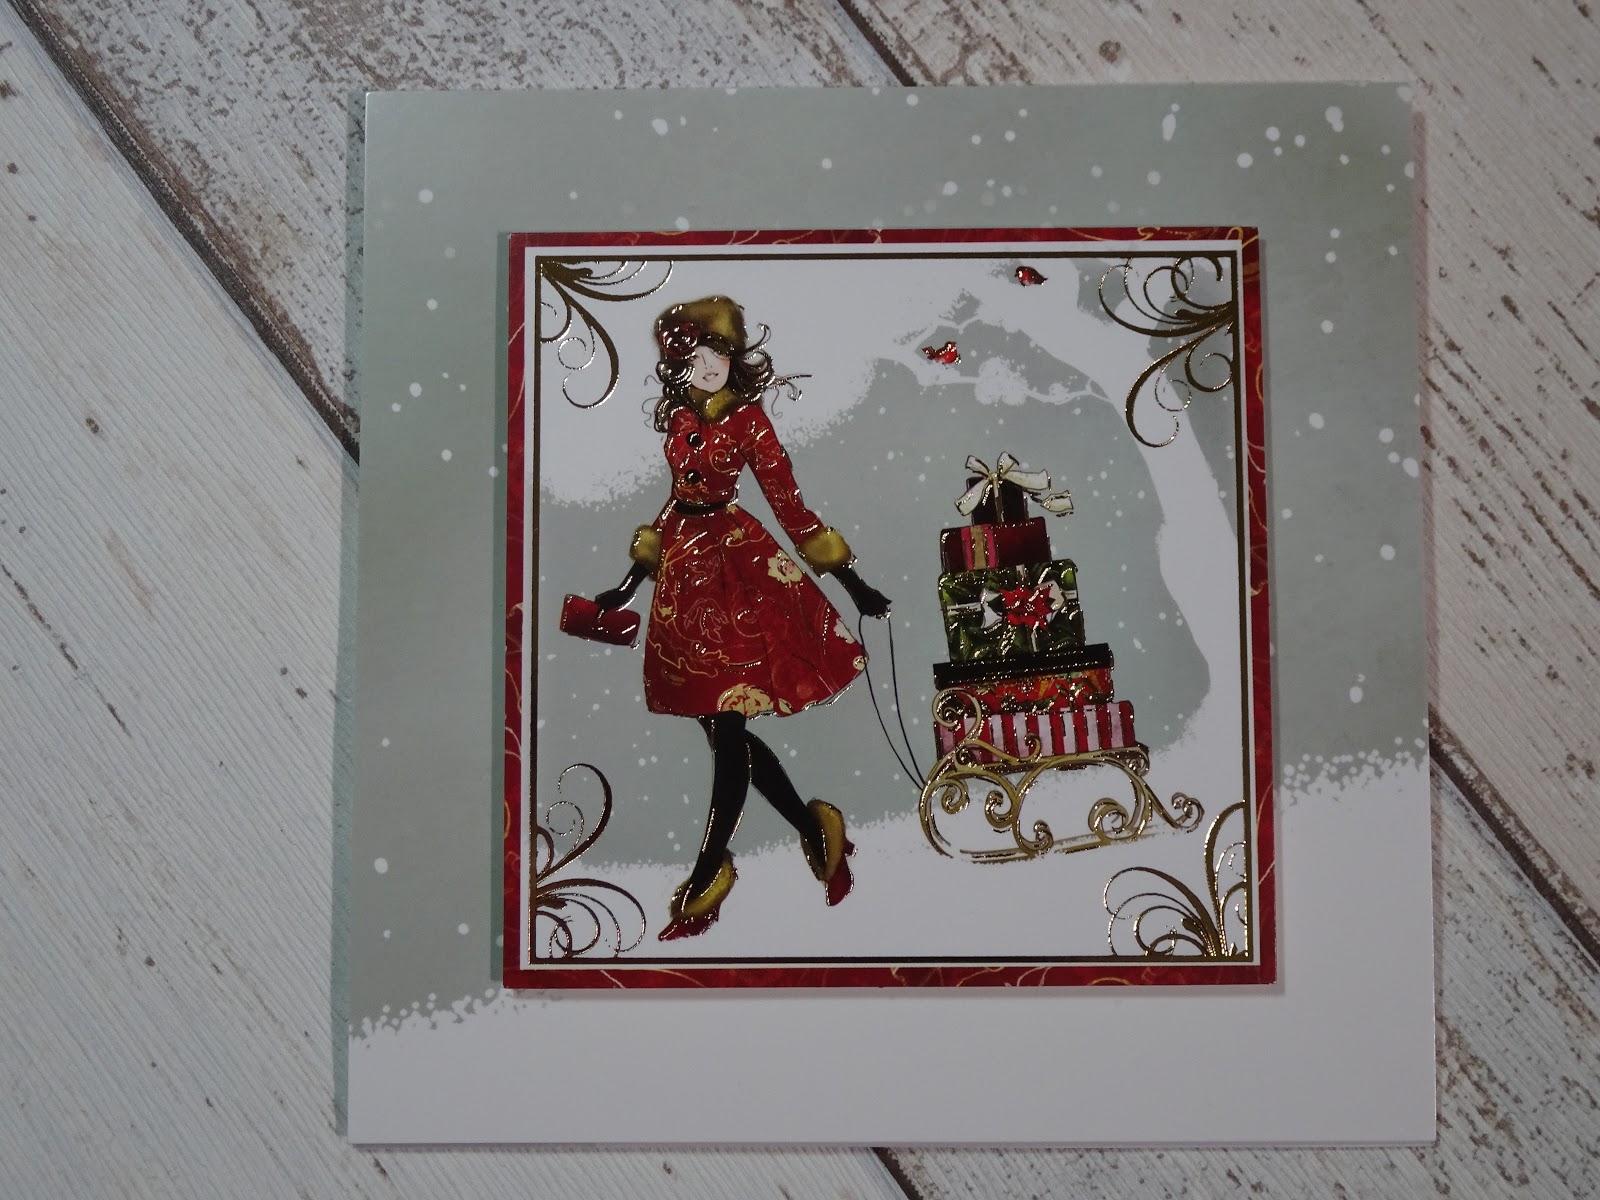
  • Hunkydory festive elegance luxury card collection: glorious gifts
  • Hunkydory essential book of Christmas sentiments
  • 8x8", 5x7" & 5x5" white card blanks

To make this card, I cut the borders off the piece of cardstock, then cut the red spot cardstock to size. I glued the first border and the red spot cardstock to the front of my card blank. I then trimmed off the remaining white card from the front to create a reveal. I glued the toppers onto the card front using foam tape for dimension. I then trimmed the insert to size, stamped it with a Christmas sentiment and glued this inside the card. I added the second border to the outer edge to complete the card,(you will be able to see this when the card is closed too).  

inside

I created this easel card using a 5" square card blank. I added an extra score line to the centre of my card front and folded the card front in half.  I cut a piece of cardstock to 5" square and only put adhesive on the bottom half to glue to the card front, creating the easel base. I then covered the panel in patterned cardstock from the collection. I added an image topper to the centre of the card front. I then trimmed the insert to fill the inside of the card. I added the border on foam pads across the inside to create the stopper and completed with a sentiment topper in the bottom corner. 


front

inside

For this card, I used the remaining red spot from a previous card and added the foiled border, cut from a second piece of cardstock. I glued gold mirri onto my 5x7" landscape card blank and matted with the patterned cardstock. I glued the circle topper flat and added the sentiment topper with foam tape for dimension.

For the final card, I used the remaining border alongside the printed image cardstock. I trimmed the pieces to fit on the front of a 5" square card and glued them flat. I positioned a sentiment from the essential book across the border and image to bring the design together.

Mx

Thursday, 5 October 2017

mr snowman


  • Hunkydory cute Christmas collection 'merry Christmas Mr snowman'
  • Hunkydory essential book of Christmas sentiments
  • silver mirri card
  • 5x7", 5x5", 6x4" & DL white card blanks
  • white satin ribbon
To make this 5x5" card, I simply matt and layered the card blank with silver mirri and patterned cardstock. I glued the circle topper flat in the centre and added the sentiment topper using foam tape. I finished it off with an insert, trimmed to fit.


inside

To make this DL card, I matt and layered a piece of patterned cardstock onto silver mirri. I then wrapped the white ribbon around this, secured it at the back and tied a double bow on the front up at the top. I glued this panel onto my card blank. I added the 3 little toppers on to the card using foam tape. I added an insert to complete the card.

inside

For this 5x7" card, I simply glued cardstock onto the front of my 5x7" card blank then glued the topper in place using foam tape for dimension. I added white twine through the hole in the sentiment tag and tied in a bow before sticking onto my card using foam tape. I have cut my insert to size and will stamp with a Christmas message before I glue it into my card.

inside

For the final card, I took the section of cardstock printed with the snowman image and trimmed to fit on the 6x4" card. I added a matt of mirri card onto the front before layering the image on. I completed the card with a nice little sentiment from the essential book.


Mx

Sunday, 3 September 2017

packaging pouches!!


  • Kraft & cream cardstock
  • Stampin up! 'skinny mini alphabet' & 'epic alphabet' stamp sets
  • Archival ' sepia' ink pad 
  • Card bags
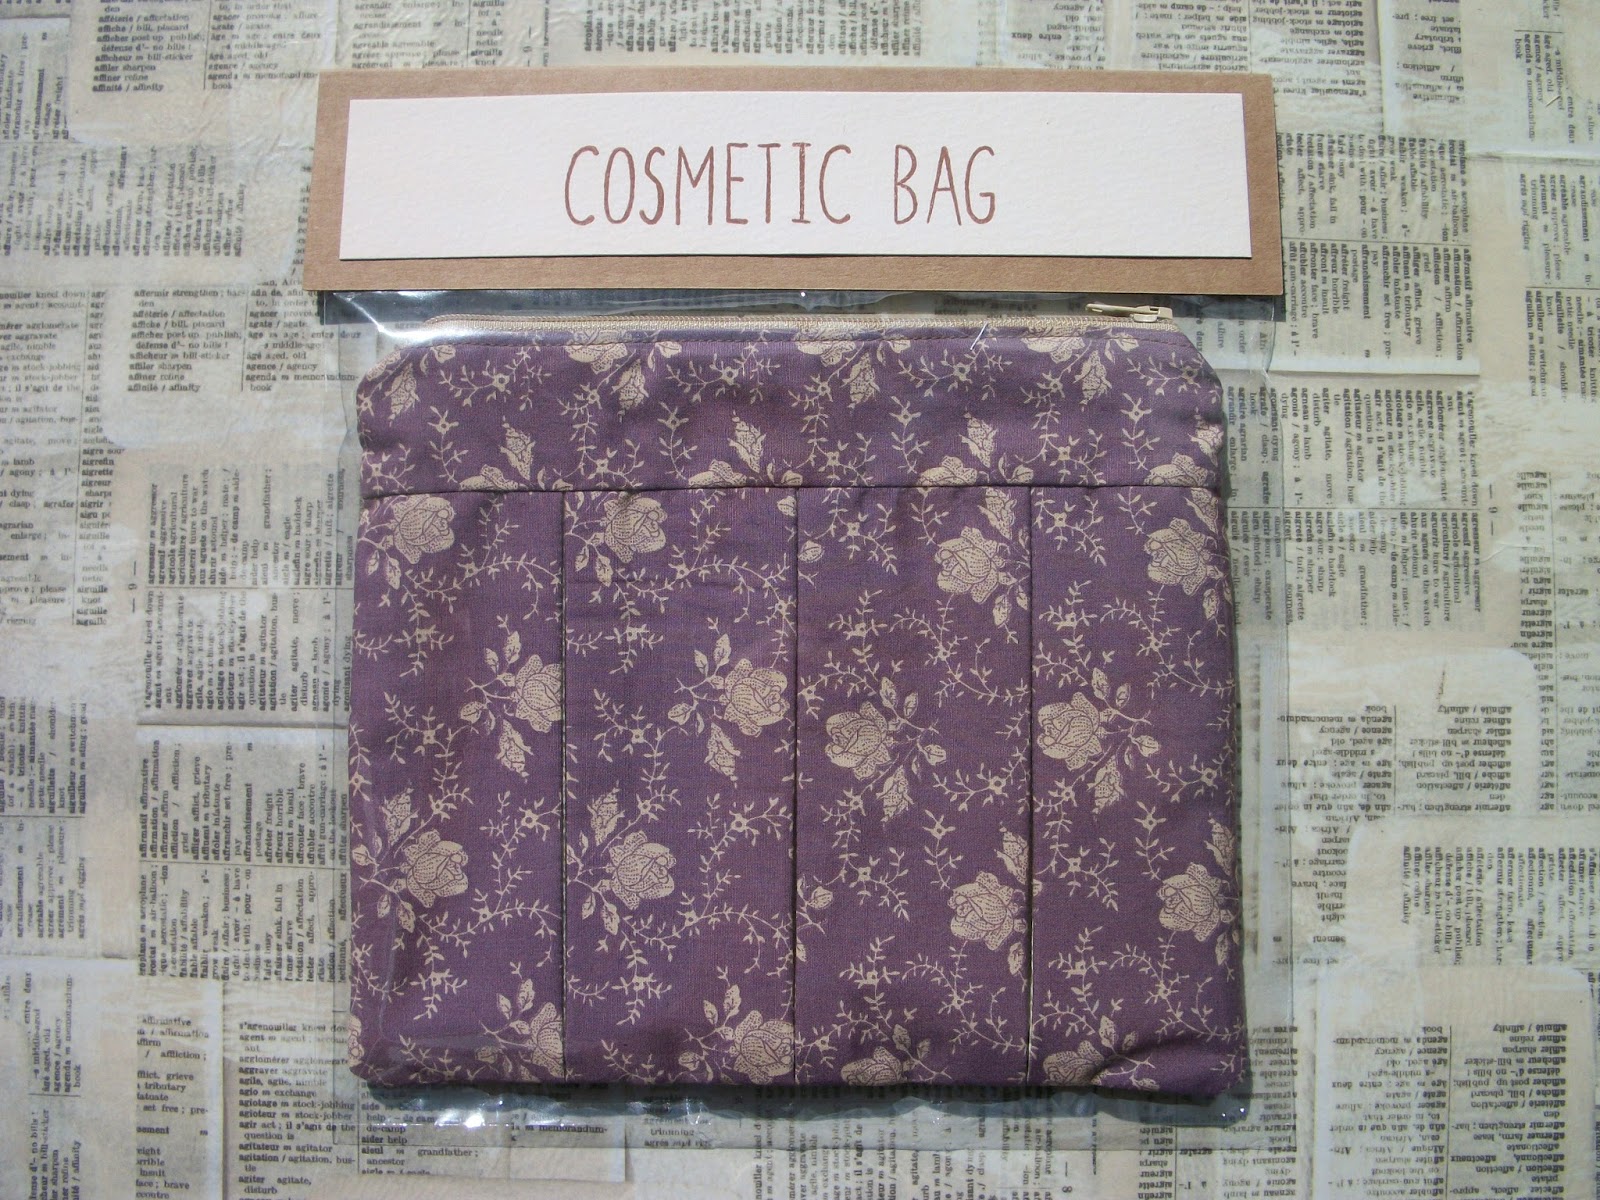
I stitched these little pouches as gifts and wanted to package them nicely to send. I found clear card bags which fit the pouches in neatly and sealed them in. For the top piece, I measured the width of the bag and decided on the height I wanted, (bearing in mind the stamp size + matting). I cut the Kraft card to the right width and doubled the height. I folded the cardstock in half over the top of the bag and secured with staples. I then cut the cream cardstock to layer on top and cover the staples. Before gluing into place, I used the letter stamps to spell out the contents 'wash bag!' or 'cosmetic bag' to complete this simple packaging. 


Mx

Monday, 28 November 2016

perfectly patterned presents !!

  • paper artsy JOFY 'jm30' rubber stamp
  • paper smooches wise dies -Christmas words 2
  • lawn fawn lawn cuts - small cross- stitched rectangle stackables & small cross- stitched circle stackables
  • HOTP patterned paper
  • vellum
  • white glitter cardstock
  • 6x4 white landscape card blank
  • archival jet black ink pad
I cut the white glitter card to fill the front of my card blank and gutted it. I then added a matt of patterned paper which I had die cut using the stitched edge. I cut a circle of vellum using one of the stitched edge dies. I also die cut the sentiments from white glitter cardstock. For the image, I stamped the presents onto several different papers, which coordinated with the background matt. I then fussy cut these out and paper pieced them together, to give the effect of different wrapping on each of the presents. I then assembled all of the pieces onto the card blank, following the sketch layout and glued down to complete the card.
 
Mx

I would like to enter the following challenge:
freshly made sketch #264
simon Wednesday says 'Christmas to doe for'
abc Christmas challenge 'x is for... criss cross'

Monday, 21 November 2016

pups with presents...

 
  • LOTV- pups with present
  • circa design- sentiment stamp WD-GR-22
  • lawn fawn- large stitched rectangle stackables
  • my favourite things- stitch rectangle scallop edge frames
  • Neenah desert storm cardstock
  • archival 'jet black' ink pad
  • prisma color pencils- dog1:941,946,947,948. dog2:1070,1072,1074,1076,935. red:923,924. green:1090,911. present:1089,920,950. white:938,1060.
  • sakura '01' micron pen
  • sakura '#849' black glaze pen
  • uni-ball signo broad 'white' pen
  • doodlebug 'lily white' glitter
  • black & red cardstock.
 
I die cut a panel of Neenah cardstock and stamped my image and sentiment in the centre. I coloured my image using prisma colour pencils. I highlighted the dogs eyes and noses on my image using a glaze pen. I added on some snow in the background using a white pen. Since I lost some of the details and the outline whilst colouring, I relined the image using a black pen. For extra sparkle, I used tombow glue to add glitter to the snow. To make my frame, I die cut 2 frames from black cardstock and 1 frame in red cardstock. I layered all 3 together to add slight dimension to the frame. I then added this frame onto the panel. When all the glue had dried, the final step was to glue my finished panel onto my card blank.
Mx
 
I would like to enter the following challenges:

the paper players - clean and simple Christmas
the ribbon girl - November 'use any image' challenge 

puppy with stocking...

 
  • LOTV- puppy with stocking
  • circa design- wonderful Christmas stamp XM-VS-25
  • avery elle- a tag for all die
  • Neenah classic crest white cardstock
  • memento 'tuxedo black' ink pad
  • copics- E59,57,55,53,39,37,35,34. R46,27,24. YG67,63,61. YR21,23. & cool grey markers
  • sakura black '#849' glaze pen
  • wink of stella 'gold' glitter brush pen
  • ranger ice stckles glitter glue
  • gold bells
  • American crafts red bakers twine
 
To create this shaped card I die cut my cardstock into a tag shape. I stamped my sentiment and image, then coloured using copics. I added details to the image using a glaze pen for the dogs eyes and nose, gold glitter on the tinsel and presents, and stickles for texture on the stocking. I used bakers twine to add some gold jingle bells and a bow to the top of my tag. I glued the tag shaped panel onto a card blank, which I had trimmed down to the same size and shape as the tag.
Mx
 
challenges I would like to enter:

the paper players - clean and simple Christmas

Sunday, 29 November 2015

pups with present ...

  • 4x4" white card blank
  • white and red cardstock
  • SU! snowfall embossing folder
  • lotv- pups with present
  • memento, white marker friendly cardstock
  • copics (E43,44,47,49,55,57,59. C00,0,2. R24,27,29. G17,29.)
  • stickles- star dust 
  • sakura glaze pen- clear

I cut and embossed a piece of white cardstock with snowfall. I mat and layered on to some red cardstock, before sticking this to my card blank. I cut some white cardstock to fit the bottom third of my embossed mat and trimmed the top to create a wavy snow bank. I stamped, coloured and fussy cut my dog images. I glued the dogs into position to form a snowy scene. I added some glitter to the snow and glazed the dogs noses. I kept this small card quite simple and have chosen to add my sentiment to the inside. 
Mx
 
the challenges I would like to enter:

Monday, 23 November 2015

christmas with friends ...


  • 7x7" white card blank, red and green cardstock, copic friendly cardstock
  • crafters companion (Christmas in moonbeam meadow) - Rudolph and friends
  • SU! warmth and wonder stamps & softly falling embossing folder
  • memento ink pad (tuxedo black)
  • copics (E81,53,55,57,59. E43,44,47,49,81. R24,27,29. G7,14. Y13,15. C00,0,01,02.)
  • tattered lace essentials circle dies
  • ribbon
  • wink of stella- clear
  • ranger glossy accents

I cut my base layers, then embossed the white mat before sticking this to the green one. I glued the ribbon on and secured it to the back of the green card before matting onto the card blank. I die-cut the circle mats and stamped the white one with my image and sentiment. I coloured the image and added glitter and gloss. I added this layer onto the card using foam for dimension.
Mx
 
 challenges I would like to enter are:


Tuesday, 11 August 2015

fruity!!


I have decorated some tea towel as a gift and felt they needed some packaging.
 I cut 2 pieces of white card to 14x19cm, I used them as a guide to fold the 2 towels neatly and to the same size. I next made a label I cut a 14x4cm piece of cream card, I used coffee archival ink pad and the SU! skinny mini alphabet. then I cut a 35x5cm band of kraft card, this was scored at 15cm, 16.5cm, 31.5 & 33. glue is placed on the left over 2cm flap, the label  is added to one of the long sections and a handmade stamp added to the 2nd. the final thing to do was stack the tea towel, wrap the band around and glue the flap to join the band. I put the finished item into a card bag and sealed it, to keep the tea towels nice and clean.
 
check out how I made these tea towels, on my other blog here...

Mx


Tuesday, 18 November 2014

chocolate box


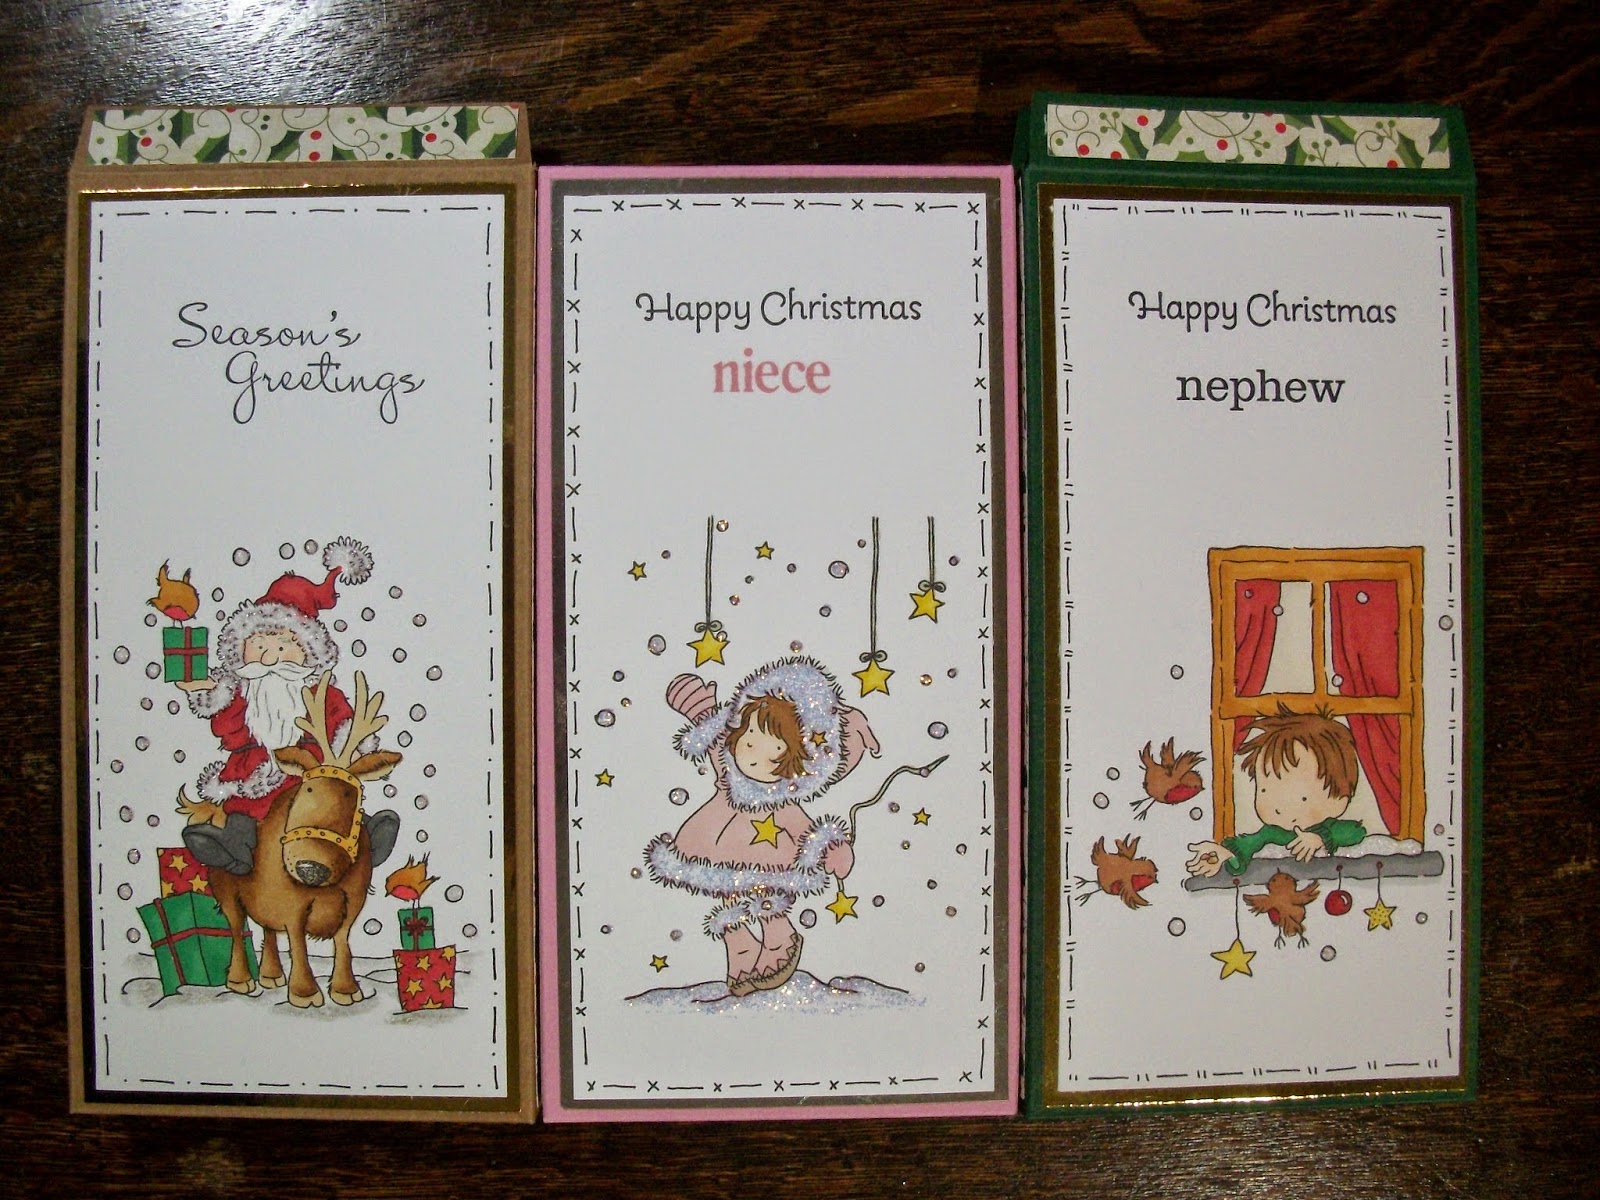
I've made these chocolate box cards to send the kids at christmas. I bought a chocolate bar and measured it to calculate the dimensions of the box. I took an A4 sheet of card and scored the net. folded it and cut it out. I then glued the box together. I then stamped and coloured an image from lili of the valley with a stampin up! sentiment on digi cardstock. I created a freehand border using the sekura micron pen, and added glitter to the images too. I layered mirri card behind the image and added this as a decorative panel to the front of the box. I also found coordinating papers to decorate the sides and top of the box. The chocolate was then sealed inside ready for the kids to open at Christmas.


I think this is a great idea to combine a card and a gift as the flap on the box creates somewhere to write your message and the box holds the gift. you can customise the boxes to have the card open at the front or back (depending on which way up you use the template!!) or make the box to fit a different sized gift. These aren't just for Christmas, change the image and you can send them any time of the year.
 
challenge #20 - Box it up!

'Merry Christmas'

Mx

Tuesday, 1 April 2014

a bright idea for christmas !!


stamps: paperartsy jofy 20, jm05, jm30 & jm31
inks: memento (tuxedo black) ink pad, promarkers
cardstock: craftwork cards digi cardstock plus 6x4" card blank
extras: xcut corner rounder

time is flying, we are already in april... Christmas will be here before you know it so here's a simple idea to help you get prepared !!
I cut the cardstock down to fit the card and stamped the main focal image. I stamped it again onto a post it note to cut out a mask layer. I then stuck the mask down and stamped the background image. I removed the mask layer and positioned the sentiment to one side beneath, following the sketch. the image was coloured using promarkers. for a finishing touch, I simply rounded two of the corners of the matt before sticking it down onto the card blank. 


Mx

Tuesday, 24 December 2013

12 days of christmas...

so ive been a little busy this year and haven't done an official 12 projects for Christmas, but ive put together some of my favourite projects from this year ...
 
 
Christmas cake simply decorated with icing, using the holly leaf cutter, with a little help from the family in the spirit of Christmas !!


I used craftwork card products to create this door hanger... you could take this idea to make your own version using any scraps and off cuts of paper or card left over from this seasons makes!!


I hope you have all enjoyed my makes this year, have a lovely Christmas and a fab new year !!
 
 Mx