Showing posts with label disney. Show all posts

Friday, 1 March 2019

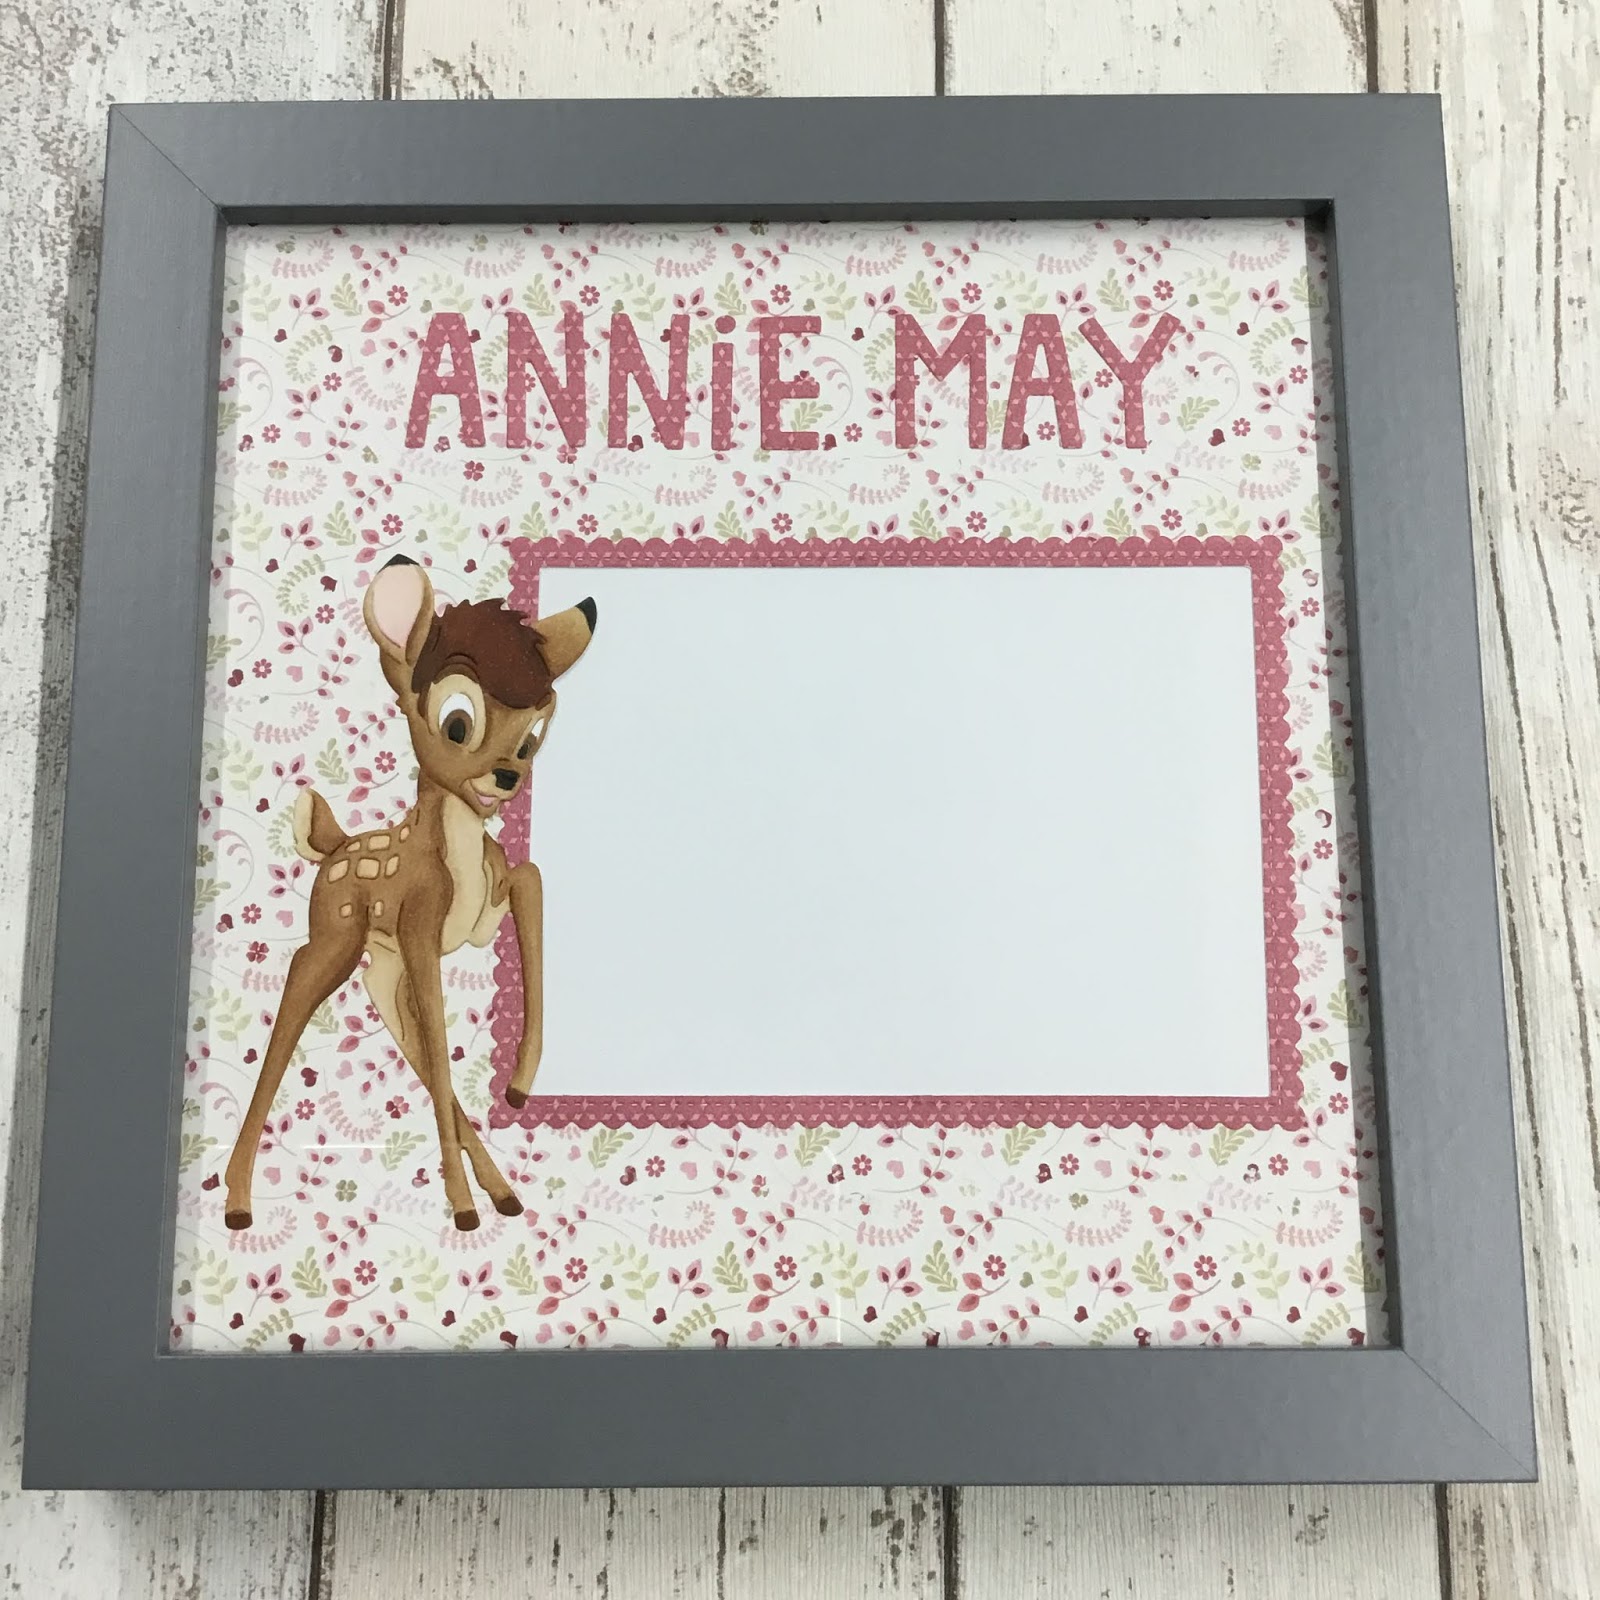
Bambi frame gift


  • Disney bambi metal die
  • Nit wit & LOTV- always & forever paper pad
  • My favourite things- stitch rectangle scallop edge frames
  • Lawn fawn- finley’s ABC’s dies
  • Copic friendly cardstock
  • Copic markers- E30,31,34,35,37,39,57,59. W8,10. R000,81,83.
  • Grey 8” square frame (mine was from wilko)
To make this frame gift, I selected two pieces of coordinating paper. I chose one 8x8 piece for the background and the other to die cut from for embellishments. I diecut the frame and letters to spell the name from the patterned paper. I also diecut my bambi image from white card and added tape to the back, whilst all the pieces where still in the metal die, to hold the sections together. I then removed the bambi from the die and added back in any pieces that had fallen out. I used copic markers to colour the image, using a picture online as reference. 
I decided on the best layout and glued all of the pieces onto the background paper. I used a craft knife to remove any paper showing through the die-cut frame to create an aperture for a photo to sit behind.
I slotted this finished piece into the frame and added a sheet of white card behind, to make it look nice for gifting. I prefer to leave it for the child’s parents to decide which picture they want to display rather than selecting one you like.
Mx

Tuesday, 2 January 2018

Bambi for baby...


  • Disney Bambi metal die
  • My favourite things- stitched rectangle scallop edge frame
  • Lawn fawn-Finley's ABCs
  • Forever friends (docrafts) Kraft notes 12" paper pad
  • Neenahclassic crest cardstock
  • Copics- E30,31,34,35,37,39,57,59. W8,10. R83,81,000.
  • Grey 8" square frame
First I cut check paper to fill the background of the frame.
I then die cut letters from coordinating lilac paper, to spell out the baby's name. To position the letters, I started in the centre and worked outwards to space them evenly before gluing down. To create a frame for the photo, I found the right size scallop frame die and cut from lilac paper. This was then glued in place beneath the name. For a cute focal point, I die cut the Bambi image from white card stock, with tape on the back to stop all the pieces falling out. I coloured him using copics before I glued into position, slightly overlapping the diecut frame. Using a craft knife, I cut around the inside of the frame to remove the check paper and create an aperture for a photo. I cut a piece of white cardstock to fit the frame. I layered this behind my decorated piece as a plain backing for the aperture to make it look nicer to gift. 
Once the new parents receive their frame, they can simply open the back and pop their chosen picture of their new baby girl into place. Of course you could change the colour scheme as a gift for a baby boy too!! 

Mx

Thursday, 9 March 2017

Winnie the pooh

  • Disney Winnie the pooh- honey pot fun metal die
  • Avery elle- woodland wonders
  • Mama elephant- Madison avenue framed tags
  • Memento 'tuxedo black'ink pad
  • Neenahclassic crest cardstock
  • Copics- E55,57,59 &47. YG63,67. R24,27. Y15,18. 100.
  • Sakura 'clear star' glitter pen & #849 (black) glaze pen
  • Sakura  01 micron pen
  • Tim holtz 'tumbled glass'distress ink pad
  • White, yellow, red & brown cardstock

I created a background by stamping the trees and colouring with copics. I then masked the trees and inked the card blank blue. I die cut a frame to fit the card. For the sentiment, I stamped the banner, positioned the sentiment inside and die cut into the banner. Finally, I took the winnie the pooh and die cut him from white cardstock as a base layer. I then die cut the relevant pieces from coloured cardstock and paper pieced onto the base layer. I used my copics to add shading to the banner and pooh bear, as well as colouring the bee. I added the lines on the honey pot and face with the sakura micron pen. I glued down all the pieces onto the card blank, using foam to add dimension and finished off with glazing to the nose and glitter on the bees wings.
Mx
I would like to enter the following challenge: