Showing posts with label customised. Show all posts

Friday, 1 March 2019

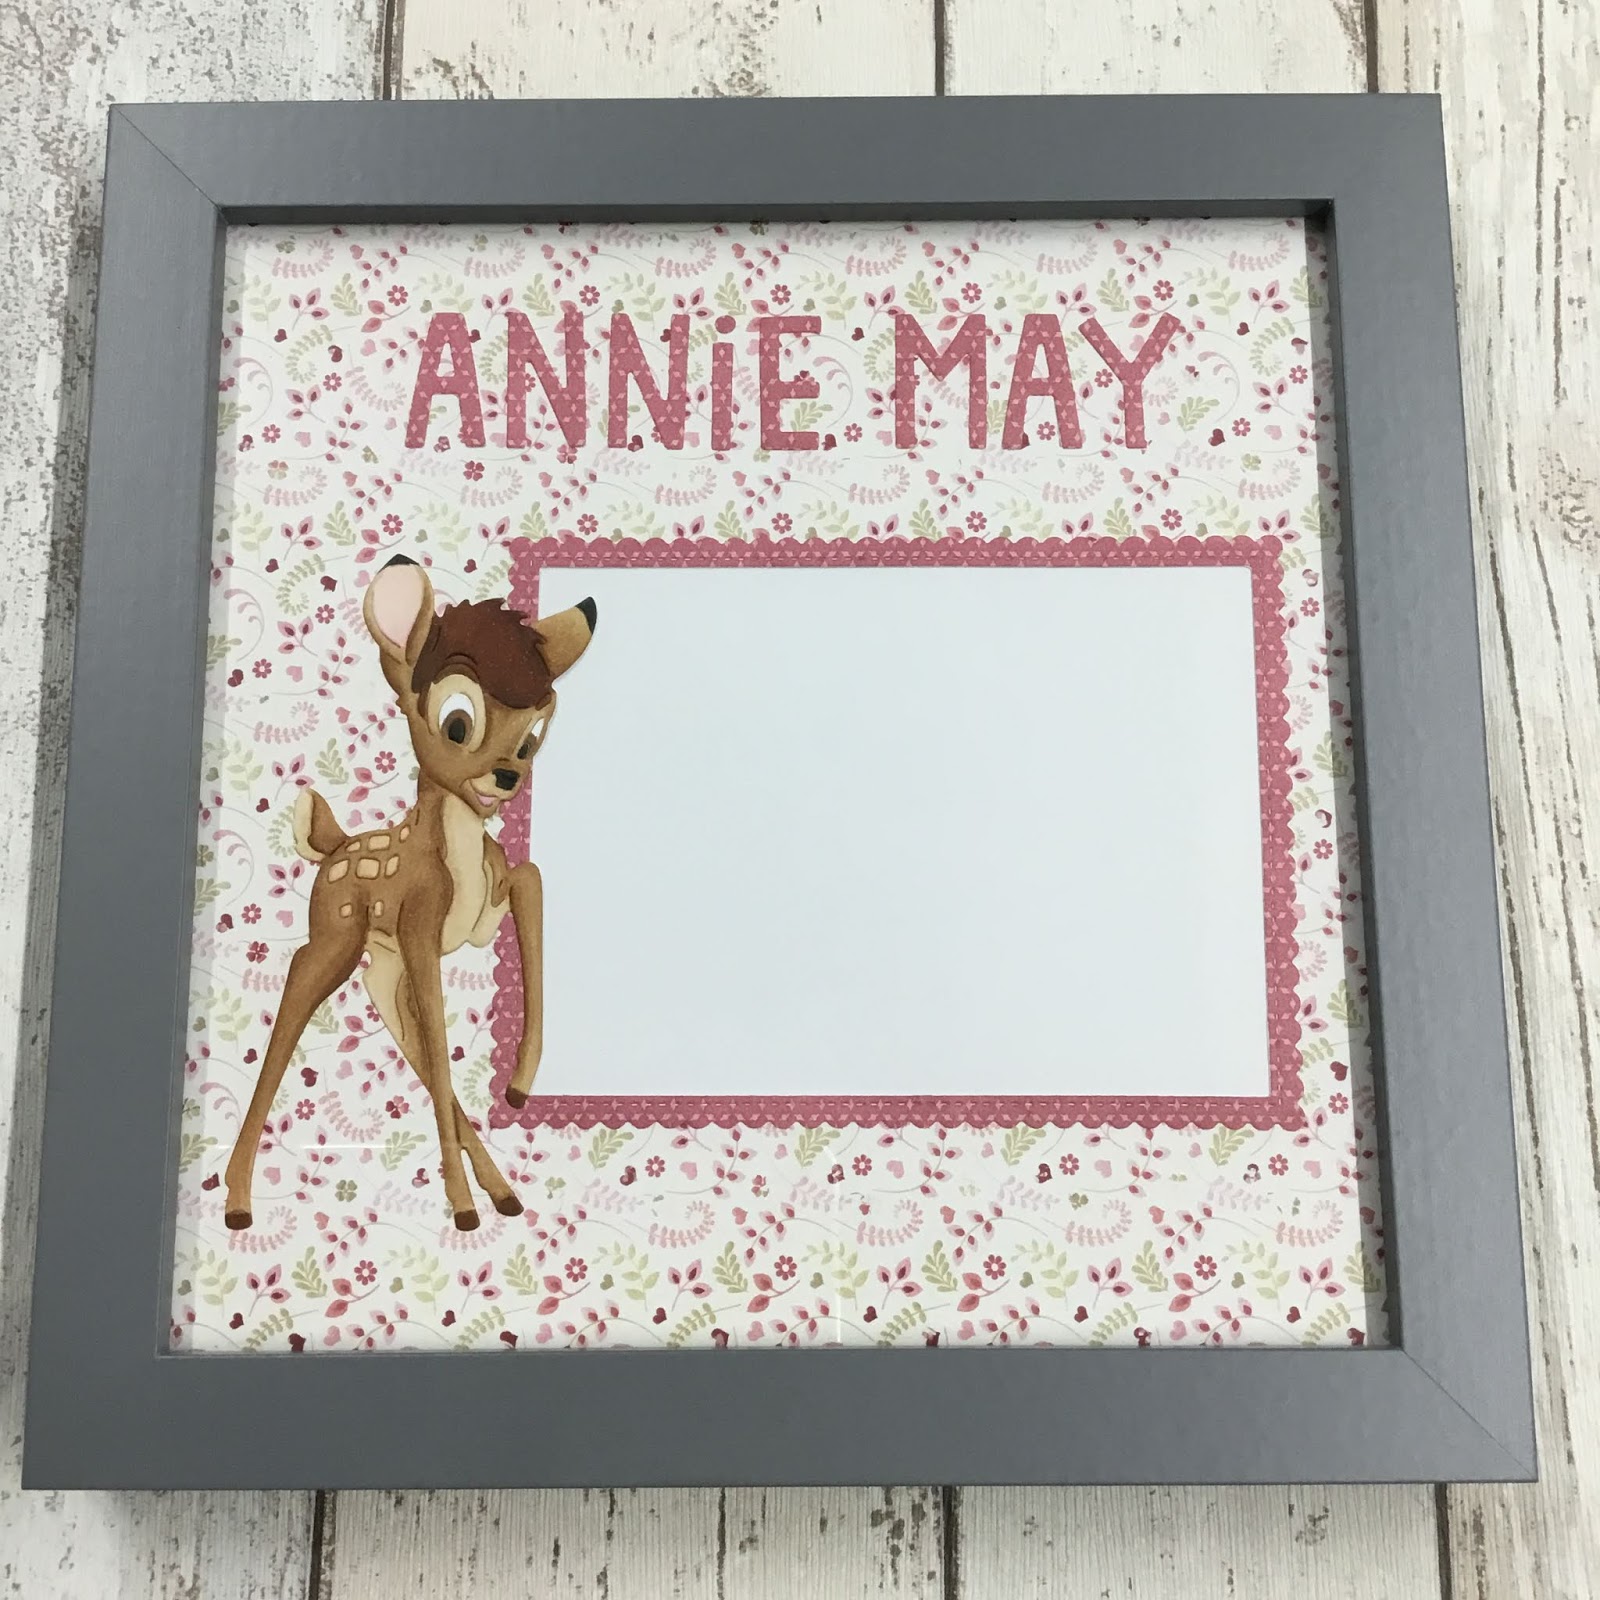
Bambi frame gift


  • Disney bambi metal die
  • Nit wit & LOTV- always & forever paper pad
  • My favourite things- stitch rectangle scallop edge frames
  • Lawn fawn- finley’s ABC’s dies
  • Copic friendly cardstock
  • Copic markers- E30,31,34,35,37,39,57,59. W8,10. R000,81,83.
  • Grey 8” square frame (mine was from wilko)
To make this frame gift, I selected two pieces of coordinating paper. I chose one 8x8 piece for the background and the other to die cut from for embellishments. I diecut the frame and letters to spell the name from the patterned paper. I also diecut my bambi image from white card and added tape to the back, whilst all the pieces where still in the metal die, to hold the sections together. I then removed the bambi from the die and added back in any pieces that had fallen out. I used copic markers to colour the image, using a picture online as reference. 
I decided on the best layout and glued all of the pieces onto the background paper. I used a craft knife to remove any paper showing through the die-cut frame to create an aperture for a photo to sit behind.
I slotted this finished piece into the frame and added a sheet of white card behind, to make it look nice for gifting. I prefer to leave it for the child’s parents to decide which picture they want to display rather than selecting one you like.
Mx

Saturday, 22 December 2018

for the grandparents


  • LOTV- twice as nice
  • Neenah classic crest cardstock 
  • Copics- C00,0,1,3,4,5,6. E21,50,51,93. RV91. R81,83,85.
  • Lawn fawn- large stitched rectangle stackable 
  • Wink of Stella ‘clear’ glitter brush marker

I was asked to make a grandparents card to say congratulations on the arrival of twins. As I was struggling to find the perfect sentiment, I created a custom one digitally and printed onto cardstock. I then stamped my image above the sentiment and coloured it with copics. I used stitches stackable dies to cut the cardstock and patterned paper into panels. These were simply glued down flat to the card blank. I added a touch of sparkle to the hearts to complete.
Mx

Monday, 12 November 2018

sweet baby


  • LOTV- sweet baby stamp set
  • Lawn fawn- large rectangle stitched stackables
  • LOTV & nit wit- country meadow paper pad
  • Neenah classic crest cardstock 
  • copics- E21,50,51,93. C00,0,1,2. R85,83,81. RV91. Y15,13,11. YR30
  • Wink of Stella ‘clear’ glitter brush pen
I printed my custom sentiment made on the computer, onto cardstock leaving space for the image. I stamped the image above the sentiment and die cut into a panel. I coloured with copics and added sparkle to the dots. I then diecut some patterned paper using the larger die which fits neatly onto the card blank. I simply layered these together flat and glued onto the card front to finish.
Mx

Friday, 9 November 2018

my birthday cake

  • LOTV- my birthday cake
  • LOTV & nitwit- pastel dreams
  • Tattered lace- essentials circle dies
  • Neenah classic crest cardstock
  • Memento ‘tuxedo black’ ink pad
  • Copics- E21,50,51,93. R85,83,81. RV91. BG23,11,10. Y13. YR30. E31,35,37,43,44,55,57,59. C00,1,3.
  • Wink of Stella ‘clear’ glitter brush marker
  • Ranger glossy accents 
  • Pink cardstock

  • I stamped, coloured and die cut my image into a circle. I layered this onto the next size die-cut circle, in a coordinating coloured cardstock. I printed my sentiment onto cardstock and die-cut it into a circle, then layered it with pink the same as the image. I mat and layered the card blank with coloured cardstock and floral paper. To complete the card, I glued everything onto my card blank, using different depths of foam pads for dimension. The final touch was a bit of sparkle and some glossy accents on the balloon.
 
Mx