Showing posts with label acetate. Show all posts

Friday, 19 July 2019

Chic 60th


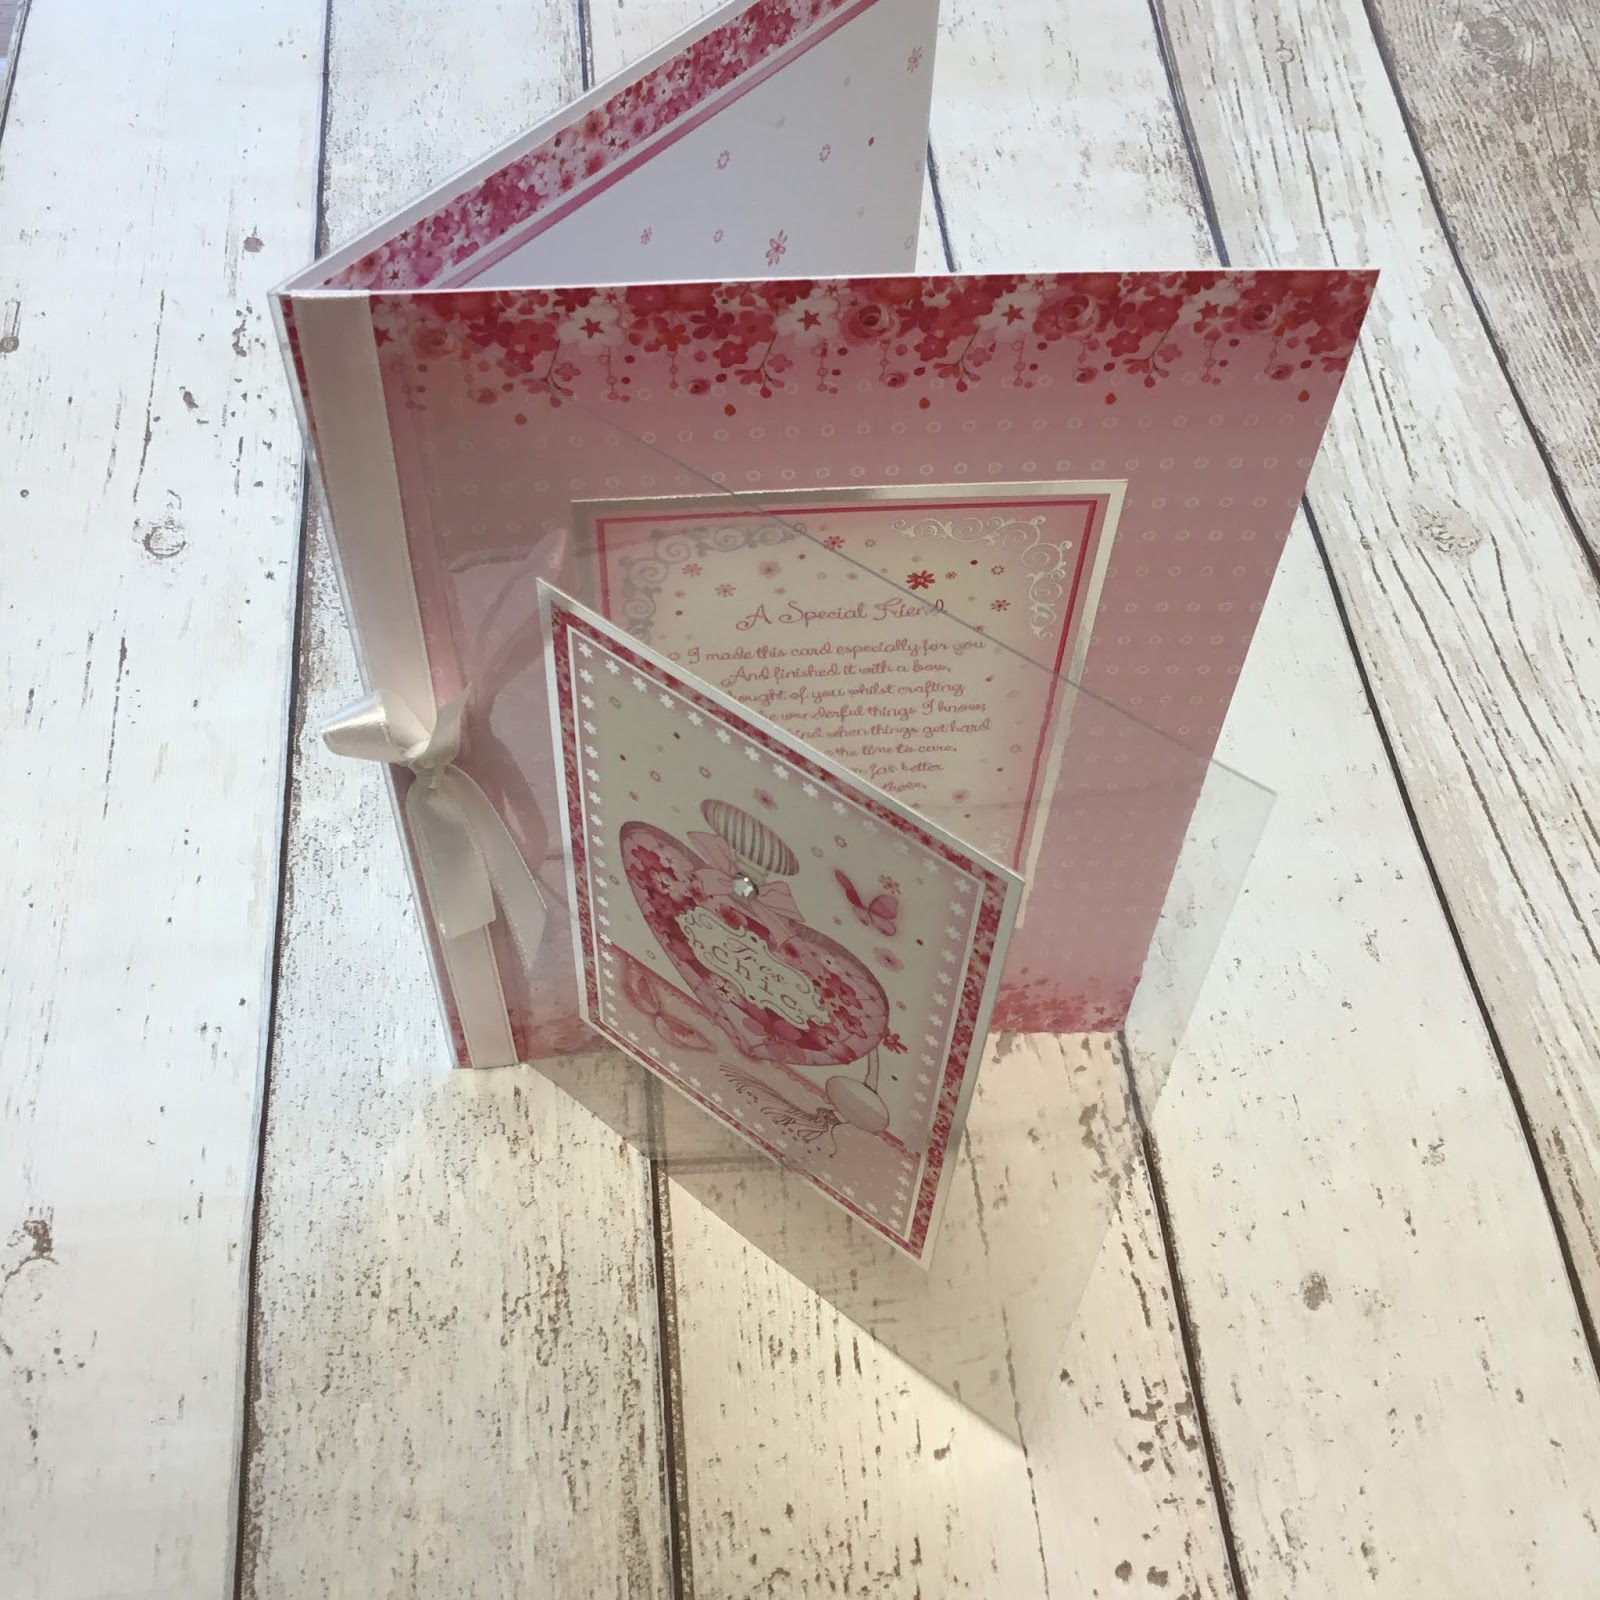
So I wanted to make a special card for a friends 60th birthday. I instantly thought of using the hunkydory window to the heart postcard collection. I used the a special friend toppers, matching paper and insert. 
 
 
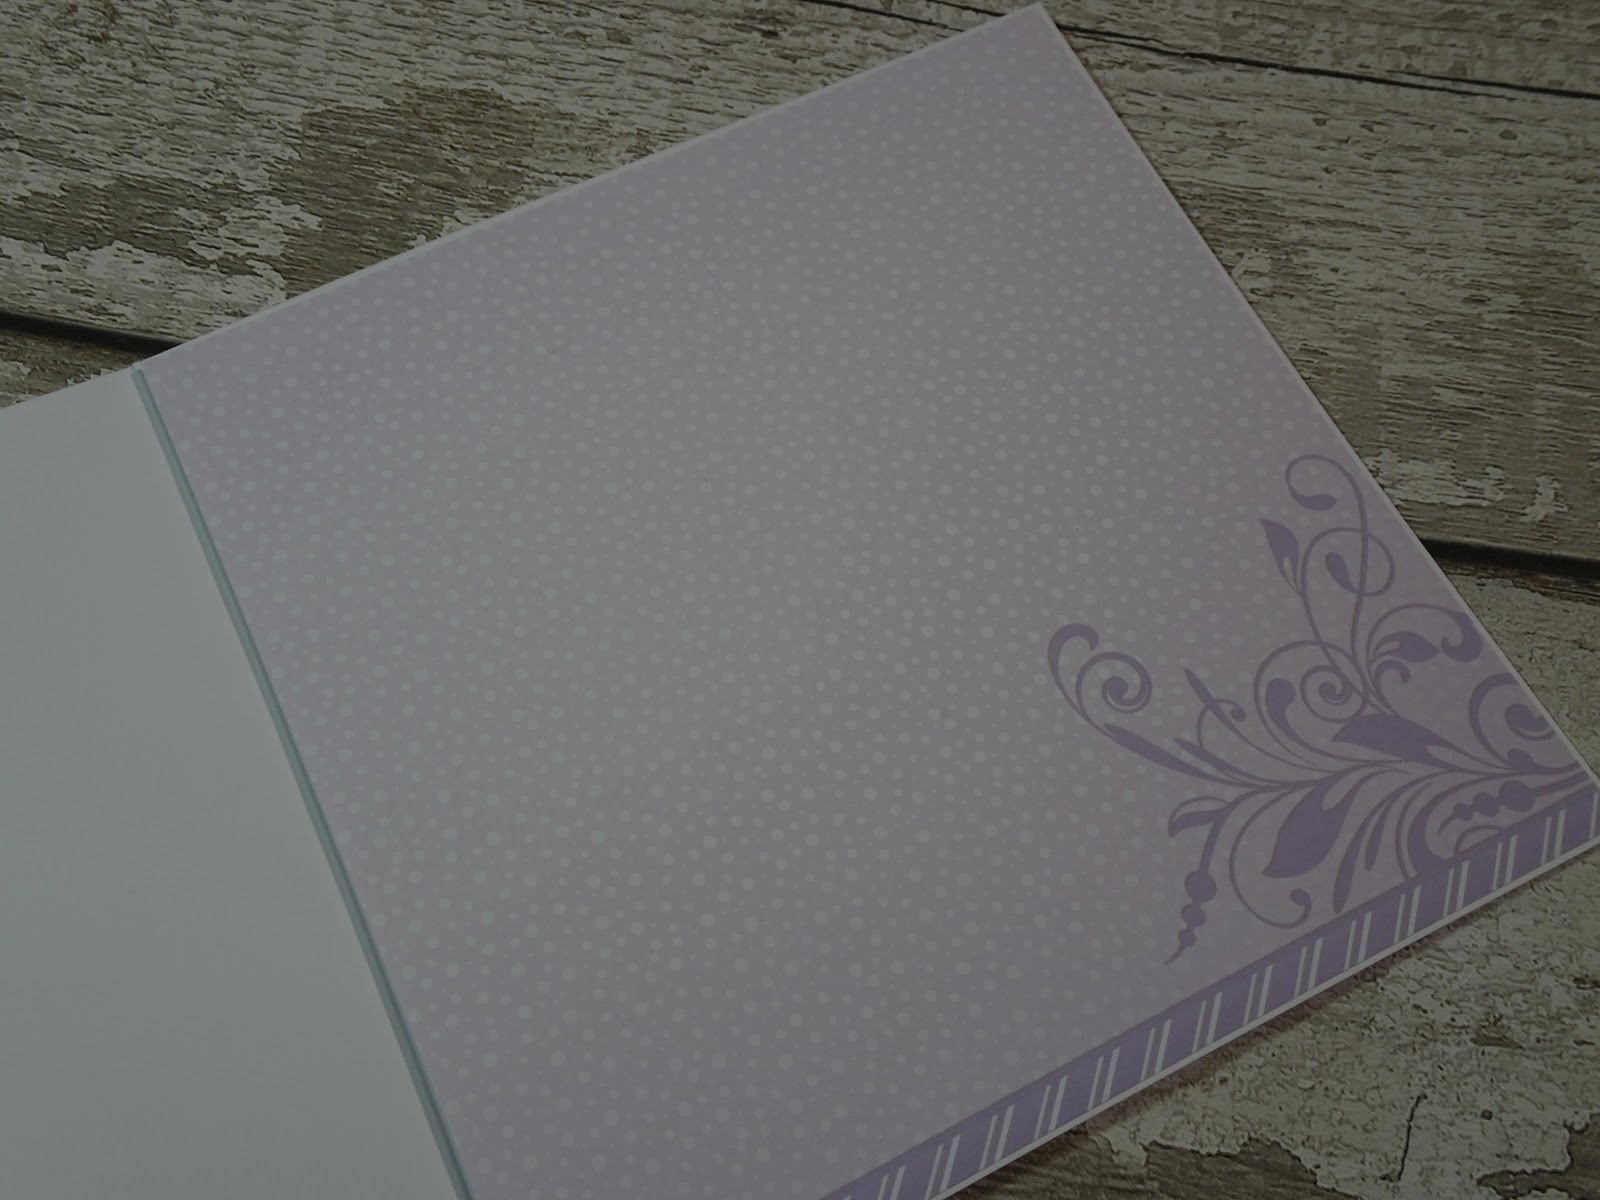
I folded an a5 cardblank and covered the front with patterned paper. I scored a piece of a4 acetate in the centre, then on one side scored a second line 2.5cm away. I creased the folds, added a couple bits of tape in the folded strip and glued it to my card blank. I wrapped some white ribbon around the card front and acetate to cover the glue, then tied in a bow. 
 
 
I trimmed the picture side of the insert to fit the inside of the card. I stamped my 60th sentiment and added some glitter pen to add sparkle. I trimmed the greeting side of insert to be the same size as the toppers.
 
 
I glued the first topper in position on the front of the card blank. I positioned another on top of the acetate in line with the one on the card front. I then used the insert greeting paper to cover the glue on the reverse of the acetate. As a final touch, I added a stick on gem to the perfume bottle.
 
Mx


Wednesday, 29 November 2017

Merry Christmas my deer


  • Hunkydory festive elegance luxury card collection: Merry Christmas my deer
  • Hunkydory essential book of Christmas sentiments
  • Silver & rainbow mirri card
  • clear acetate
  • Pinflair ice diamonds sprinkles
  • doodlebug lily white glitter
  • 7x7", 6x6" & 5x5" card blanks
For this 7" square card, I created a shaker using a topper and frame from the collection. I mat and layered the card front with rainbow mirri and patterned cardstock. I then added the topper image onto the card, glued down flat. I cut acetate to fill the frame and sealed with foam tape. I added a mix of the pinflair sprinkles and doodlebug glitter onto the topper for the shaking element. I positioned the frame on top complete the shaker element. The little sentiment was added to the top corner on foam pads to complete the card. For the inside, I trimmed the insert to fit inside with the printed sentiment.
inside

I used the remaining patterned cardstock to create this little 5" square card. I turned the paper so the border ran across the front and trimmed to cover the card blank. I added the deer image and sentiment toppers to the card which I made flat for posting. I trimmed the matching piece of insert down to complete the inside too.
inside

For the 6" square card, I matt and layered the silver mirri and patterned cardstocks onto the card front. I then positioned the topper with the deer onto the front, so the snowline continued from background to topper. I completed the front with a sentiment from the essential book.

The final card was created to feature the printed deer from this patterned cardstock. I simply trimmed it down to fit the 5x5" card, with a matt of silver mirri and finished with an essential book sentiment.
Mx

Monday, 13 November 2017

polar bear presents


  • Hunkydory cute Christmas luxury card collection: polar bear presents
  • Hunkydory essential book of Christmas sentiments
  • snowfall acetate
  • white twine
  • 8x8", A5 & 6x4" card blanks

For the 8" square card, I covered the card front with the patterned paper, positioning the border and swirl to the base of the card. I then arranged the frame and topper image on angles to sit within the space. The frame was glued down flat, with the topper raised on foam pads. I completed the front with the essential book sentiment in the top corner, also on foam pads. The coordinating topper sheet was trimmed down to fit inside.
inside

I created this A5 card using snowfall acetate as the card front. I cut away the front of the card blank and replace with acetate, with was secured to the inside of the card. I then covered the join with the patterned cardstock, trimmed to fill the inside of the card. I then completed the card front, adding the image topper, frame and sentiment.

Finally, I made this cute little 6x4" card using the printed image on the patterned cardstock. This section was left over from the card above, so I trimmed it to fit the card front with space for a border. I used the border edge and pattern from the other cardstock in this set to create a nice piece along the folded edge. The sentiment tag was then glued into position on the border, using foam pads and finished with a little twine bow. I trimmed down the insert to fit with the printed sentiment to complete the inside of the card.
inside
Mx

Monday, 2 October 2017

Christmas Cottage...

  • Hunkydory festive elegance luxury card collection: Christmas cottage
  • Hunkydory little book of snowy scenes
  • Hunkydory essential book of Christmas sentiments
  • silver mirri cardstock
  • clear acetate
  • 6"x 6" & A5 card blanks
 For the first A5 card, I cut the patterned cardstock to fill the front of the card blank. I then added the toppers to sit around the printed houses, glued with foam for dimension. I took the coordinating insert and trimmed this down to sit inside.


inside
 For the square card, I trimmed down the remaining patterned cardstock and layered this onto mirri to fill the card front. I then positioned the little topper with the image and message in the sky using foam pads. Again, the inside of the card was finished off with the insert, trimmed to fit neatly.

inside
For this A5 card, I used the patterned cardstock, trimmed to fit the card with the centre gutted to make the most of the piece. I then matted a little book image onto mirri to create a topper. This was glued down with a coordinating sentiment topper from the set. To finish the inside, I added the floral insert, cut down to show the sentiment.


inside


For the final A5 card, I replaced a large section of the card front with acetate. I covered the inside of the card blank with the remaining piece of floral insert. To complete the front, I cut a section of the patterned cardstock and edged it with mirri, to create the border edge covering the join between card blank and acetate. I then carefully glued the topper image, frame and sentiment (from the essential book) in place on the front of the acetate.


Mx