Showing posts with label beach. Show all posts

Sunday, 7 May 2017

edna loves the ocean

  • stamping bella: 'edna loves the ocean' stamp
  • my favourite things: 'pinstripe BG11' stamp
  • lawn fawn: 'small dotted rectangle stackables'
  • SU!: 'party pants'
  • copics: skin- E50, 51, 21. hair- E55, 57, 59. Ground W0. Lips- R00, 35. Yellows- Y13, 15, 18. Orange- Y35, 38. Blue - BG11, 32, 57. Glasses- N5, 7, 9. Wings- R20, R000.
  • Neenah classic crest 'solar white' cardstock
  • 6x4" vertical card blank
  • memento 'tuxedo black' ink pad
  • archival 'jet black' ink pad
  • wink of stella 'clear' glitter pen
  • Orange and white twine
I stamped the image onto the Neenah card stock using memento ink and coloured her with copics. I diecut the image into a rectangle to create the topper. I added a message stamp using archival ink. I then stamped the background directly onto the card blank before adding the topper, using funky foam for dimension. I tied the twine around the top of the card and secured with a knot. The final touch was glitter on the wings.

Challenges I would like to enter:
Simon Monday says: The great outdoors
Seven Hills may colour challenge

Mx

Saturday, 9 July 2016

Whale of wishes...


  • Mama elephant -whale wishes (stamps & dies)
  • Mama elephant - framed tags- park avenue 
  • Mama elephant - waves trio dies
  • Tim holtz distress ink pads- tumbled glass, salty ocean & blueprint sketch
  • Archival 'jet black' ink pad
  • Sakura 'white' jelly roll pen
  • Wink of stella 'clear' glitter pen
  • White funky foam
  • White cardstock 
I cut 3 pieces of cardstock to fit my card blank. The first I die cut using the frame die (and put this to one side to use this later). The second I die cut using the waves dies to make one medium height wave and one small wave. The third I just kept as is. 
I started to create my scene by using distress inks to colour my background, creating an ombre effect from dark blue at the bottom, to light blue at the top. I sprayed and flicked the panel with water to lift some of the ink away with a towel and create more texture. I did the same for all the wave layers. i stamped my greeting using black ink on the base layer, adding white pen highlights to help make it stand out. I stamped two of the whale images and die cut these, before adding them to my scene. Once I was happy with the lay out I glued all the pieces down, keeping the waves flat and the whales fixed using foam tape. I secured this to my card blank.
 I went back to my cardstock die cut frame and die cut another one out of funky foam. I then glued these together to create a more dimensional frame which I added to my card blank. The final touch was to stamp the water splash images to the card and glitter those (sorry they don't show up well in the photo).
Mx

Challenge I would like to enter:

Tuesday, 29 September 2015

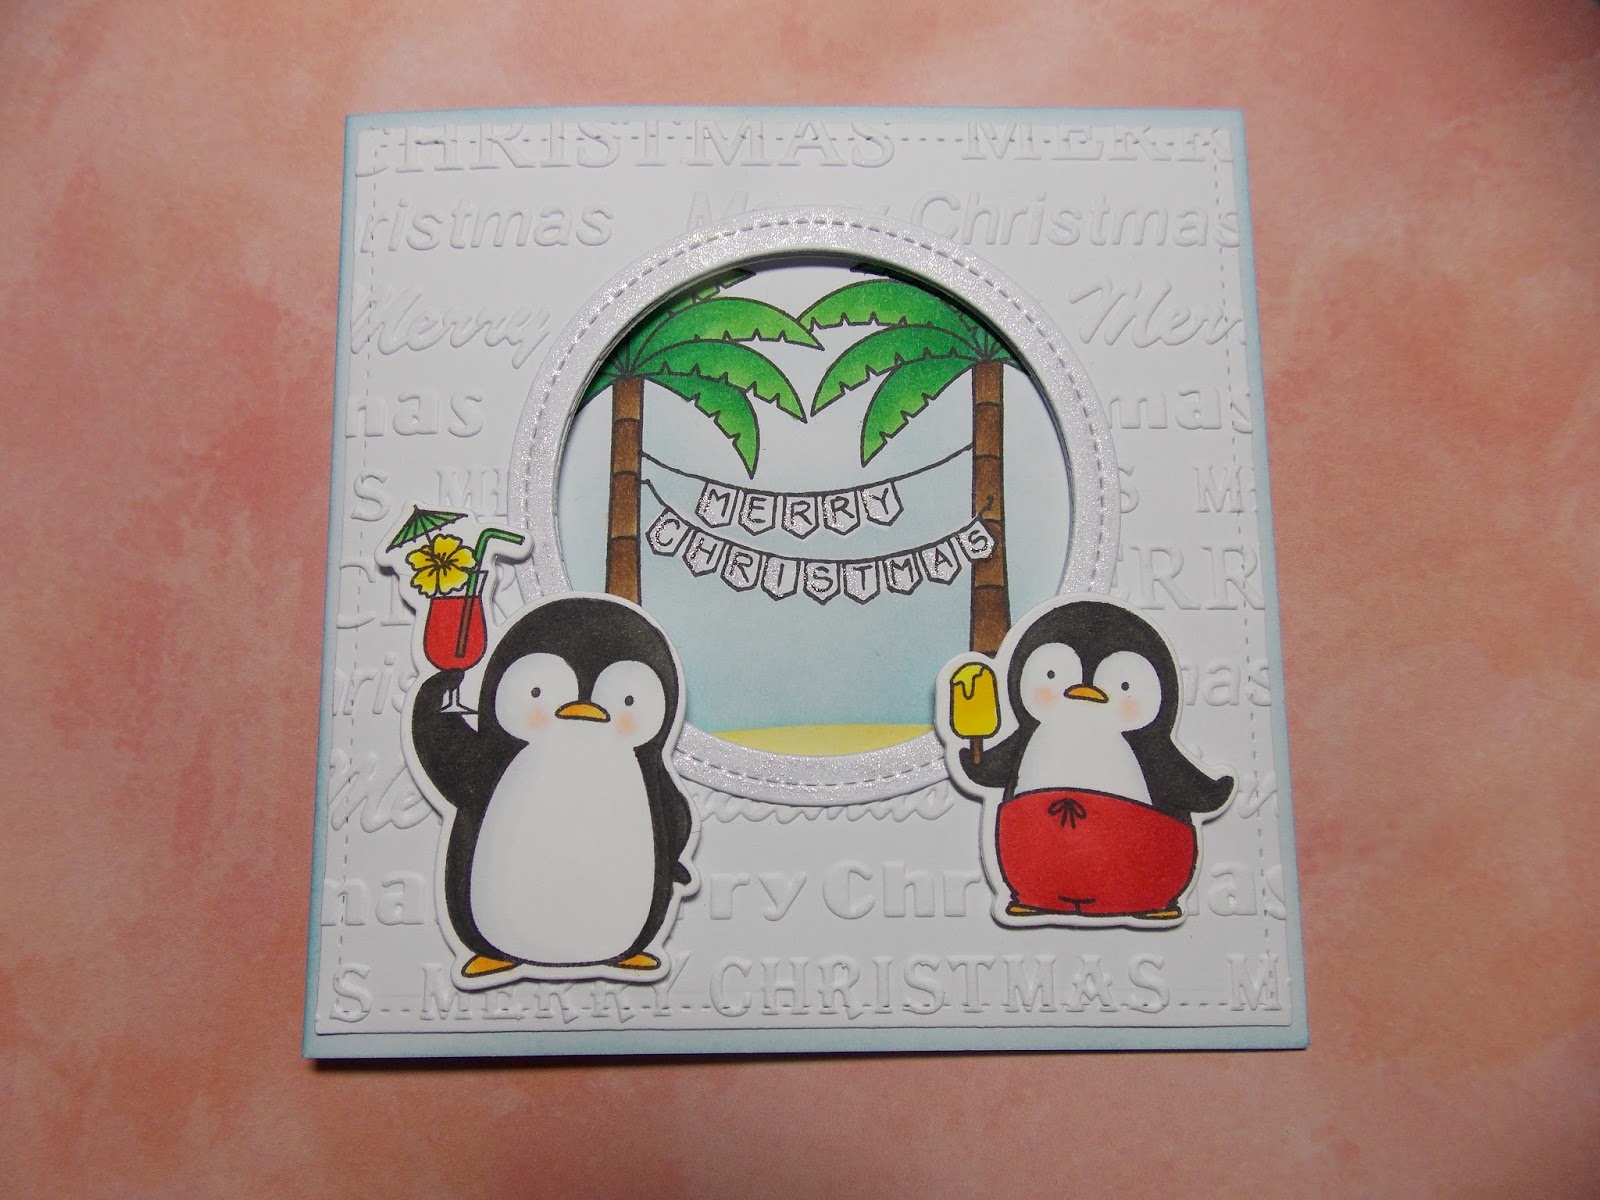
penguins in paradise!!


inside
  • my favourite things- penguins in paradise stamps and dies
  • lawn fawn- stitched squres and circles dies
  • SU! white Christmas
  • memento ink pad (tuxedo black)
  • copics (E1, C00,0,1, W7,8,9 Y35,38. E59,57,55 G14,05,17. R9,27,24 Y02,08,15)
  • tim holtz distress ink pads (tumbled glass + scattered straw)
  • wink of stella (clear)
i was asked to make a card to send to someone celebrating Christmas abroad and I knew I had the perfect stamp set !!

to make this card I first cut all my layers. I die cut 2 stitched squares to fit my 5" card blank (one for the front one for inside). I then die cut a circle in the centre of the front mat. I then used this to pencil mark the position of the hole to help line up the die to create the same aperture on my card blank. I also die cut a frame using the stitched circles to enhance the aperture. I embossed the front mat with a Christmas wording embossing folder (don't know the name as I have lost the packaging),and glued the frame onto my layer. I inked the card blank blue then stuck down my mat. i stamped, cut and coloured the penguins and glued these onto the front using silicone glue.

For the inside, I created a scene on the second matt which would show through the aperture. I stamped my word banner and made a mask to place over the top. I stamped a palm tree either side and made masks for these too. I created a pair of masks for the landscape, using the 1st half with a yellow ink pad and blending tool to create sand. i then used the coordinating mask protect the sand whilst i created the sky in the same way. i then removed all the masks and copic coloured the trees before adding glitter shadows to the banner. 

the final touch was some glitter onto the frame around the aperture... after all Christmas needs glitter whether you're home or abroad !!
 
Mx

Tuesday, 30 July 2013

beach party!!

as promised, here are the pictures from a recent party. it was a joint celebration for my parents silver wedding anniversary and my sisters 21st!!
 

for mum & dad's (fruit) cakes I flat iced it, first in marzipan, then sugar paste. I added two colours of ribbon to the base of each tier. I then piped on the coral. I added flower paste shells, I made by pressing the paste into a chocolate mould, (bought at the cake decorating store.)
 

 for abbie's cake I made a topper with little beach huts. it was all made edible with sugar paste and brown sugar as sand.
 
pinwheels were bought from pipii.co.uk

ice-cream  cupcakes (which my dad loves... he thinks cupcake cases should be banned and only cones allowed!!) traditionally you would add a chocolate flake, but those are a little messy, so I think the chocolate wafer(from Tesco) was the perfect finishing touch for these.
 
these beach cupcakes use some brown sugar as sand a sugar paste towel and a paper drinks umbrella I got from asda
 
hope you like all the beach themed sweet ideas if you want any more details just leave a comment and ill help as much as I can...
 
Mx