Monday, 20 November 2017

Christmas Delight


  • Hunkydory snowy season luxury card collection: Christmas Delight
  • Hunkydory little book of snowy scenes
  • silver mirri card
  • pink & white satin ribbons
  • A5, DL & 6x4" landscape & 8x8" white card blanks
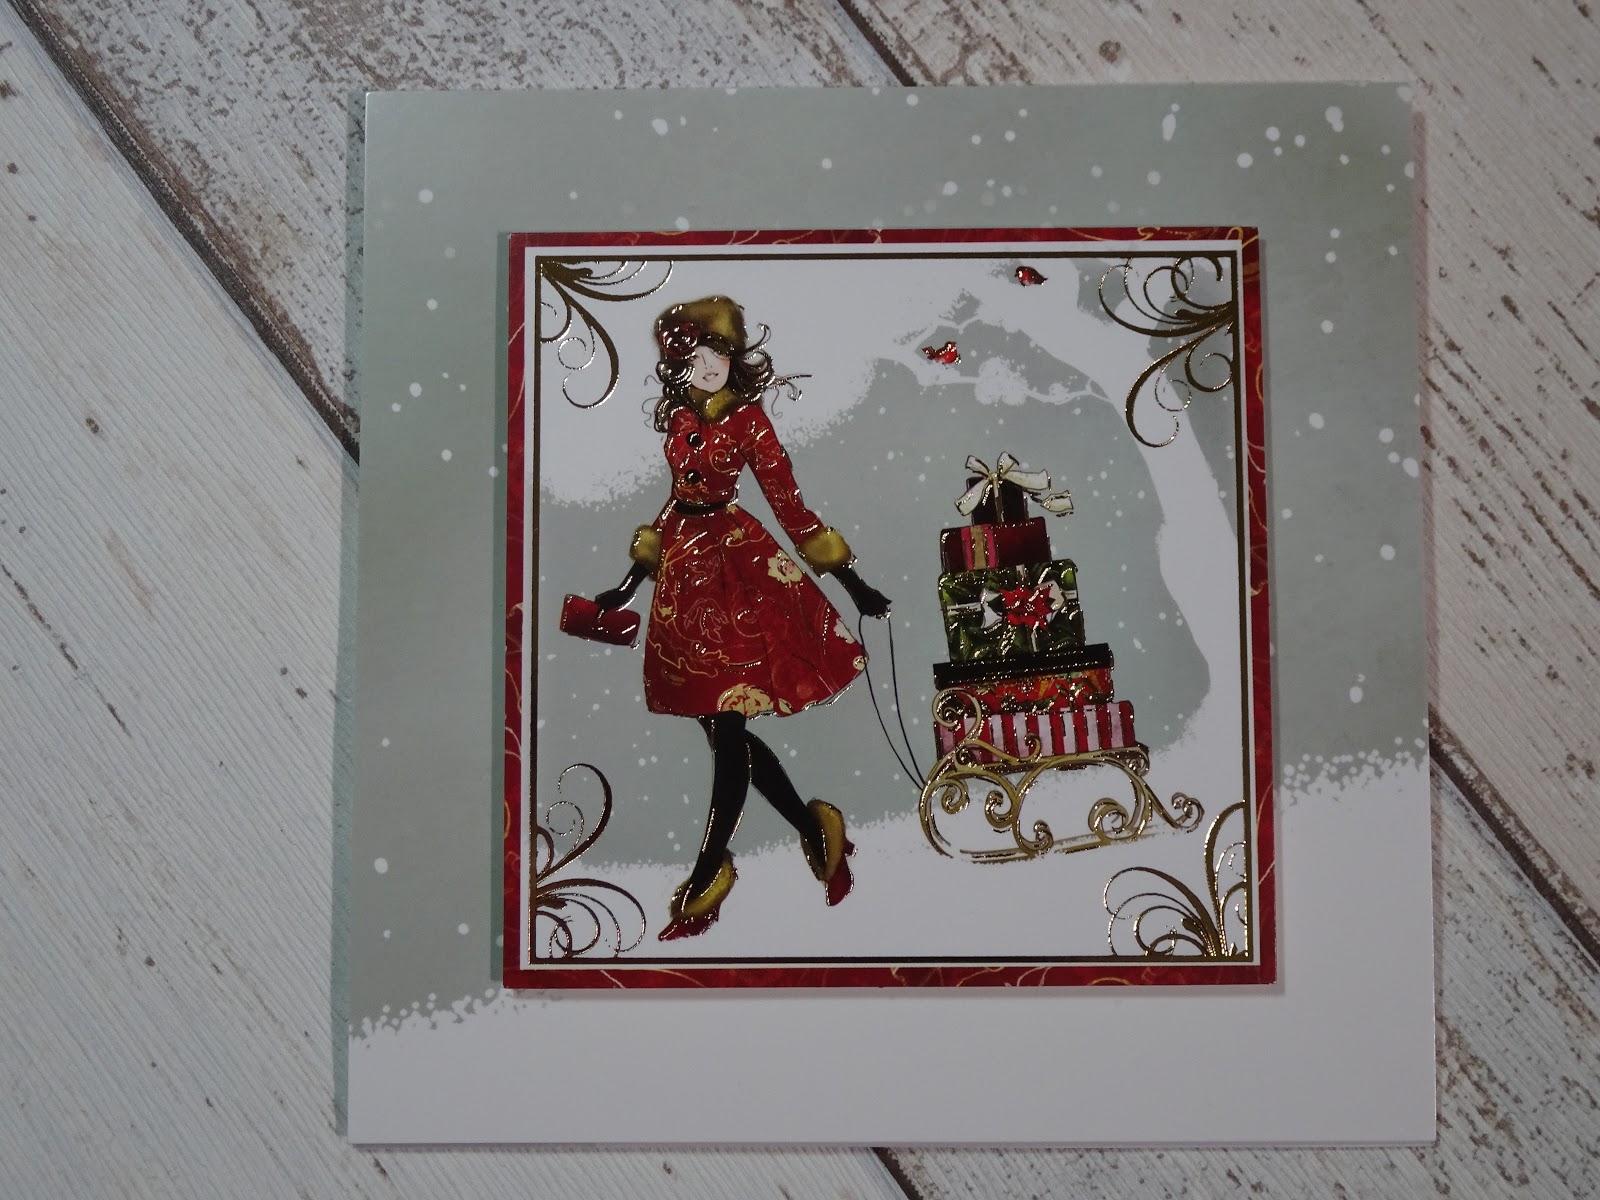
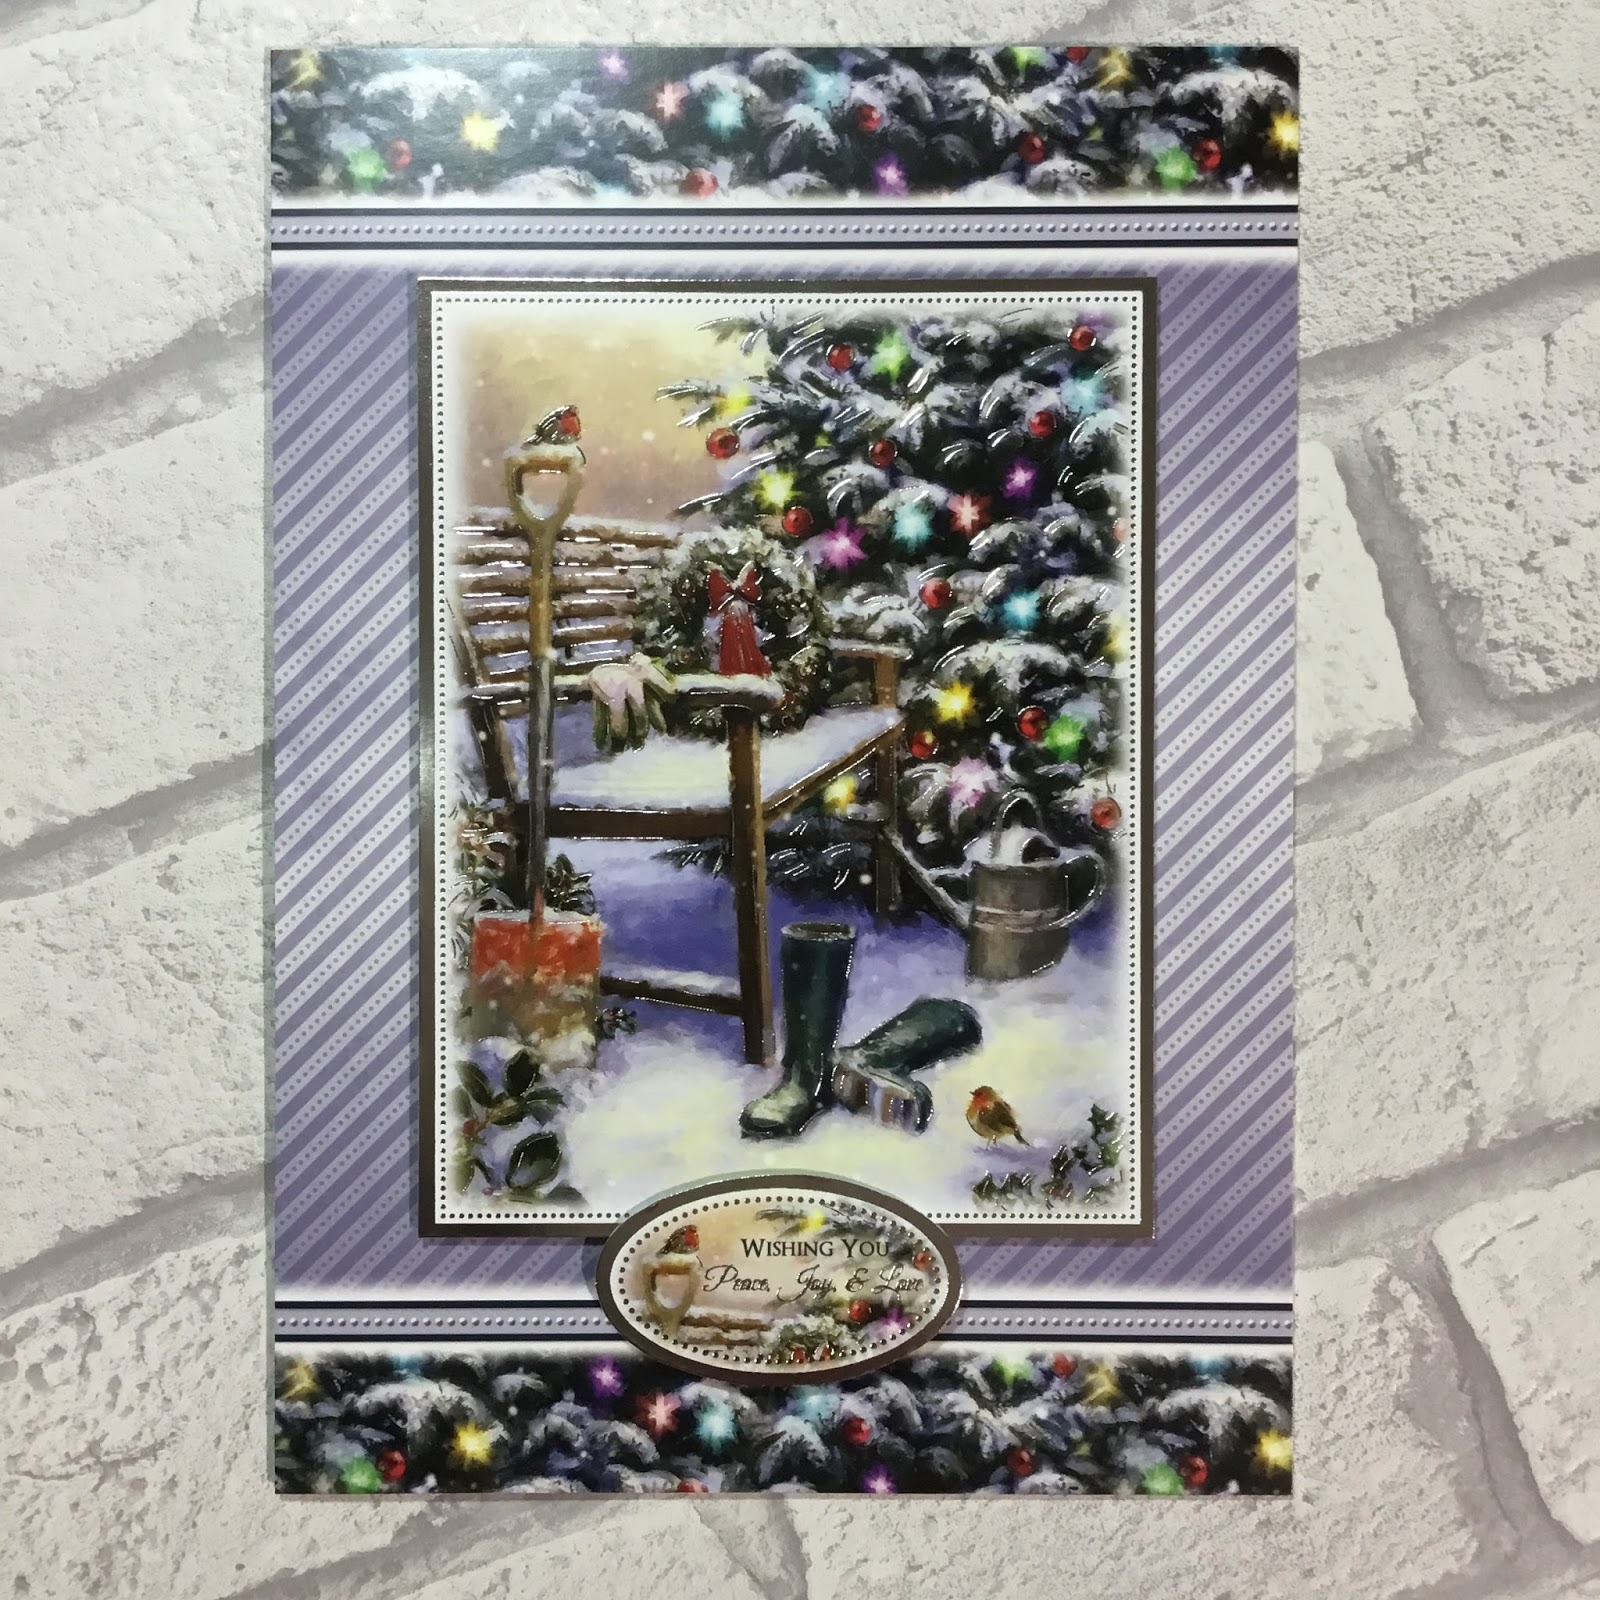
For the A5 card, I cut the cardstock to size to cover the front of the card blank. I then simply positioned the image and sentiment toppers overlapping on different depths of foam pads. I cut the coordinating insert down to complete the card.
inside
Using the same cardstock, I cut a 6x4" section with the border running across the base for this card. Again, I simply arranged an image and sentiment topper from the collection on foam pads. I trimmed the sentiment section from the centre of the remaining matching topper sheet to finish the inside.
inside
I created this DL card to make a feature of the image section on the other patterned cardstock sheet from the collection. I trimmed it to fill the card front, then angled the sentiment on top using foam pads for dimension and a knot of ribbon as embellishment. The insert sheet featured the mirror image of the card front, trimmed down to fit neatly inside.
inside

For the final card, I used a little book image to compliment the large sentiment from this set. I cut the  mat of silver mirri card to cover the 8" card blank. I then cut a layer of the patterned cardstock. I wrapped the satin ribbon around opposite corners, with a bow tied at the top. The ribbon was secured on the back of the cardstock before gluing onto the card front to keep a neat finish. I matted the little book page onto silver to create the topper and glued down off centre using foam pads. I overlaid the sentiment topper using deeper foam pads for added dimension. I glued the remaining insert inside to complete the card.
inside
Mx

Thursday, 16 November 2017

Angel's Wings

  • Hunkydory cute Christmas luxury card collection: Angel's Wings
  • Hunkydory second little book of Christmas
  • Hunkydory essential book of Christmas sentiments
  • silver mirri card
  • ribbons
  •  6x6", A5 & 6x4" landscape white card blanks
For the A5 card, I mat and layered the patterned cardstock onto silver mirri. I then arranged the image and coordinating frame onto foam pads in the main section of the card. I added a bow to the sentiment tag and glued this in place on the printed border.

Using the other sheet of cardstock, I created this 6" square card. I cut mirri card to cover the card front and added the patterned cardstock on top, with the border across the base. I interlocked the frame and image topper to create a more interesting shape and glued this into place. I added an essential book sentiment in the corner to complete the card.

For the other 6x6" card, I pieced together the starry border from one sheet and the other starry patterned cardstock to cover the card front. I added a border strip to cover the join, (as there wasn't one in this collection, I took a spare one from another set which was similar to the printed border on this cardstock). To create the topper, I used the coordinating image from the little book and glued the frame on top. I then carefully trimmed away the excess little book page which was overhanging the frame, so the image appeared to sit neatly within the surround. I glued this onto the card front with foam pads for dimension.
 
Using the printed images of the angels on the cardstock, I made two 6x4" cards. I cut the cardstock to fill the card fronts. I then chose ribbons to sit in the space beside the angels and secured this in position before I glued to the card blank. I then simply tied bows in the same ribbons and attached to the cards to embellish the selected messages.

Mx

Wednesday, 15 November 2017

Christmas is coming...

  • Hunkydory Christmas classics luxury card collection: Christmas is coming...
  • Hunkydory second little book of Christmas
  • Hunkydory essential book of Christmas sentiments
  • gold mirri card
  • gold ribbon
  • A5, DL, 6x6" & 6x4" portrait and landscape white card blanks

For this A5 card, I used a little book image to create a nice big topper. I simply matted the page onto gold mirri and covered the card front with the cardstock. I then glued the topper in the centre with an essential book sentiment beneath, raised up on foam pads. I trimmed the coordinating insert down to finish the inside.
inside

With the 6" square card, I cut off the top border and turned the remaining cardstock around so the border ran vertical. I mat and layered this onto gold mirri to fill the card front. I then arranged the topper and coordinating tag from the collection onto the card. I glued the topper flat, raised the tag on foam and finished with a gold ribbon bow. The remainder of the insert sheet was trimmed down, so the inside of the card matched the backing paper on the front.
inside
 
Using the other sheet of cardstock, I created this DL card to make a feature of the printed image. I simply cut the cardstock down to fill the card front and finished with the coordinating 'north pole' sentiment glued down with foam pads. I trimmed the sentiment section of the insert down to fit inside.
inside

I switched the vertical stripes of the cardstock to horizontal to work with the oval topper in the collection. I simply cut the cardstock to fit the 6x4" card front. I then added the image and sentiment toppers into place, again using foam for dimension.

For the final card, I pieced the front with the striped card and the cut off border from the first sheet. I edged the border with gold mirri card to create a neat finish. I then positioned the little train topper alongside a sentiment from the essential book to complete the card.

Mx

Tuesday, 14 November 2017

pretty poinsettia


  • Hunkydory Christmas classics luxury card collection: pretty poinsettia
  • Hunkydory essential book of Christmas sentiments
  • gold mirri card
  • red & gold ribbon
  • 8x8" & 6x4" portrait and landscape kraft card blanks
 I used the main topper from the collection for the large square card. I mat and layered the printed cardstock onto gold mirri for the card front. I then added some of the decoupage layers onto the topper to create dimension. To complete the card, I simply glued the topper onto the card front and added the coordinating insert to the inside.
inside
For the 6x4" cards, I made a feature of the decorative corners on the other sheet of cardstock from the collection. I cut the cardstock to fit the card front. I then added some of the remaining decoupage layers to build up the floral border across the card. I finished with the sentiment tag and a little ribbon bow.
I repeated the same design, using the corner of the cardstock, this time sitting on a landscape card. For this card, I used an essential book sentiment, glued down with foam pads in the space above the decoupage. I trimmed the insert down to mirror the design on the card front and glued this inside to complete the card.
inside
Mx

Monday, 13 November 2017

polar bear presents


  • Hunkydory cute Christmas luxury card collection: polar bear presents
  • Hunkydory essential book of Christmas sentiments
  • snowfall acetate
  • white twine
  • 8x8", A5 & 6x4" card blanks

For the 8" square card, I covered the card front with the patterned paper, positioning the border and swirl to the base of the card. I then arranged the frame and topper image on angles to sit within the space. The frame was glued down flat, with the topper raised on foam pads. I completed the front with the essential book sentiment in the top corner, also on foam pads. The coordinating topper sheet was trimmed down to fit inside.
inside

I created this A5 card using snowfall acetate as the card front. I cut away the front of the card blank and replace with acetate, with was secured to the inside of the card. I then covered the join with the patterned cardstock, trimmed to fill the inside of the card. I then completed the card front, adding the image topper, frame and sentiment.

Finally, I made this cute little 6x4" card using the printed image on the patterned cardstock. This section was left over from the card above, so I trimmed it to fit the card front with space for a border. I used the border edge and pattern from the other cardstock in this set to create a nice piece along the folded edge. The sentiment tag was then glued into position on the border, using foam pads and finished with a little twine bow. I trimmed down the insert to fit with the printed sentiment to complete the inside of the card.
inside
Mx

Friday, 10 November 2017

glorious gifts

  • Hunkydory festive elegance luxury card collection: glorious gifts
  • Hunkydory essential book of Christmas sentiments
  • 8x8", 5x7" & 5x5" white card blanks

To make this card, I cut the borders off the piece of cardstock, then cut the red spot cardstock to size. I glued the first border and the red spot cardstock to the front of my card blank. I then trimmed off the remaining white card from the front to create a reveal. I glued the toppers onto the card front using foam tape for dimension. I then trimmed the insert to size, stamped it with a Christmas sentiment and glued this inside the card. I added the second border to the outer edge to complete the card,(you will be able to see this when the card is closed too).  

inside

I created this easel card using a 5" square card blank. I added an extra score line to the centre of my card front and folded the card front in half.  I cut a piece of cardstock to 5" square and only put adhesive on the bottom half to glue to the card front, creating the easel base. I then covered the panel in patterned cardstock from the collection. I added an image topper to the centre of the card front. I then trimmed the insert to fill the inside of the card. I added the border on foam pads across the inside to create the stopper and completed with a sentiment topper in the bottom corner. 


front

inside

For this card, I used the remaining red spot from a previous card and added the foiled border, cut from a second piece of cardstock. I glued gold mirri onto my 5x7" landscape card blank and matted with the patterned cardstock. I glued the circle topper flat and added the sentiment topper with foam tape for dimension.

For the final card, I used the remaining border alongside the printed image cardstock. I trimmed the pieces to fit on the front of a 5" square card and glued them flat. I positioned a sentiment from the essential book across the border and image to bring the design together.

Mx

Thursday, 9 November 2017

festive harbour


  • Hunkydory snowy seasons luxury card collection 'festive harbour'
  • silver mirri card
  • A5 black & 5x5" white card blanks

For the A5 card, I matt and layered the foiled cardstock and silver mirri cardstock onto a black card blank. I glued the topper and sentiment to the centre of the card front using foam tape. I trimmed an insert to fit inside the card and glued it in place to finish. 

I used the part of the remaining cardstock to make this 5x5" card. I again matted with silver foil but used a white card blank for this card. I glued the topper down flat and only used 1mm foam for the sentiment (to make postage cheaper.) Again, I cut down an insert and glued it inside.

For this card, I used the 2nd piece of coordinating cardstock. I choose the part with out the ship image and matt and layered with silver mirri onto a 5x5" white card blank. I added the sentiment topper using foam tape and finished it with an insert to decorate the inside of my card. 

Mx