Showing posts with label snowman. Show all posts

Wednesday, 13 December 2017

'Tis the Season


  • Hunkydory snowy season luxury card collection: 'Tis the Season
  • White ribbon
  • DL, 5x7 & 6x6" white card blanks
For the first DL card, I made a feature of the printed image on the cardstock. I simply trimmed the cardstock to cover the card front and finished with a sentiment tag positioned over the border. I glued the tag down with foam and embellished with a bow tied in ribbon. I cut the insert down to centre the message inside the card.
inside
I created the square card using the remaining cardstock from this sheet. I covered the card front with the subtly patterned cardstock. I then added the coordinating border strip down one side. I positioned the topper image on foam pads and added the tag sentiment overlapping on deeper foam. I added a little bow tied from ribbon to complete. The image section of the insert was trimmed to fit inside to match the focal image on the card front.
inside

I used the three little toppers to make this DL card. I cut the swirl patterned cardstock to fill the card front. I then added ribbon down the centre of the card and secured behind the cardstock before gluing down. I positioned the toppers down the central ribbon, glued with foam pads and finished with a bow at the top. Again, I trimmed the insert down to centralise the printed sentiment inside the card.
inside

For the final card, I created a 5x7" design using the remaining cardstock and toppers from the collection. I used the swirl cardstock as a background and added the coordinating border strip for the front of the card. I then finished the design with the image and sentiment toppers, glued down with foam pads for dimension. I added the offcut of insert, trimmed down to fit inside to complete the card.
inside
Mx

Saturday, 14 October 2017

Let it snow


  • Hunkydory snowy season luxury card collection: Let it snow
  • Hunkydory the little book of snowy scenes
  • Hunkydory essential book of Christmas sentiments
  • A5, 5x7", 7x7" & 6x6" card blanks
  • Silver mirri card
  • Silver ribbon
I began with the 7" square card, using the largest topper. I cut down the patterned cardstock to fit the card front with a mat of mirri. I kept the embellished corner and positioned it to the base fold of the card. I then used the frame from the other topper and glued this down flat. I added the image topper layered on top of the frame with foam pads to add dimension. I completed the card with a sentiment from the little book, as this was a more fitting shape than the sentiments provided in the collection. The inside was completed with an insert, trimmed to fit.
inside
 
I used the off cut from this cardstock to create a 5x7" card. I simply matted the cardstock onto the card, again retaining the corner embellishment. I created a topper by layering a trimmed down a little book image onto silver mirri card. I glued this onto the card with a sentiment from the collection. I added the insert to finish the inside.
inside
 
For the A5 card, I cut down the other patterned cardstock to fit the card front. I positioned the topper to sit below the sleigh print, using foam pads for dimension. I used a little book sentiment, positioned beneath on foam pads to complete the card. I took the coordinating insert and trimmed to fit for the inside of the card.
inside
 
With the final card, I created a 6" square card combining pieces from each of the patterned cardstock. I used the printed image from the darker cardstock as the main section of the card. I then trimmed down an off cut of the lighter cardstock to create a border, edged with silver ribbon. I added the sentiment tag to sit over the border and finished with a silver ribbon bow.
 
Mx

Thursday, 5 October 2017

mr snowman


  • Hunkydory cute Christmas collection 'merry Christmas Mr snowman'
  • Hunkydory essential book of Christmas sentiments
  • silver mirri card
  • 5x7", 5x5", 6x4" & DL white card blanks
  • white satin ribbon
To make this 5x5" card, I simply matt and layered the card blank with silver mirri and patterned cardstock. I glued the circle topper flat in the centre and added the sentiment topper using foam tape. I finished it off with an insert, trimmed to fit.


inside

To make this DL card, I matt and layered a piece of patterned cardstock onto silver mirri. I then wrapped the white ribbon around this, secured it at the back and tied a double bow on the front up at the top. I glued this panel onto my card blank. I added the 3 little toppers on to the card using foam tape. I added an insert to complete the card.

inside

For this 5x7" card, I simply glued cardstock onto the front of my 5x7" card blank then glued the topper in place using foam tape for dimension. I added white twine through the hole in the sentiment tag and tied in a bow before sticking onto my card using foam tape. I have cut my insert to size and will stamp with a Christmas message before I glue it into my card.

inside

For the final card, I took the section of cardstock printed with the snowman image and trimmed to fit on the 6x4" card. I added a matt of mirri card onto the front before layering the image on. I completed the card with a nice little sentiment from the essential book.


Mx

Tuesday, 8 November 2016

Cold hands, warm heart!!

  • LOTV- cold hands, warm heart stamp
  • SU!- wondrous wreath 
  • Lawn fawn- large dotted rectangle stackables 
  • Memento 'tuxedo black' ink pad 
  • Neenahclassic crest cardstock 
  • Copics- snow:C00,01,03. Twig arms:E25,27.carrot nose:Y35,38. Red:R24,27,29. Green:YG61,63,67. Pink:R81,83,85. Blue:BG11,13,49.
  • Tim holtz distress 'tumbled glass & chipped sapphire' ink pad
  • Flower soft 'polar White's
  • Doodlebug sugar coating 'lily white'glitter 
  • Sakura 'clear' glaze pen
I die cut a panel of cardstock the size of my card front. I stamped my image and sentiment, on to this. I also stamped the image onto a post it note and cut it out, to create a mask. I placed the mask over the image, then inked around the top part of the image using blue inks to create a background. I removed the mask and coloured the image using copics. to finish the card I glued the panel onto a card blank, then added glitter and glaze details to the images. 
Mx
 
challenge I would like to enter:

Monday, 26 September 2016

frosty & friends ...


  • LOTV- frosty Christmas 8x8" paper pad
  • JOFY from paper artsy- stamp set 17
  • Memento 'tuxedo black' ink pad
  • Copics- C00,2,4,6,7,9. Y35,38. R24,27,46. B21,23. RV04,06,09. G14,17.
  • White cardstock & red paper
I cut a mat of patterned paper and added this to my card blank. I then cut a rectangle of white card for my image and a strip for my sentiment to follow the sketch. I also cut a slightly larger mat of red paper for each. I then stamped my image and sentiment and used my copics to add some colour to the image. The final stage was to mat and layer all of the pieces together to assemble the card. I think it makes for a nice simple Christmas card - perfect for a batch make !!
 
Mx

I would like to enter the following challenge:
Freshly made sketch #255

Friday, 13 June 2014

snow much fun !!


stamps: snow much fun and teeny tiny sentiments from stampin up!
inks: memento ink pad (tuxedo black), tim holtz distress ink pads, promarkers and sakura micron pen
punches: modern label and word window from stampin up!
cardstock: 5x5 card blank and craftwork cards digi cardstock

sorry i haven't posted for a while... having building work done at home so i have no internet or craft room!! i have managed to make a card to share with you though. i kept the design simple, with these 2 stampin up! images as the focal point. i coloured the image with promarkers. i added a message punched out and layered it onto another punched shape inked in red. the card blank was inked with another tim holtz distress pad, and the topper matted on. i finished the card with a border drawn with sakura micron pen.

Mx

Saturday, 4 January 2014

hear no evil, see no evil, speak no evil....

 
stamps: JOFY 17 from paperartsy
inks: memento (tuxedo black) ink pad, promarkers, tim holtz distress (tumbled glass) ink pad
cardstock: craftwork cards digi cardstock, 4x6" white card blank
dies: oval framelit & bigshot from sizzix
 
a parcel arrived today and it was craft so i just had to use it... i ordered these with a sale discount and even got two FREE stamps so i am a happy bunny!! on to the card ....

i cut all my mats and layers out then inked the background card blank using tumbled glass as well as the top aperture layer, i left the middle layer white. i stamped the sentiment on to the front layer of my card by only inking a portion of my stamp, i then die-cut it using an oval framelit from sizzix. i cut an extra piece of white card to fit behind the oval, which i stamped the snowmen on, i then coloured them using promarkers. finally i glued the layers together. i think the simple card design really makes the most of this fun image!!

 
Mx

Friday, 20 December 2013

the edible edition !!

 
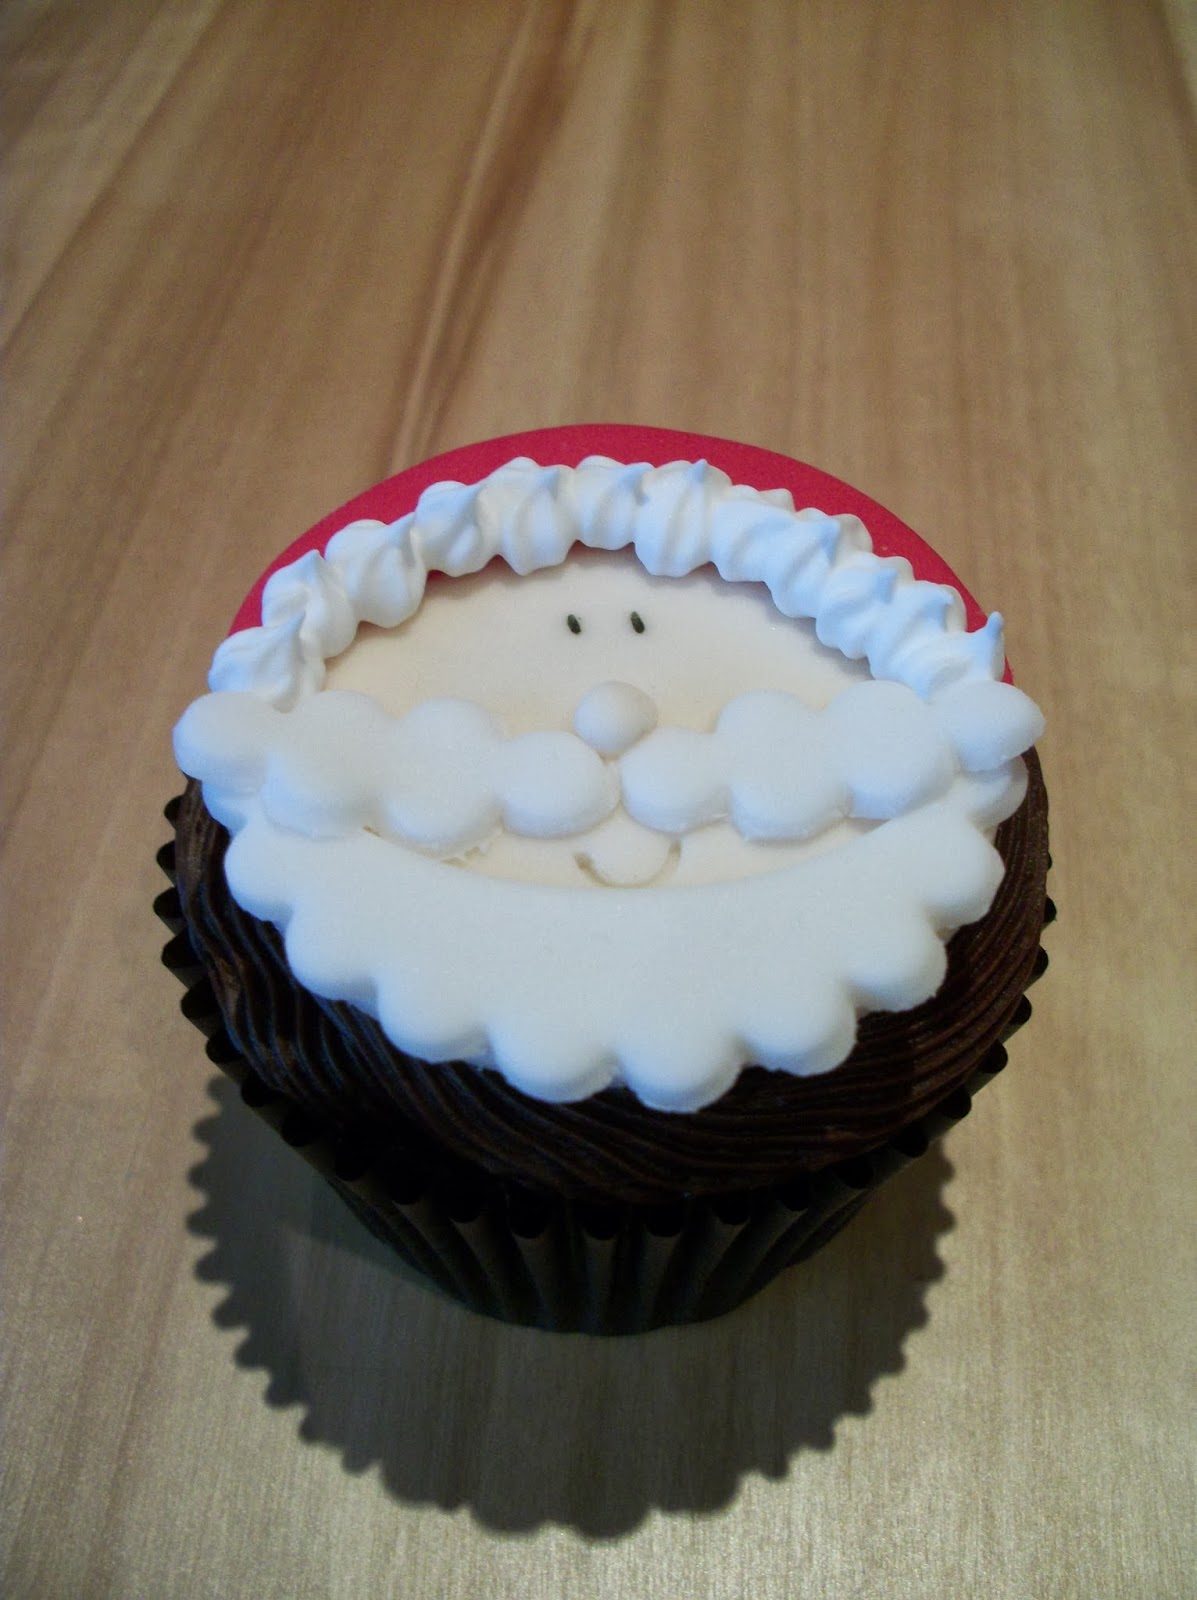
I thought id share a quick post to show some of my other creations. these are some of the festive designs i've added to cupcakes recently. the snowman and snowflake are vanilla flavoured, the santa and star are chocolate fudge (yum!!). each of them are decorated with icing and details like the eyes drawn with an edible pen. some edible lustre by sugarflare adds that extra festive feel. the really great thing about the designs is that you can have them made in advance and ready to add to the cupcakes when you've baked them. the star and snowflake are beautifully simple with the swirled frosting. snowmen and santas are a little more work but worth the effort for the fun they bring ... kids love them (I hope you do too!!) 


Mx