Showing posts with label swirls. Show all posts

Thursday, 14 December 2017

A Merry Little Christmas

  • Hunkydory festive elegance luxury card collection: A Merry Little Christmas
  • Hunkydory second little book of Christmas
  • Hunkydory copper mirri cardstock
  • A5 & 8x8" card blanks

For the 8" square card, I cut the cardstock down to fill the card front. To ground the sentiment, I added the border strip running across the base of the card. I positioned the sentiment to sit overlapping the border edge. For the main feature, I positioned the topper central with the border surrounds at angles to add interest. I trimmed the insert down to fit inside the card to complete.
inside

 I used the second sheet of cardstock to cover the A5 card blanks. I simply arranged the main topper and little sentiment underneath, sitting on the main panel between the printed borders. For the inside, I cut the insert down to fit neatly.
inside

 For the final card, I created a topper using the matching little book page. I cut the borders off the book image and matted onto coordinating mirri card. I then positioned it centrally onto the card blank, covered with the remaining cardstock. I completed the front with the additional sentiment topper from the collection, placed overlapping the bottom of the main topper. Again, I added the insert into the card for that extra finishing touch.
inside

Mx

Wednesday, 13 December 2017

'Tis the Season


  • Hunkydory snowy season luxury card collection: 'Tis the Season
  • White ribbon
  • DL, 5x7 & 6x6" white card blanks
For the first DL card, I made a feature of the printed image on the cardstock. I simply trimmed the cardstock to cover the card front and finished with a sentiment tag positioned over the border. I glued the tag down with foam and embellished with a bow tied in ribbon. I cut the insert down to centre the message inside the card.
inside
I created the square card using the remaining cardstock from this sheet. I covered the card front with the subtly patterned cardstock. I then added the coordinating border strip down one side. I positioned the topper image on foam pads and added the tag sentiment overlapping on deeper foam. I added a little bow tied from ribbon to complete. The image section of the insert was trimmed to fit inside to match the focal image on the card front.
inside

I used the three little toppers to make this DL card. I cut the swirl patterned cardstock to fill the card front. I then added ribbon down the centre of the card and secured behind the cardstock before gluing down. I positioned the toppers down the central ribbon, glued with foam pads and finished with a bow at the top. Again, I trimmed the insert down to centralise the printed sentiment inside the card.
inside

For the final card, I created a 5x7" design using the remaining cardstock and toppers from the collection. I used the swirl cardstock as a background and added the coordinating border strip for the front of the card. I then finished the design with the image and sentiment toppers, glued down with foam pads for dimension. I added the offcut of insert, trimmed down to fit inside to complete the card.
inside
Mx

Wednesday, 18 October 2017

festive treats

  • Hunkydory festive elegance luxury card collection: festive treats
  • Hunkydory second little book of Christmas
  • Silver mirri card
  • A5, DL and 6x6" card blanks
  • I made the first A5 card using the little topper squares from the collection. I covered the card front with the bright patterned card, cutting the section with the bow print to fit. I then spaced out the four square toppers in the mid section of the card and glued with foam pads. I added the matching insert inside to complete the card.
inside

 Using the other half of the cardstock to create this 6" square card. I turned the sheet on its side so the pattern ran as a border down the side and trimmed to fit the card front. I then added the large rectangular topper, with the sentiment overlapping.
I used a coordinating sheet from the little book to make this A5 card. The rectangular frame worked well to edge the little book image and create separation from the patterned card stock. I covered the card front with the patterned card, then glued the image flat and the frame on foam. I finished the inside with the coordinating insert.
inside

For this DL card, I used the remaining patterned cardstock and another of the square toppers. The image was printed on the cardstock, so I simply trimmed it down to fit on the DL card with a border of silver mirri card. I completed with the sentiment topper on foam in the space above the image and the insert trimmed to fit inside.
inside

Mx

Thursday, 18 December 2014

flower flourish...

 
to make this card I cut a piece of white card to shape, inked it using spun sugar tim holtz distress ink. I stamped the flourish from everything Eleanor (SU!) over the top in the same colour ink. I stamped 2 flowers from the flower shop stamp set (SU!) and coloured them with promarkers. I added a touch of glitter and punched them out using the pansy punch (SU!). I added this to my card using foam pads for dimension. I used the family sentiment die from tattered lace to die cut mum in white and glue this in place along the bottom edge. I added a final touch of glitter using a sakura pen along the edges of my pink panel.
 
Mx


Thursday, 15 May 2014

lacey butterfly...


stamps: for her sentiments (set 20) from lili of the valley
inks: archival (coffee) ink pad
cardstock: sultry paper pad from basic grey
dies: butterfly from tattered lace

I cut a mat of pink card and layered it with a darker pink, to create a small border. I added a strip of patterned paper, which I stamped a sentiment onto, in the centre. I cut a green strip into a banner, then added both strips to the card. I die cut the butterfly and glued it in place, following the sketch. I think this is a pretty card great for summer time birthdays.
 
 
Mx

Monday, 27 January 2014

over the threshold !!


stamps: over the threshold, folk flowers from lili of the valley, a word for you from stampin up!
inks: memento (tuxedo black) ink pad, tim holtz ink pad (brushed corduroy, antique linen), promarkers
cardstock: craftworkcards digi cardstock, 6x6 card blank
extras: circles framlits (657551) dies & big shot from sizzix, pink ribbon, adhesive pearls
 
I started by inking the edge of my card blank using brown. I cut a piece of digi card to mat on top and inked the edge using cream, then stamped the cardstock all over with a swirl design, using a cream ink to make a subtle background paper. I added the thin pink ribbon in the centre, criss- crossing over each other, then add a bow at one end. I stamped my focal image on to digi cardstock and die cut it using my big shot. I coloured the image using promarkers keeping the palette very soft and neutral, with a highlight of pink for the flowers and heart confetti to match the ribbon. I added a bit of ink to the edge of the circle topper to help it stand out, then glued it to the card using foam pads. for the final touch I added adhesive pearls to the corners.  


inside

for the inside, I cut a piece of card to create a matt as an insert. I edged it with brown ink, then stamped it all over with the swirl stamps, as I had done for the background on the front of the card. the final step was to add the stamped sentiment.


Mx

Tuesday, 14 January 2014

Love hearts ...


stamps: valentine love, soft swirls from stampin up!
inks: archival (jet black, aquamarine) ink pads, tim holtz worn lipstick, barn door) ink pads plus the worn lipstick distress pen
cardstock: craftwork cards digi cardstock, 4x6" card blank
dies: heart set #2 & big shot from sizzix

I stamped the large swirl background in black, then inked the entire surface pink, adding emphasis to the hearts using the distress pens from tim holtz. I placed a sentiment stamped in black onto a banner I cut out, which I inked in blue along with the card blank. I die cut some hearts, colouring them red with the distress ink to fade the colour up for a more dynamic effect. finally I layered the pieces onto the card, taking inspiration for the layout from the seize the sketch challenge. I think the bold swirls and colours really make a statement for valentines day!!


Mx

Friday, 20 December 2013

the edible edition !!

 
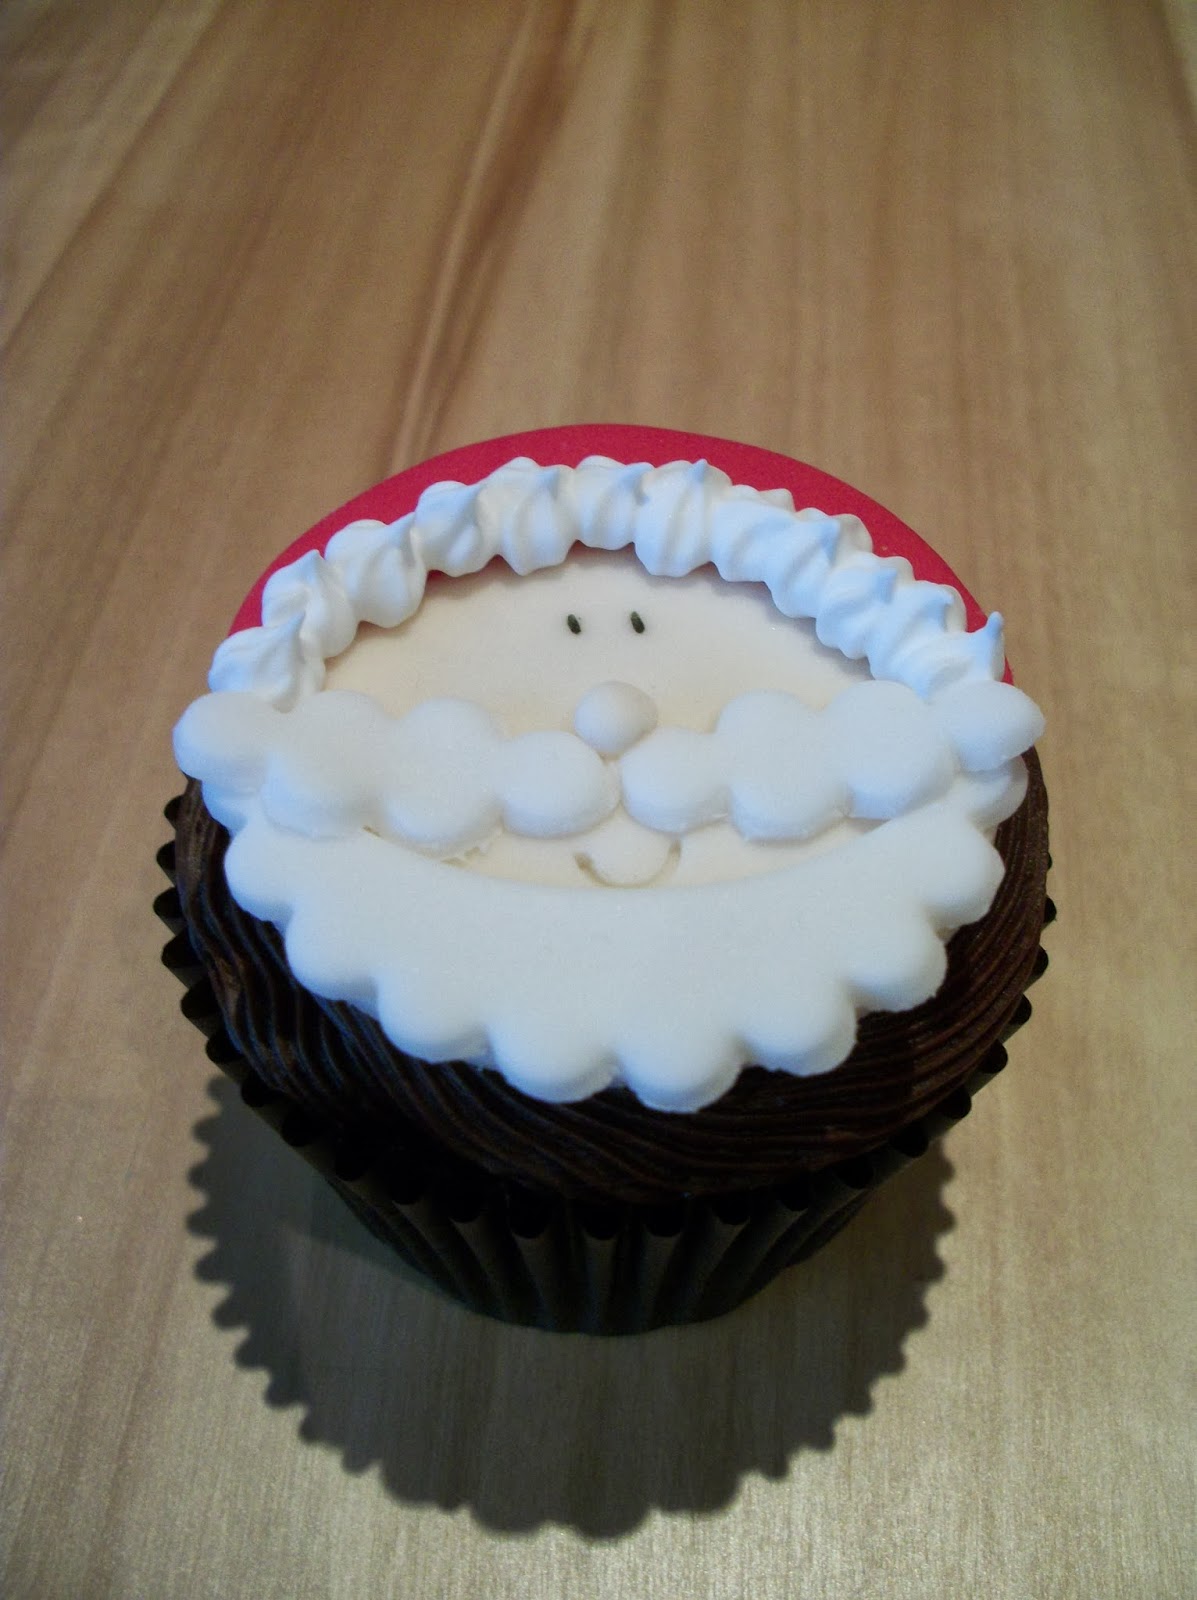
I thought id share a quick post to show some of my other creations. these are some of the festive designs i've added to cupcakes recently. the snowman and snowflake are vanilla flavoured, the santa and star are chocolate fudge (yum!!). each of them are decorated with icing and details like the eyes drawn with an edible pen. some edible lustre by sugarflare adds that extra festive feel. the really great thing about the designs is that you can have them made in advance and ready to add to the cupcakes when you've baked them. the star and snowflake are beautifully simple with the swirled frosting. snowmen and santas are a little more work but worth the effort for the fun they bring ... kids love them (I hope you do too!!) 


Mx

Friday, 14 December 2012

gift bag project

so i know i did the matchboxes yesterday as cute gift boxes and a gift bag today, but its christmas and handmade is better than shop bought. plus the same applies with gift bags as with handbags
- a girl needs choices!!

front
back and sides with tag


martha stewart punch, digi cardstock from craftwork cards, christmas greetings stamp from lili of the vally,
kraft gift bags (un-stamped) from the range, raffia, various colours of ink pads (distress & archival) rest of products used are from stampin' up!.
 
hope you like the project
Mx