Showing posts with label homemade. Show all posts

Sunday, 3 September 2017

packaging pouches!!


  • Kraft & cream cardstock
  • Stampin up! 'skinny mini alphabet' & 'epic alphabet' stamp sets
  • Archival ' sepia' ink pad 
  • Card bags
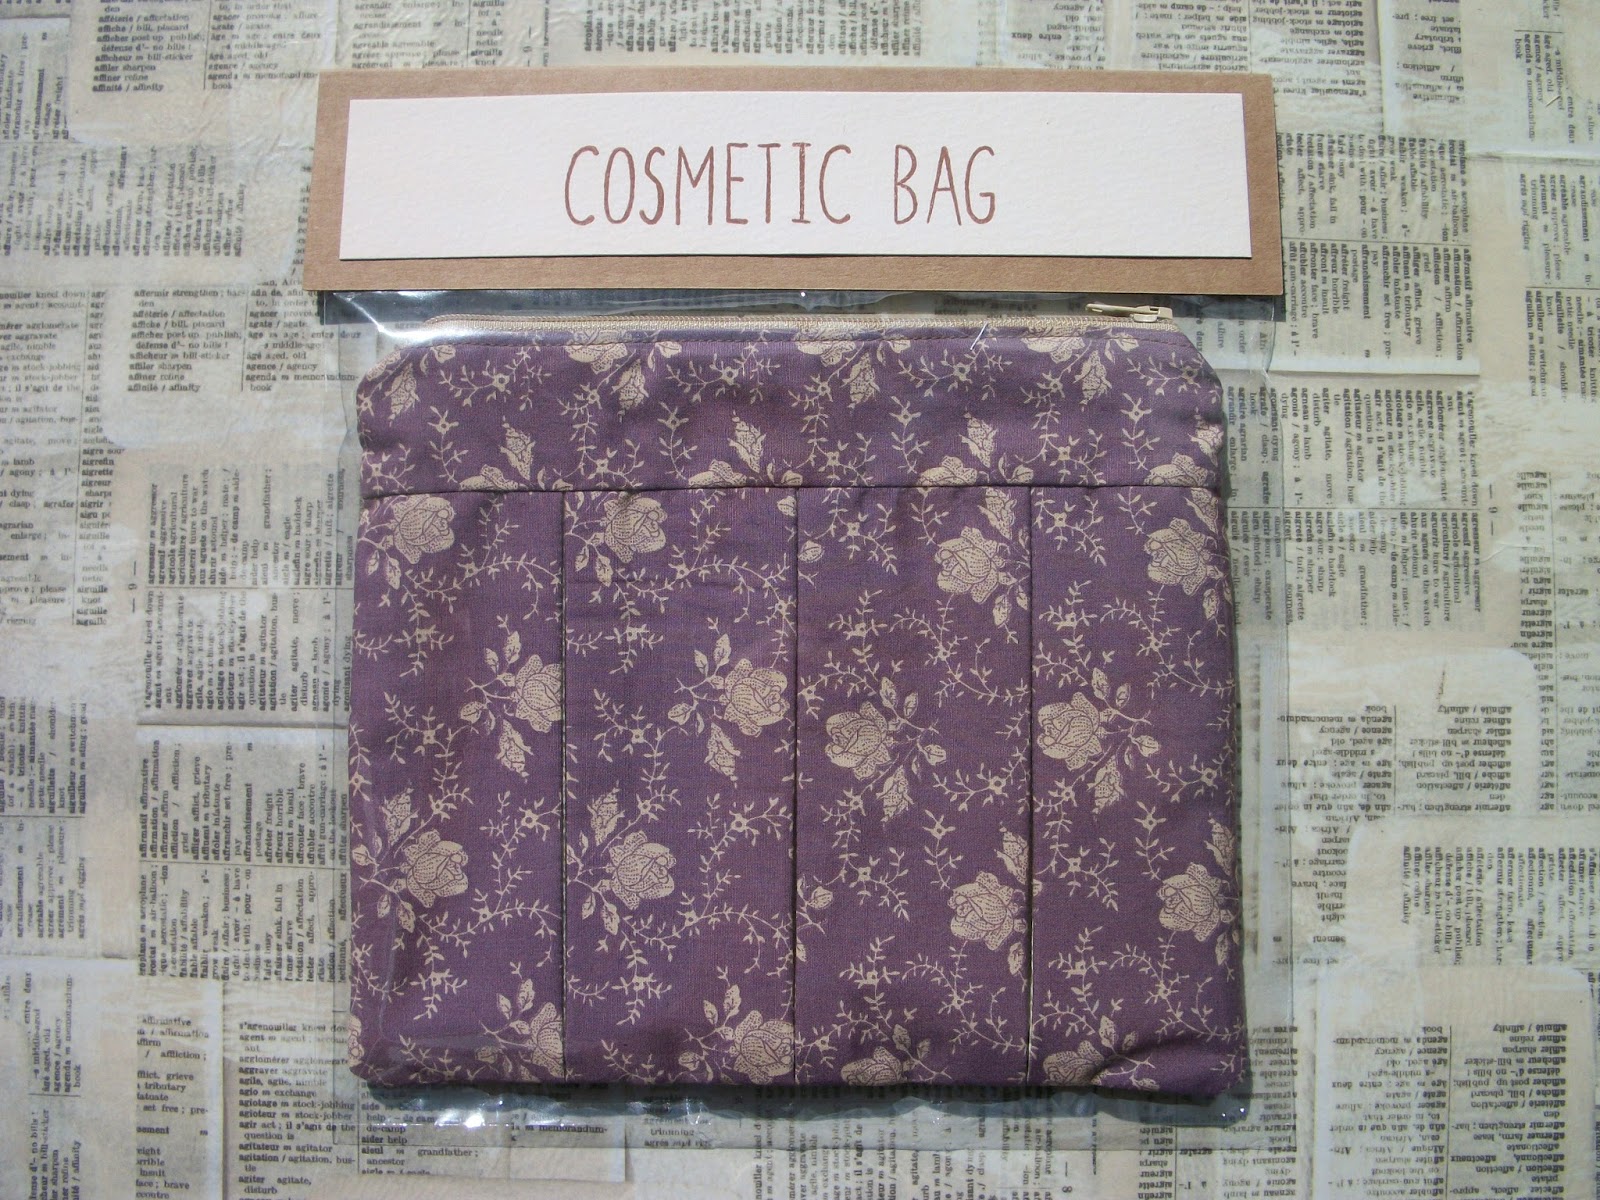
I stitched these little pouches as gifts and wanted to package them nicely to send. I found clear card bags which fit the pouches in neatly and sealed them in. For the top piece, I measured the width of the bag and decided on the height I wanted, (bearing in mind the stamp size + matting). I cut the Kraft card to the right width and doubled the height. I folded the cardstock in half over the top of the bag and secured with staples. I then cut the cream cardstock to layer on top and cover the staples. Before gluing into place, I used the letter stamps to spell out the contents 'wash bag!' or 'cosmetic bag' to complete this simple packaging. 


Mx

Friday, 13 March 2015

a fathers tools...

  • SU! guy greetings and teeny tiny sentiment, label punches also SU!
  • craftwork cards digi cardstock and card candi
  • barn door and black soot tim holtz distress ink pads
 
I cut a strip of card and stamped all over with the tools, I mat and layered then glued to my card blank. I stamped and punched out my sentiment, then added this to my card with foam pads. I inked some card candi to match my colour scheme and added to the bottom of my card to match the sketch.
 
http://sketchsaturday.blogspot.co.uk/
Mx
 

Wednesday, 21 January 2015

a totally great tote!!


this is a canvas tote I have free motion machine stitched some applique onto. it's quite simple to do, and although I did ok for my first attempt, I do think practise will make perfect !!
 
 I bought the blank canvas tote from hobby craft. I used heat n bond on to some tilde fabric I had and die cut the letters and butterflies using some of my sizzix dies. I then bonded my shapes where I wanted them and free motion stitched around the outline to secure the pieces in place.
 
Mx
 

Saturday, 6 December 2014

spread the christmas cheer...

 
Here is another of my chocolate box cards. Just a quick post to say thank you to everyone for their lovely comments on my previous post with the box cards... I'm glad you're enjoying my free template. If you haven't seen it yet, here's the link to save you searching ( http://craftylilmouse.blogspot.co.uk/2014/11/chocolate-box.html )
 
Please share pictures of your makes, as I'd love to see what creative things you have made !!
 
Mx


Wednesday, 10 September 2014

off the page crafting !!

since I haven't been blogging much whilst we have had builders in at home, I thought I would share what I have been doing. I haven't been able to craft much, so I kept busy with some upcycling and home décor projects ...


 I bought this chest of drawers and a matching dressing table (I forgot the take a 'before' picture of that). although it was painted a lovely grey colour, it didn't match the colour scheme for my bedroom. I decided to paint it using autentico chalk paint in rose, finished using their clear wax sealer. the paint went on easy and the furniture needed very little prep, just be aware that it does dry very quickly!! this is how they turned out...


i had been wanting my granddad's old bedside cabinet, so I asked my nana if I could have it... it took a little persuading but she gave me it with pleasure in the end. I sanded it down as there were a few little chips (which I fillered) and it had a polished surface.  I then painted it to match and added a matching knob. I also lined the shelf and cupboard using some pretty wallpaper. I think it looks great now and means so much more because it was my granddad's...

after sanding


after painting
I had bought some vintage lace cheap from an antiques fair, that my dad took us too. I used it as a simple way to add detail to a pair of old bedside lamps. I marked in pencil where I wanted my trim to be and used fabric glue to stick the lace on to them ...


before


after

 I also did the same to a cream lamp shade (from argos).


I'm pretty pleased with how my upcycling has turned out, adding some crafty touches to my new room. I must say a big thank you to my dad for helping me with my projects. I hope you have been inspired to have fun customizing some pieces too!!

Mx

Tuesday, 24 December 2013

12 days of christmas...

so ive been a little busy this year and haven't done an official 12 projects for Christmas, but ive put together some of my favourite projects from this year ...
 
 
Christmas cake simply decorated with icing, using the holly leaf cutter, with a little help from the family in the spirit of Christmas !!


I used craftwork card products to create this door hanger... you could take this idea to make your own version using any scraps and off cuts of paper or card left over from this seasons makes!!


I hope you have all enjoyed my makes this year, have a lovely Christmas and a fab new year !!
 
 Mx

Friday, 20 December 2013

the edible edition !!

 
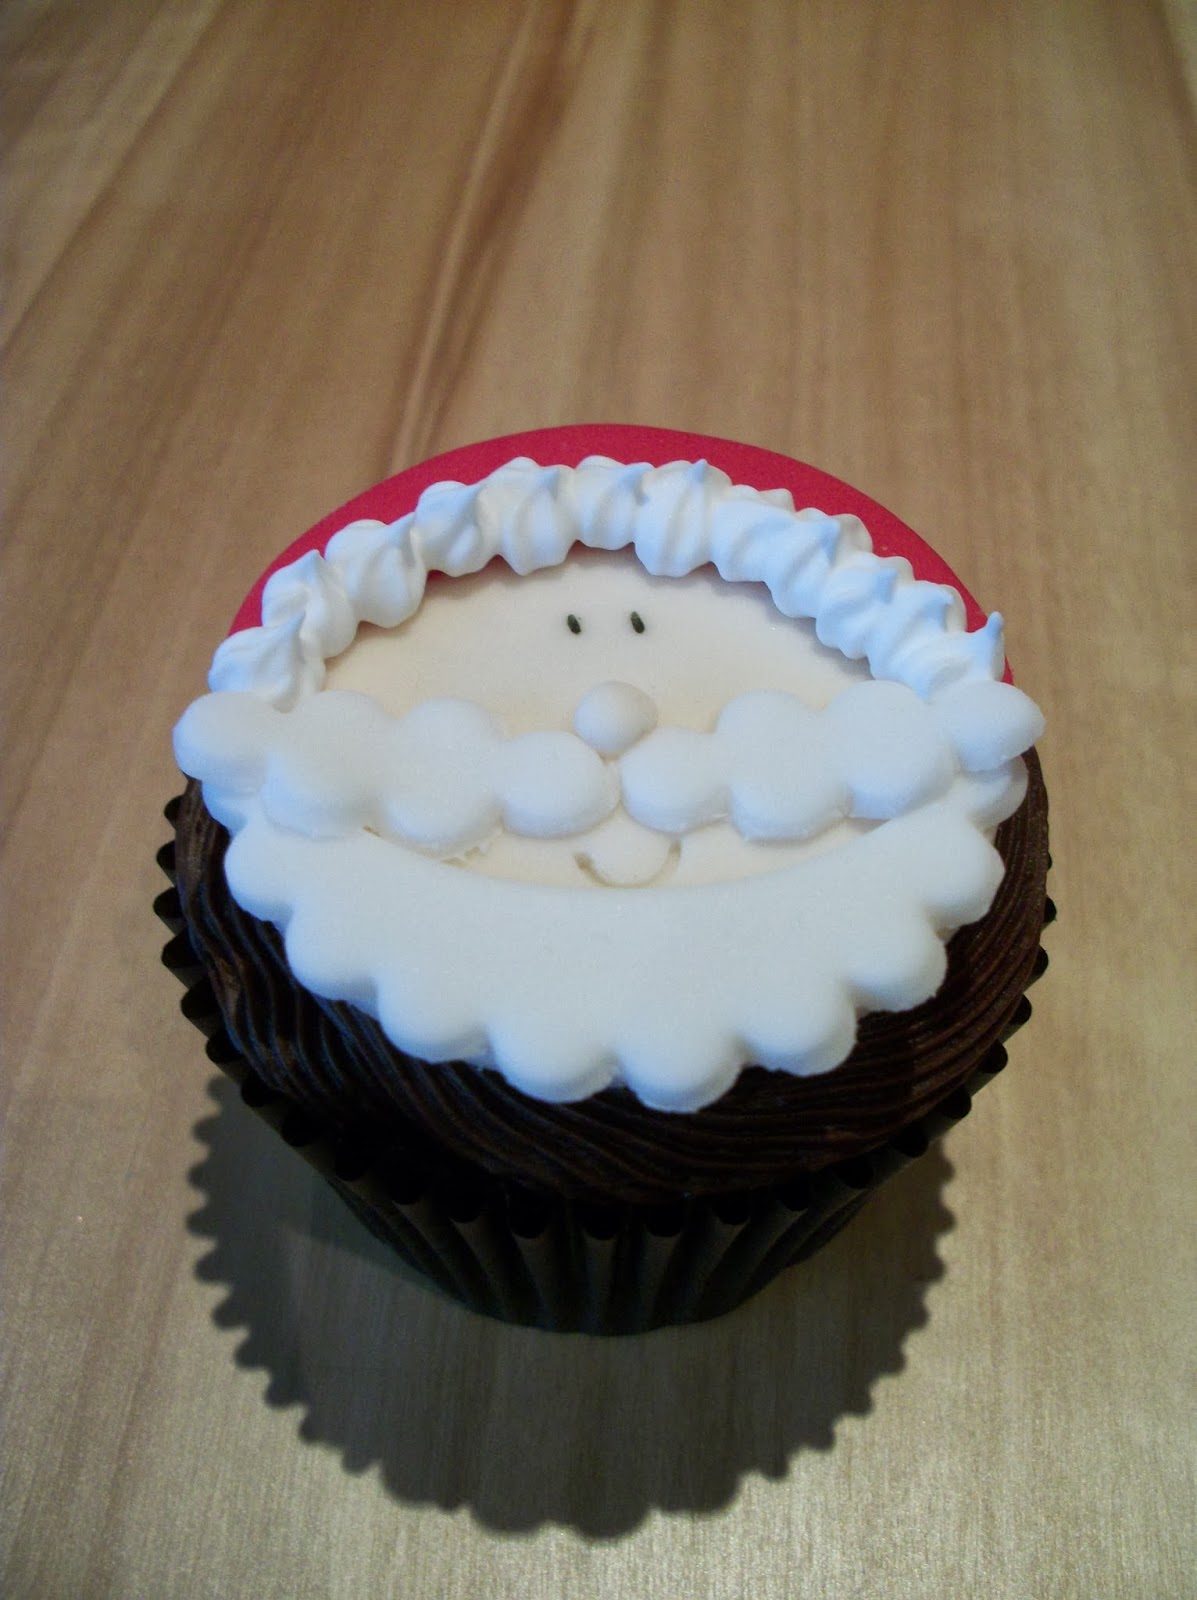
I thought id share a quick post to show some of my other creations. these are some of the festive designs i've added to cupcakes recently. the snowman and snowflake are vanilla flavoured, the santa and star are chocolate fudge (yum!!). each of them are decorated with icing and details like the eyes drawn with an edible pen. some edible lustre by sugarflare adds that extra festive feel. the really great thing about the designs is that you can have them made in advance and ready to add to the cupcakes when you've baked them. the star and snowflake are beautifully simple with the swirled frosting. snowmen and santas are a little more work but worth the effort for the fun they bring ... kids love them (I hope you do too!!) 


Mx

Tuesday, 30 July 2013

beach party!!

as promised, here are the pictures from a recent party. it was a joint celebration for my parents silver wedding anniversary and my sisters 21st!!
 

for mum & dad's (fruit) cakes I flat iced it, first in marzipan, then sugar paste. I added two colours of ribbon to the base of each tier. I then piped on the coral. I added flower paste shells, I made by pressing the paste into a chocolate mould, (bought at the cake decorating store.)
 

 for abbie's cake I made a topper with little beach huts. it was all made edible with sugar paste and brown sugar as sand.
 
pinwheels were bought from pipii.co.uk

ice-cream  cupcakes (which my dad loves... he thinks cupcake cases should be banned and only cones allowed!!) traditionally you would add a chocolate flake, but those are a little messy, so I think the chocolate wafer(from Tesco) was the perfect finishing touch for these.
 
these beach cupcakes use some brown sugar as sand a sugar paste towel and a paper drinks umbrella I got from asda
 
hope you like all the beach themed sweet ideas if you want any more details just leave a comment and ill help as much as I can...
 
Mx

Tuesday, 28 May 2013

fiery chilli jelly

well what an eventful day. i made chilli jelly and got slighty more heat than i planned...


ingredients:
2kg granulated sugar
500ml white wine vinegar
200g scotch bonnet chillies
1 large red pepper
250ml certo apple pectin

method:
1. pour sugar and vinegar into preserving pan, over low heat (stirring frequently) dissolve sugar.
2. once dissolved, turn up heat and boil for 20 mins. until mix is syrupy & clear.
3. meanwhile, cut chillies and pepper in half and remove seeds. pulse in blender until finely chopped.
4. once sugar mix is ready add chilli mix and boil for a further 3 mins.
5. remove from heat and cool for 15 mins. then stir in certo, keep stirring until mixture thickens and chillis are suspended.
6. pour into clean sterilised jars. leave to cool, then seal tightly
!! if chillies rise to the top pour back into the pan and stir over low heat until suspended, then repeat step 6.

DO NOT let the jelly boil over during stage 4 ... i learnt the hard way that it sets on fire and makes a mess !! so please peeps go careful with this recipe and enjoy. (i cant say how mine turned out as i dont eat it, this one was for my sis and dad so they best like after all this drama and cleaning up!!) hopefully yours wont make flames like mine did, but with the scotch bonnet chillis i think it still deserves the label of fiery chilli jelly 
Mx  

Monday, 25 March 2013

2 milk bottles...

sitting on the cake... lucky me none fell off!!
 close up off the bottles
this is a retirement cake i have just done for a milk man. the milk bottles are made from a krispie recipe to make them light enough to go onto the cake, which caused some trouble this week when decorating. i am pleased with how it turned out in the end though, hope you all agree...
Mx
 

Monday, 24 December 2012

christmas jammy biscuit project!!

well this is the last project for christmas some christmas jammy biscuits. they are using christmas berry and mulled wine preserve in a mixed spiced cookie/biscuit. i put a few biscuits in each bag and made gift tags for the final few presents, or just to have in as a christmas
treat for guests .
 
hope you have all enjoyed the 12 blogs/projects 
for christmas

merry christmas

and have a wonderful day!!
Mx

Sunday, 23 December 2012

christmas cake project!!

i have used roll out sugarpaste, and a selection of patchwork cutters. i also painted with edible dusts to colour the penguins and text and finished off with some ribbon out of my christmas stash.

i used red roll out sugarpaste, and pme snowflake plunger cutters and some white satin ribbon from my craft stash. i have added extra sparkle with edible luster dusts.

this was done using white roll out icing, dusted with luster. then cut out some pme snowman plunger cutter and i have painted them to match my merry christmas ribbon.

i have iced with royal icing and peeked, i added blue luster to renshaw edible icing ribbon and added a snowflake using the pme snowflake cutters.
 
i peeked this cake with royal icing and added a few pme snowflake cut outs dusted with blue luster.
these are a few christmas cakes done for friends and family to be enjoyed over christmas.
a big thankyou to mum for all your help and the washing up!!
Mx

Friday, 21 December 2012

gingerbread house project!!

this is the gingerbread house that i baked and put together, before my cousin's lucy (6) and oliver (4) came to decorate it. it worked out great, they had a roof panel each to tile (with sprinkle covered chocolate buttons) stuck on with royal icing glue i piped on for them. then they moved on to the rest of the house and the characters. oliver even piped the gingerbread man, i think they both did a fabulous job!!
 
oliver's roof

lucy's roof

us all doing the roof
i bought the gingerbread house cutter set from lakelands and followed the recipe on the back of the pack. i halved the royal icing recipe and that was more than enough. it was a really good set but you do need to trim the pieces after baking. all the decorations and sweets are a personal choice and can be bought from any local supermarket or sweet shop.
the kids  will also get a suprise when they break it open because i put it all together this year before they came to decorate it, i have hidden a little something inside. i will give you blog readers a clue its a few of my little fella's from marks & spencers.
you can do your gingerbread house neater and i generally would have, but if you have children or children in the family its nice to let them have a go every now and then and projects like this are perfect.
Mx